Hi Minitim
On recommendation of the panel beater that decision was made due to the following that was found....
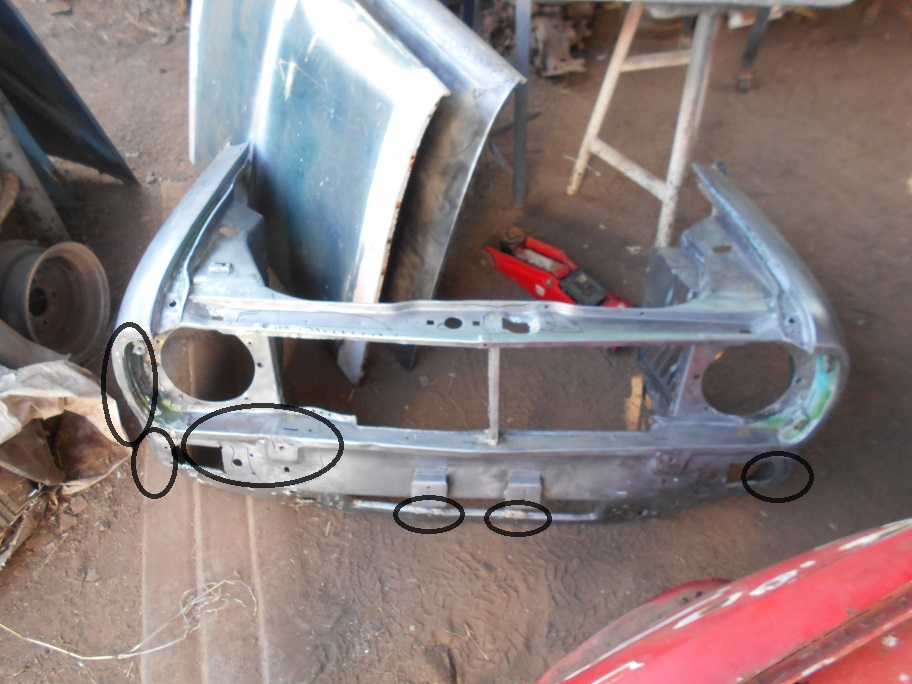
in the pic above all the problem areas have been circled. The first below the RH headlight was a point of impact as the metal is toast there. The area to the far right also had a knock still next to the headlight. On the bottom valance the two central parts had broken loose and the previous panel beater brazed the parts after shortening them, which means it cannot be fixed easily. Next up on both sides next to the indicator lights the car knocked the tow bar on my bakkie due to the eyelets breaking whilst being towed, this led to the LH and RH fender bulging, which could have been fixed. Lastly the wheel arch extension supports had been cut shorter to fit standard black wheel arches. Both inner wings needed attention, but on the radiator side it was quite bad. The RED car's nose however was still in perfect nick and due to the car being a genuine GTS the wheel arch extensions was perfect.
Earlier in the week I started stripping the engine further to fit new gaskets and oil seals.
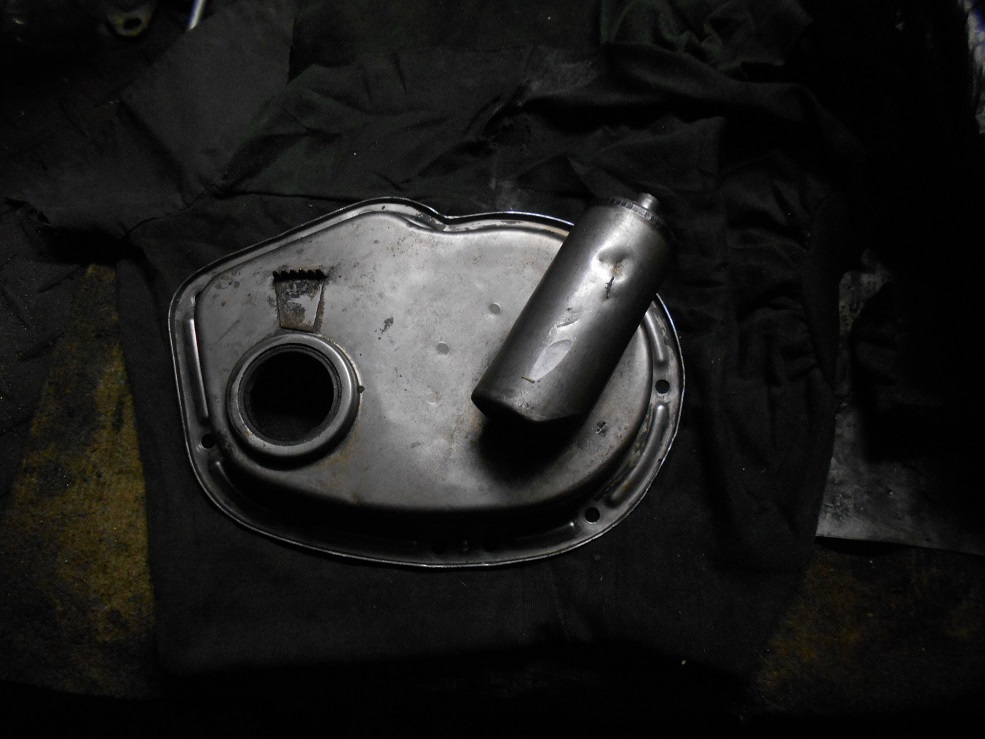
I took the timing cover to bare metal and the clutch cover and clutch cover housing also...
I had to strip the front sub-frame of all the ancillaries and ensured that it was true and straight. We then bolted this sub-frame into the car and aligned the new nose and sure as hell it lined up perfectly.
I then got the great nice task of removing all sound deadening off all the areas on the floor pans and toeboard panel. Again the more you dig the more problems and work you find. Well I am going to do this properly for once and for all no half measures will be taken....
The floor on the RH when we started.
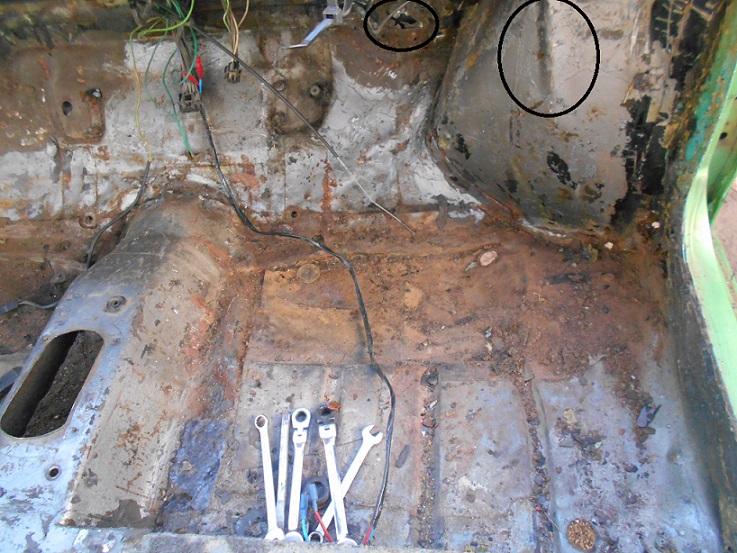
I will draw your attention to the indentation in the floor that is no longer there due to incorrect jacking on the edge. The circle in the centre shows where the pedal mount would normally sit, but some &%*$&# decided to fill that area with body putty and hope for the best. The circle to the right shows a kink that ran horizontally in the footwell. All these dents and kinks was removed with about 20 different panel beater tools, varying from dollies to a 6 pound hammer. This work was very tiring to say the least, no wonder the last panel beater and some okes before that could just not be bothered to fix and straighten the panels properly.
The LH of the firewall with a dent that runs diagonally....
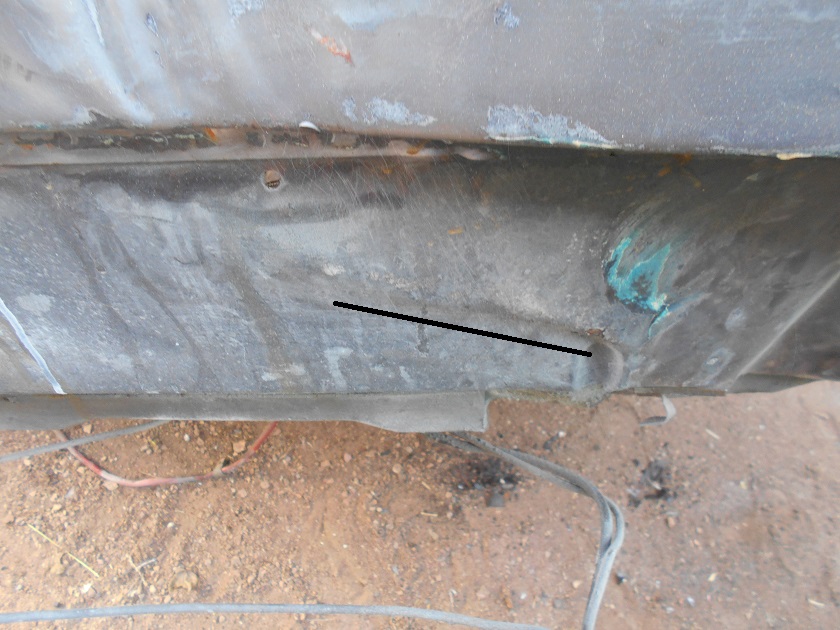
After receiving some masterful attention from the GURU... and the steering rack was removed for good measure.
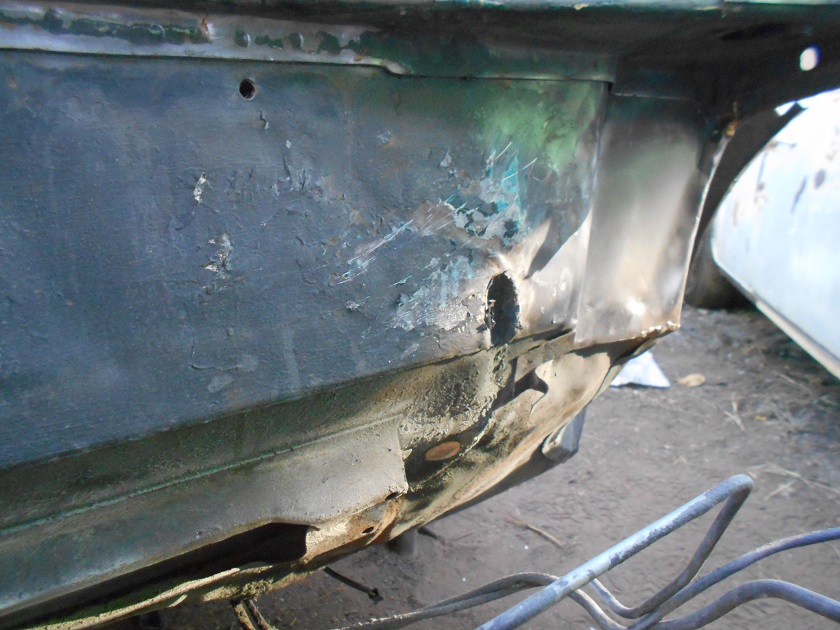
The end result concerning the RH floor area, now the new floor pan actually fitted quite good, now the old floor will be removed with the knowledge that the new pan actually fits.
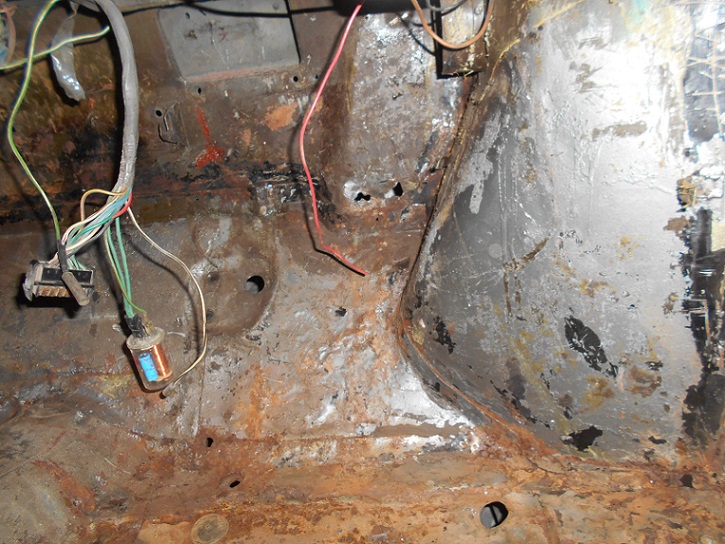
On recommendation of the panel beater that decision was made due to the following that was found....
in the pic above all the problem areas have been circled. The first below the RH headlight was a point of impact as the metal is toast there. The area to the far right also had a knock still next to the headlight. On the bottom valance the two central parts had broken loose and the previous panel beater brazed the parts after shortening them, which means it cannot be fixed easily. Next up on both sides next to the indicator lights the car knocked the tow bar on my bakkie due to the eyelets breaking whilst being towed, this led to the LH and RH fender bulging, which could have been fixed. Lastly the wheel arch extension supports had been cut shorter to fit standard black wheel arches. Both inner wings needed attention, but on the radiator side it was quite bad. The RED car's nose however was still in perfect nick and due to the car being a genuine GTS the wheel arch extensions was perfect.
Earlier in the week I started stripping the engine further to fit new gaskets and oil seals.
I took the timing cover to bare metal and the clutch cover and clutch cover housing also...
I had to strip the front sub-frame of all the ancillaries and ensured that it was true and straight. We then bolted this sub-frame into the car and aligned the new nose and sure as hell it lined up perfectly.
I then got the great nice task of removing all sound deadening off all the areas on the floor pans and toeboard panel. Again the more you dig the more problems and work you find. Well I am going to do this properly for once and for all no half measures will be taken....
The floor on the RH when we started.
I will draw your attention to the indentation in the floor that is no longer there due to incorrect jacking on the edge. The circle in the centre shows where the pedal mount would normally sit, but some &%*$&# decided to fill that area with body putty and hope for the best. The circle to the right shows a kink that ran horizontally in the footwell. All these dents and kinks was removed with about 20 different panel beater tools, varying from dollies to a 6 pound hammer. This work was very tiring to say the least, no wonder the last panel beater and some okes before that could just not be bothered to fix and straighten the panels properly.
The LH of the firewall with a dent that runs diagonally....
After receiving some masterful attention from the GURU... and the steering rack was removed for good measure.
The end result concerning the RH floor area, now the new floor pan actually fitted quite good, now the old floor will be removed with the knowledge that the new pan actually fits.
Own some minis, break them, fix them, improve them, test them to the limit....


![[-]](https://samini.co.za/images/collapse.png)