Posts: 271
Threads: 28
Likes Received: 90 in 61 posts
Likes Given: 0
Joined: Aug 2015
Reputation:
2
Then onto fitting the crank.
Initial checking of the end float using my trusty dial indicator showed 0.41mm of play......
Needless to say that is 16 thou, HOUSTON WE HAVE A PROBLEM. Manual wants 0.051 to 0.076 that is 2 to 3 thou.
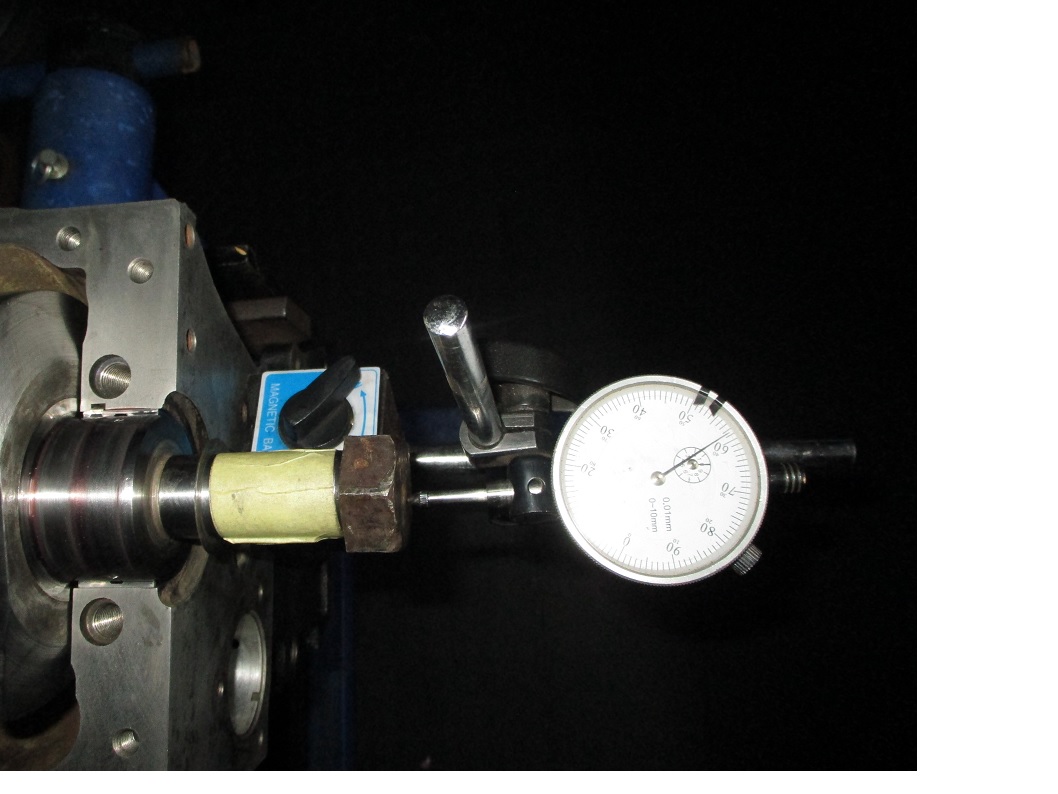
A shopping spree to the supplier later and some 5 thou oversize thrustwasher goodness later.....
I got the end float down to an acceptable but not perfect 0.10mm of play which is 4 thou.
Just for some peace of mind I plastigaged the main bearing running clearance. Manual calls for 0.017 to 0.058 mm, indeed I ended up with less than 0.10 mm smallest scale on the plastigage paper which is great for me. CRANK spins like a mother, so all good.
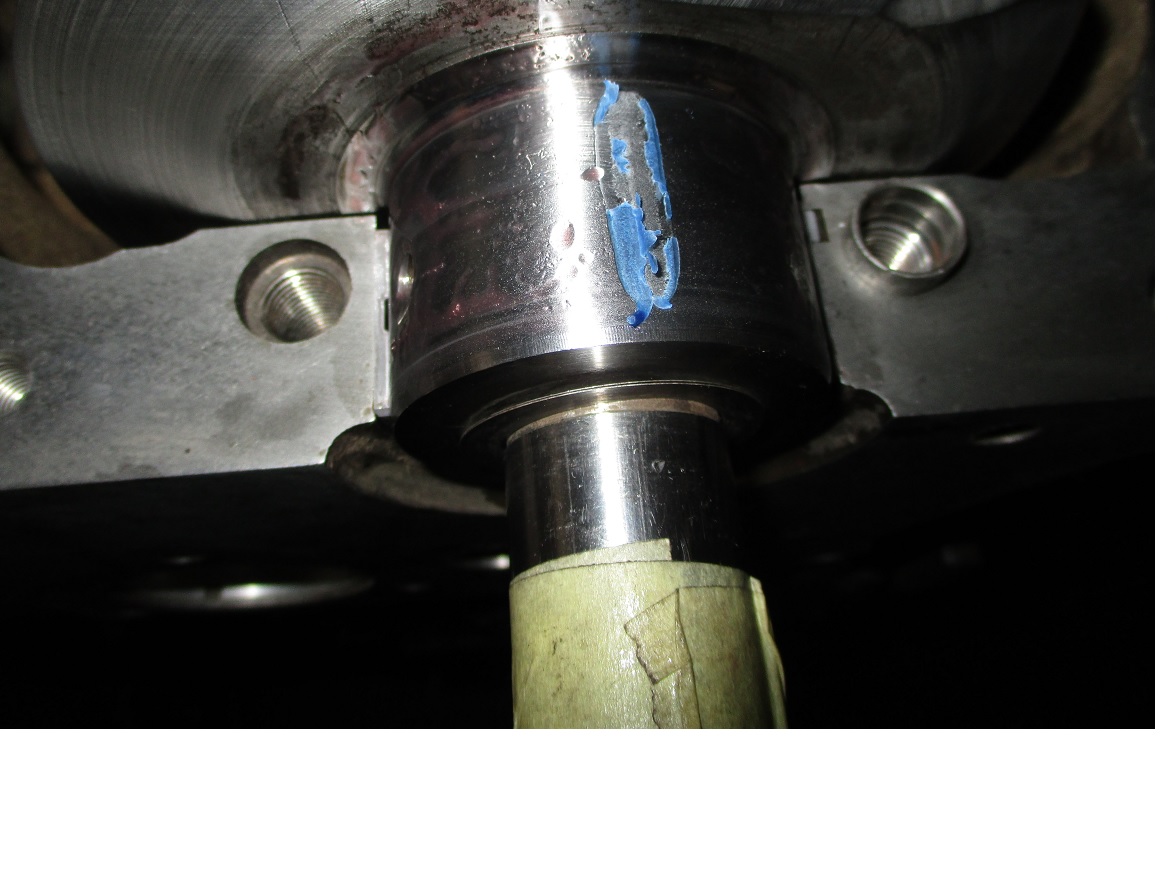
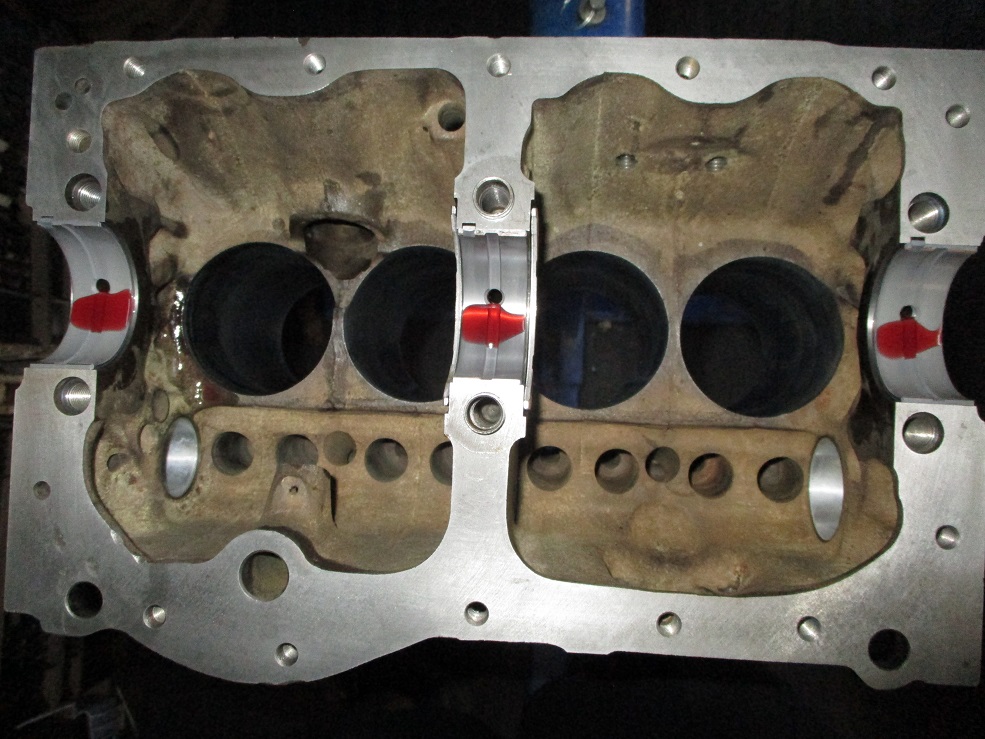
Some engine building lube and the crank goes in for the final fitment.
Own some minis, break them, fix them, improve them, test them to the limit....
![[-]](https://samini.co.za/images/collapse.png) •
•
Posts: 271
Threads: 28
Likes Received: 90 in 61 posts
Likes Given: 0
Joined: Aug 2015
Reputation:
2
Today was a very long, but satisfyingly productive day.
When you start to weight the pistons and get them all to exactly the same weight, now we are getting somewhere.
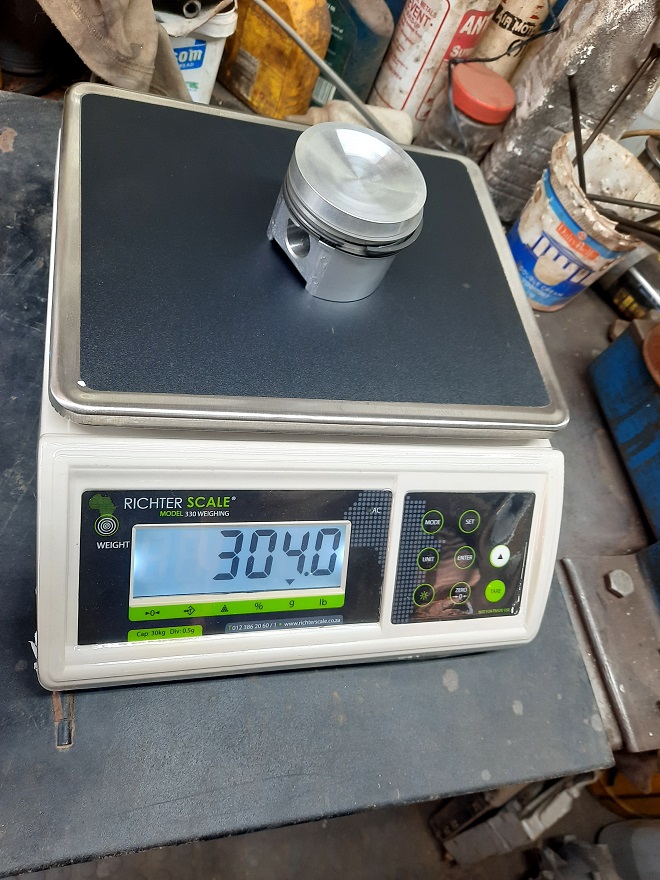
Then onto the cam followers. got them to within 0.5 grams of each other with some hard graft.
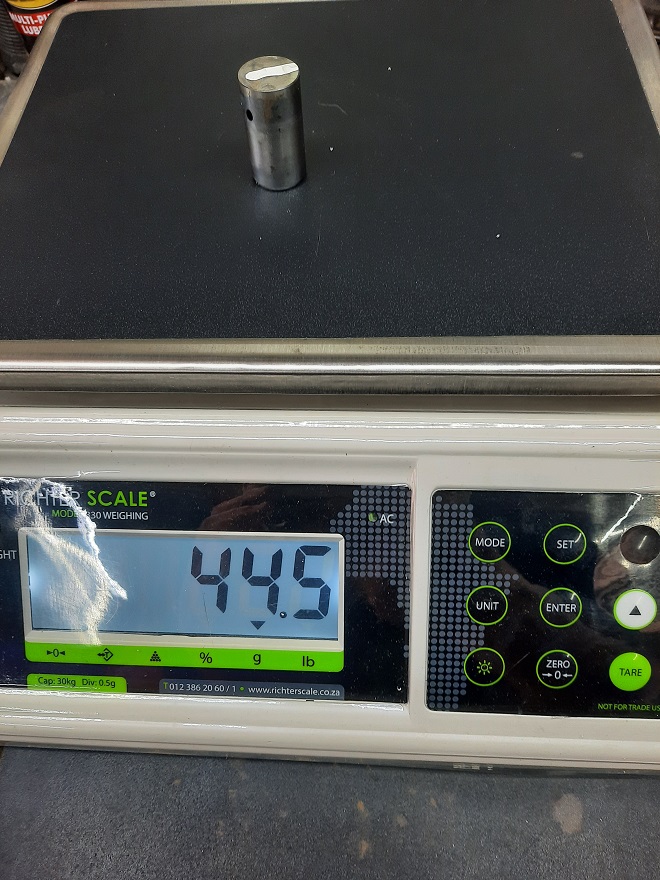
The conrods do not need this treatment as it was done previously.
I am not going to bother with weighing the push rods either.
Own some minis, break them, fix them, improve them, test them to the limit....
![[-]](https://samini.co.za/images/collapse.png) •
•
Posts: 271
Threads: 28
Likes Received: 90 in 61 posts
Likes Given: 0
Joined: Aug 2015
Reputation:
2
Fitted the cam followers with their cam lube from kent cams.
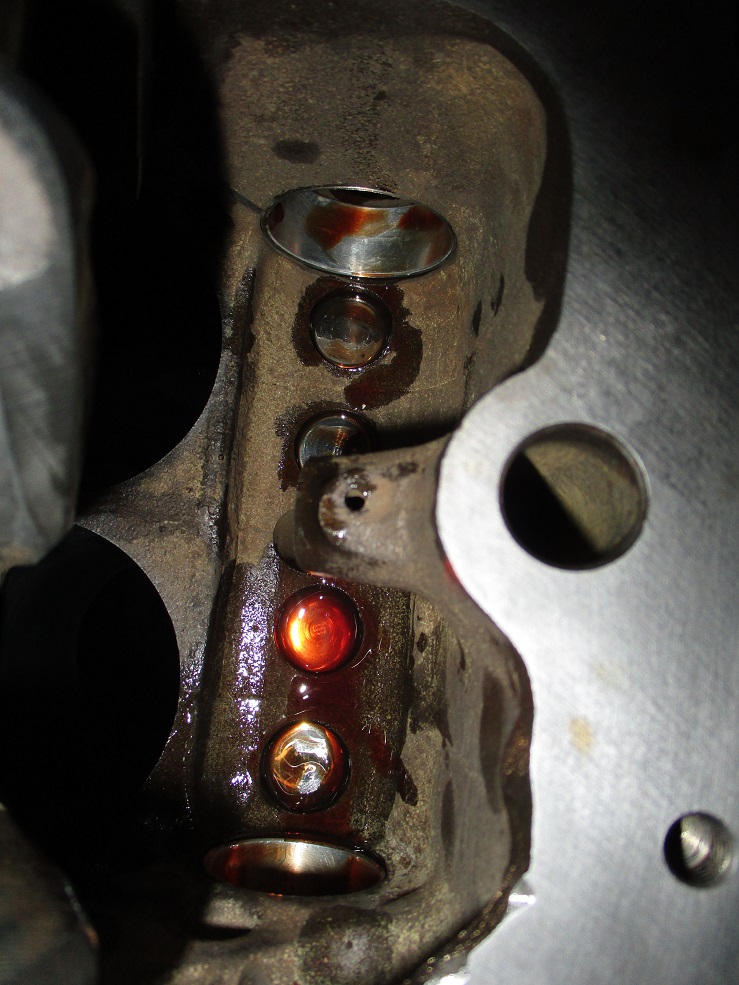
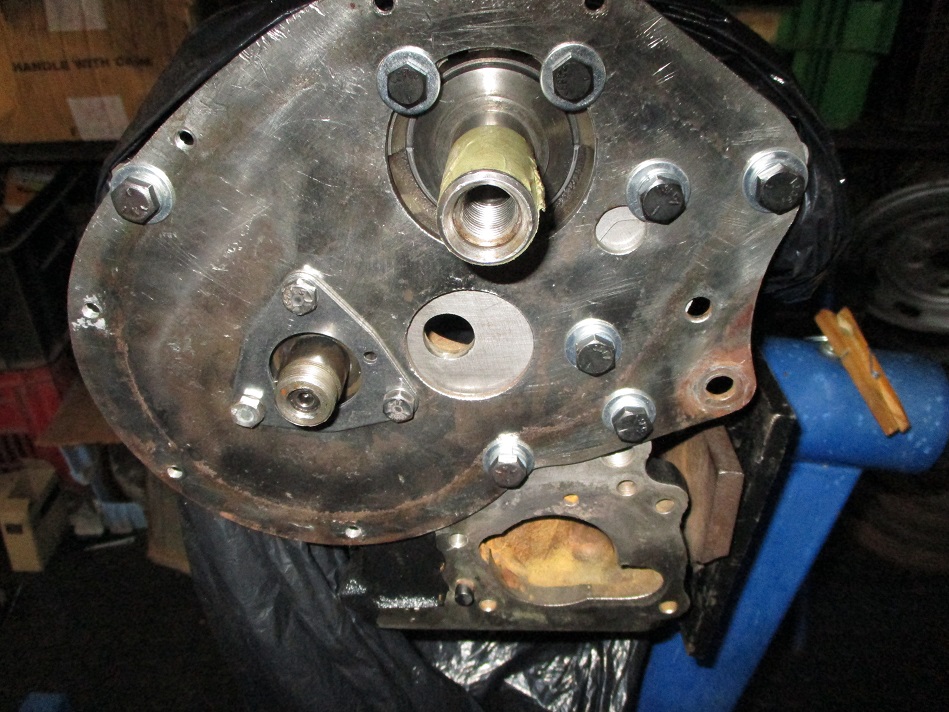
Looked at fitting the earlier timing chain cover and back plate, but instead kept the cover and backplate for the tensioner.
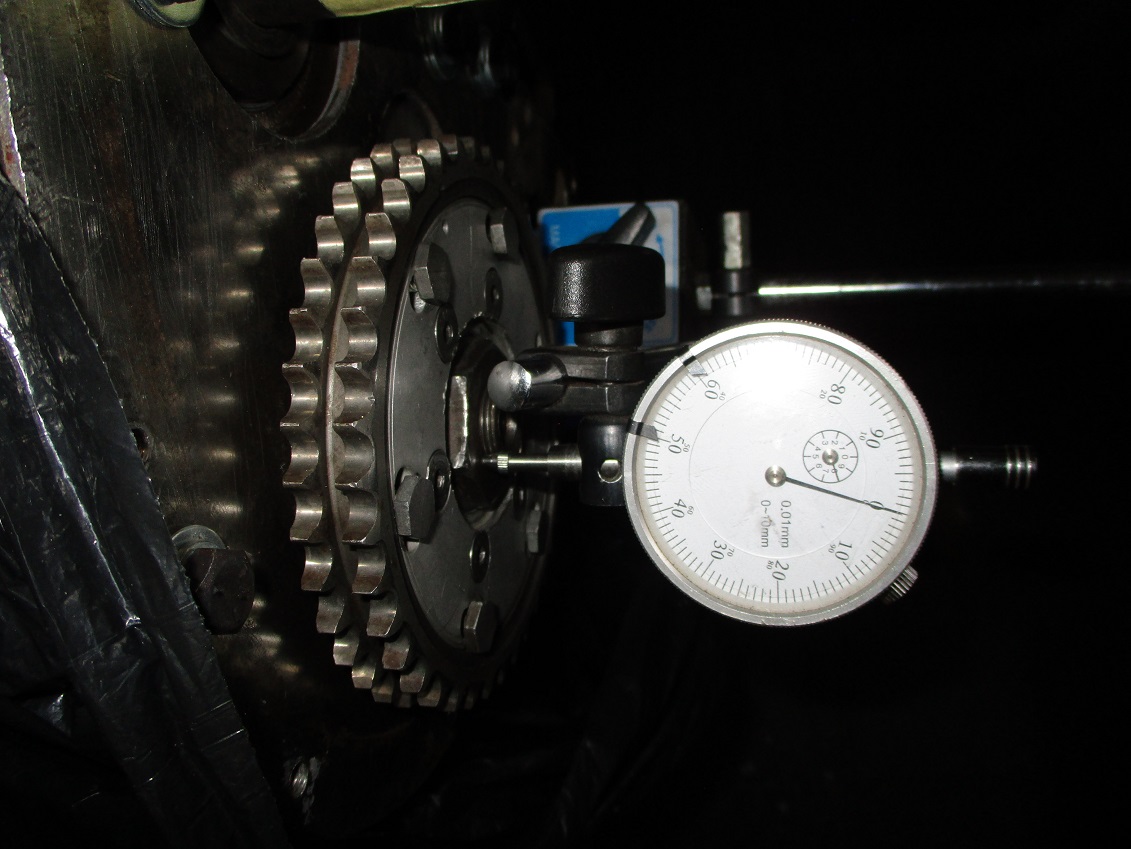
Fitted the backplate with most bolts temporarily to check cam end float, which I have never done before on this engine.
AND YIP the build is coming to a grinding halt, the end float is miles out, so need to have the cam sprocket machined down to get within spec.....
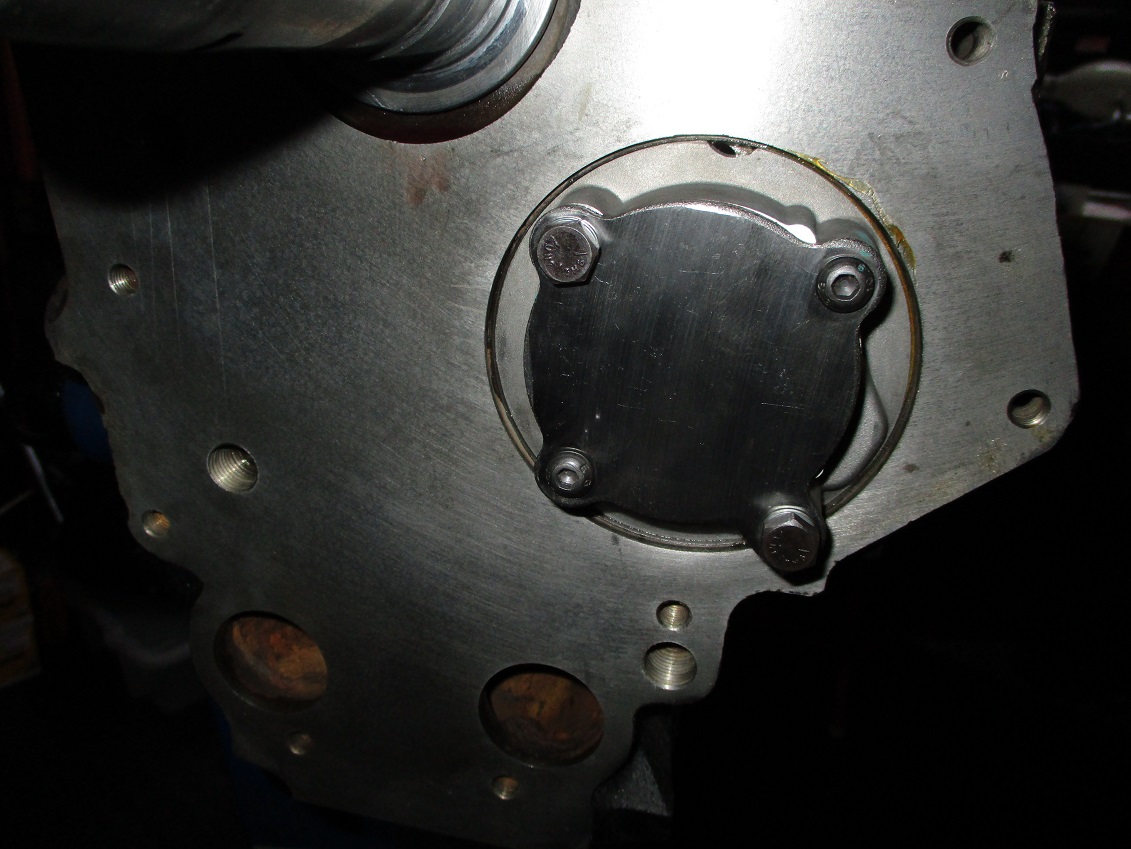
Fitted the oil pump and new gasket on the other side and have to get 1/4 inch longer bolts.
Own some minis, break them, fix them, improve them, test them to the limit....
![[-]](https://samini.co.za/images/collapse.png) •
•
Posts: 271
Threads: 28
Likes Received: 90 in 61 posts
Likes Given: 0
Joined: Aug 2015
Reputation:
2
After having nearly 42 thou machined off the cam sprocket it was within an acceptable end float reading.
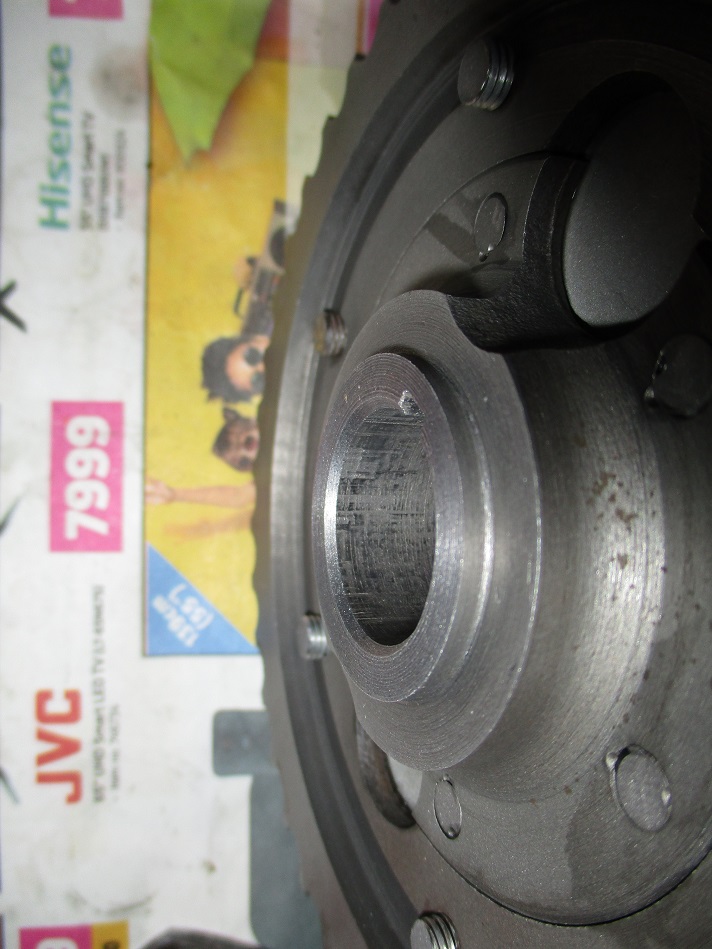
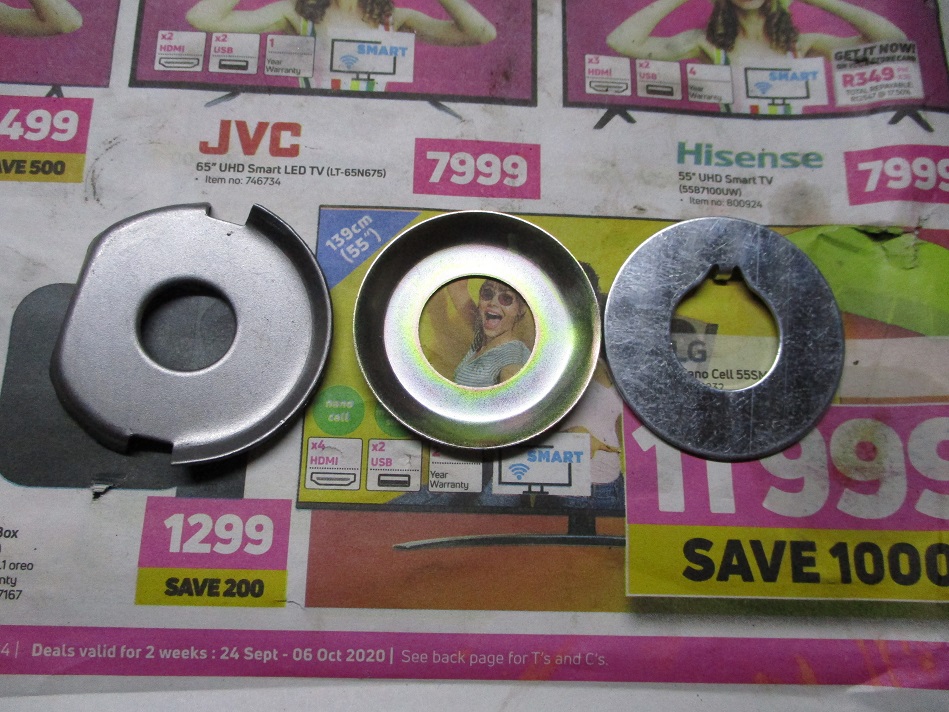
Some new locktabs to get things going.
New gasket for back plate.
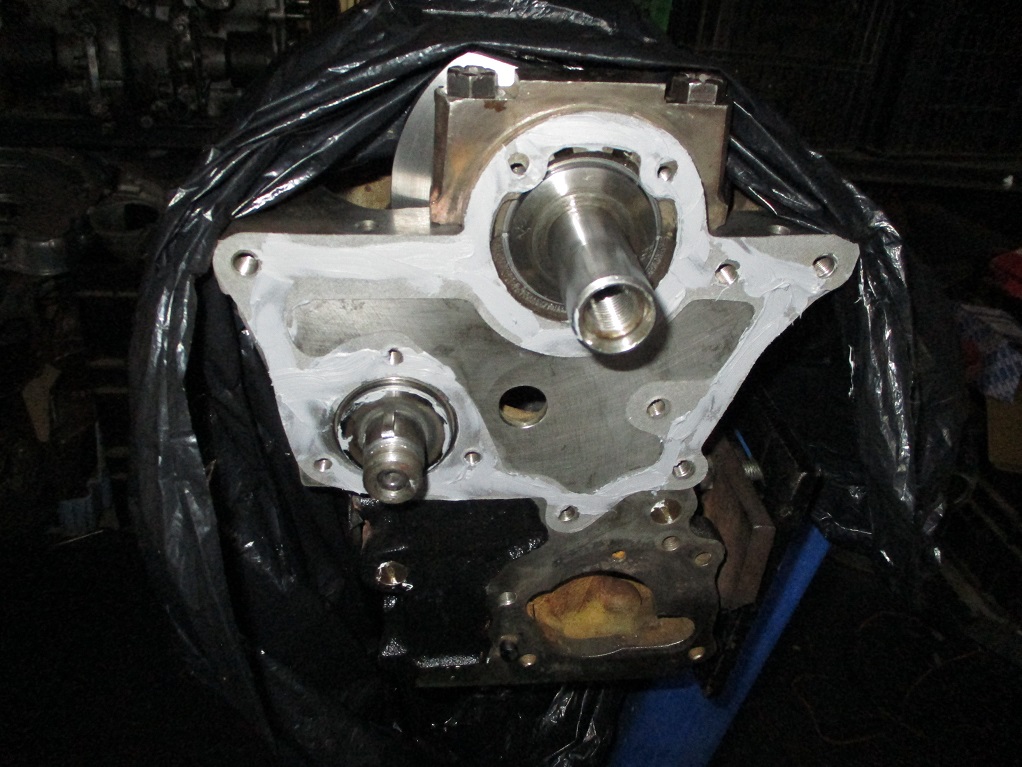
Some thread sealing tape for my brass inserts for the oil galleries.

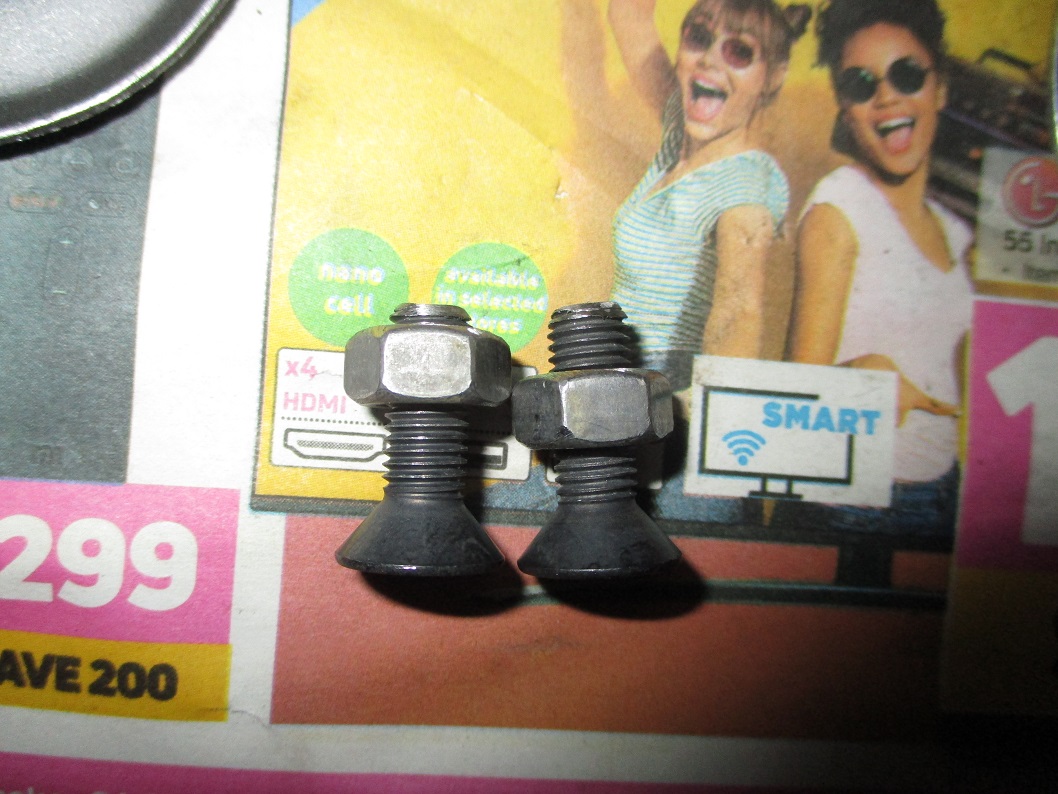
Had take 1/4 inch off these counter sunk nf bolts to work correctly for bottom two bolt holes on back plate.
Upon initial fitment I still had 0.21 or 7 thou cam end float, so I ended up putting some ball joint shims behind the cam locktab, then I got the end float down a very acceptable 5 thou....
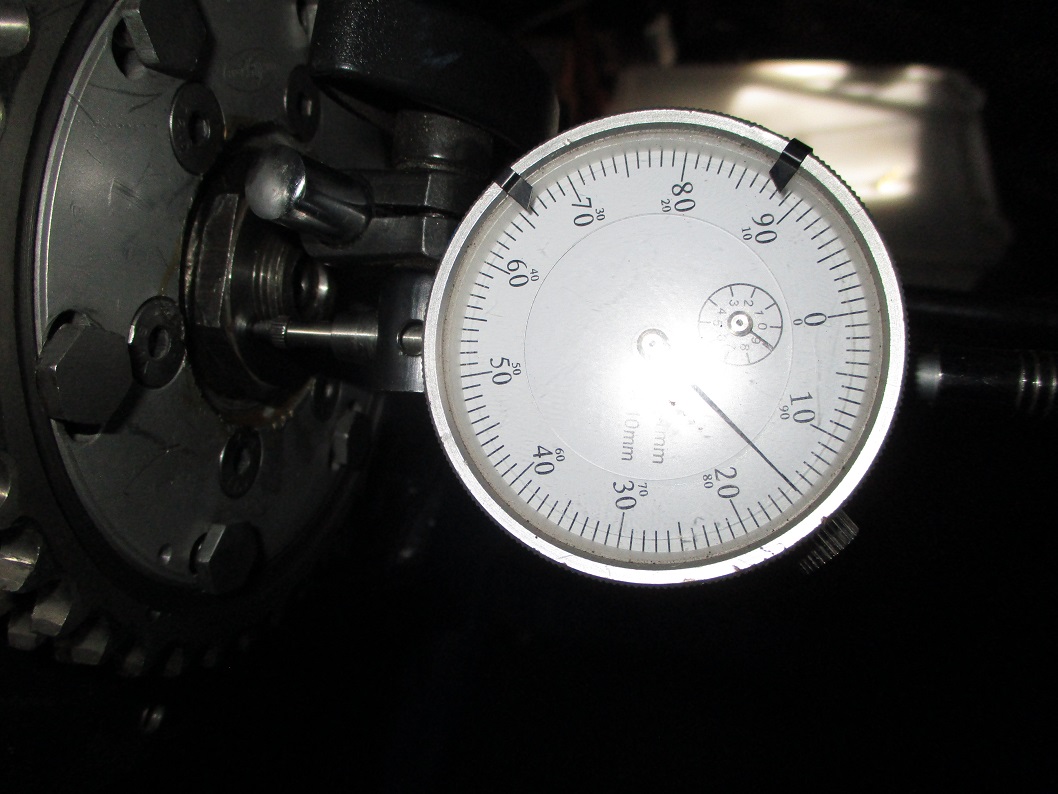
After all this alignment between the two timing gears was checked and is perfect.
Own some minis, break them, fix them, improve them, test them to the limit....
![[-]](https://samini.co.za/images/collapse.png) •
•
Posts: 271
Threads: 28
Likes Received: 90 in 61 posts
Likes Given: 0
Joined: Aug 2015
Reputation:
2
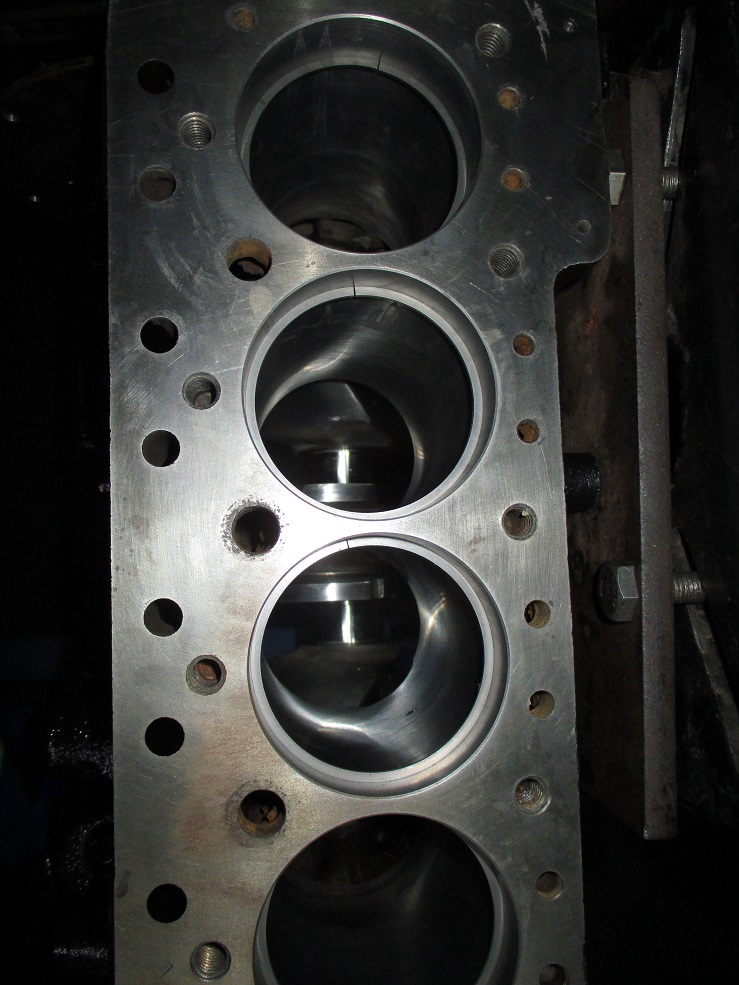
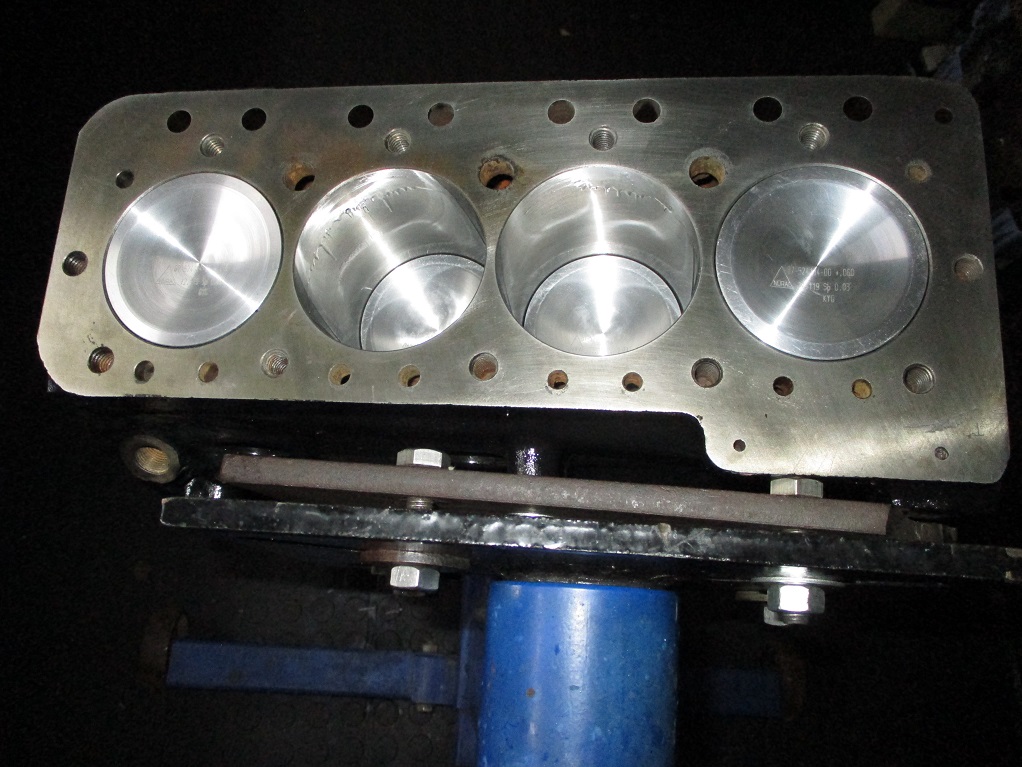
Checking ring gaps for both top compression and 2nd compression rings, which was all exactly the same on all 4 cylinders.
Had to open this little box of goodness....

To get the much needed ARP lube for the conrod ARP bolts....
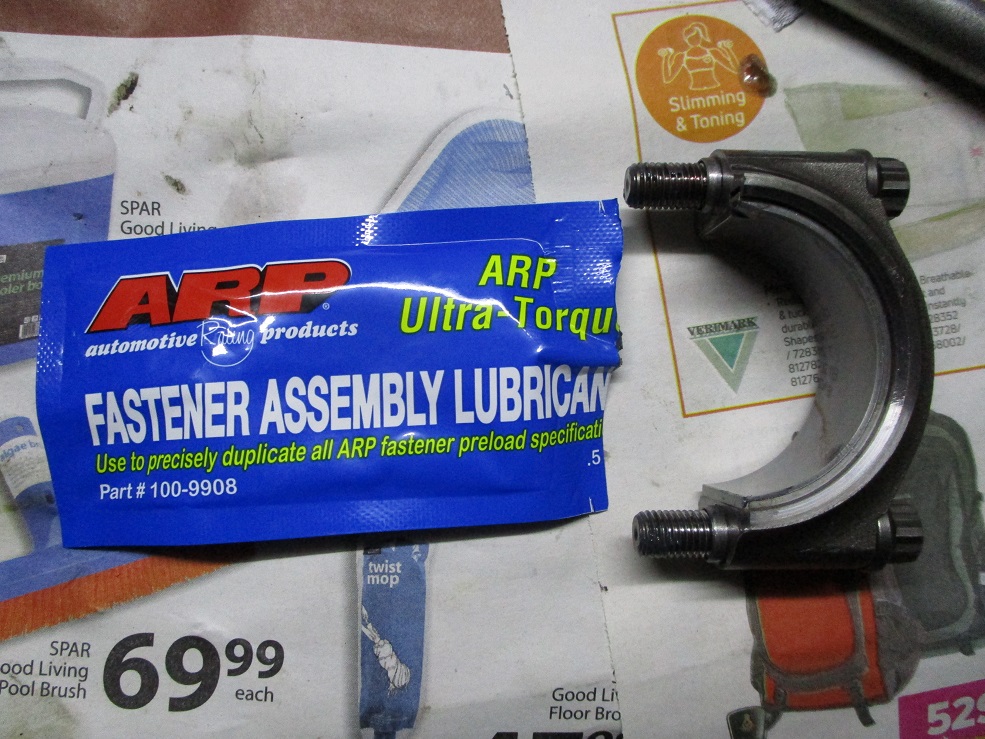
Those who can remember so far back, I had the original power unit rebuilt previously (to my great disappointment) by the engineering shop, so I did not have the torque spec of the ARP bolts anymore, so after some phone calls and research etc, FOR THIS SPECIFIC application with my conrods that I am running the bolts must be torqued to 37 ft/lb. So that is what I did.
All four pistons fitted the correct way around and with the conrods also facing the correct way around....
Own some minis, break them, fix them, improve them, test them to the limit....
Posts: 271
Threads: 28
Likes Received: 90 in 61 posts
Likes Given: 0
Joined: Aug 2015
Reputation:
2
Onto the cam timing.
Finding TDC
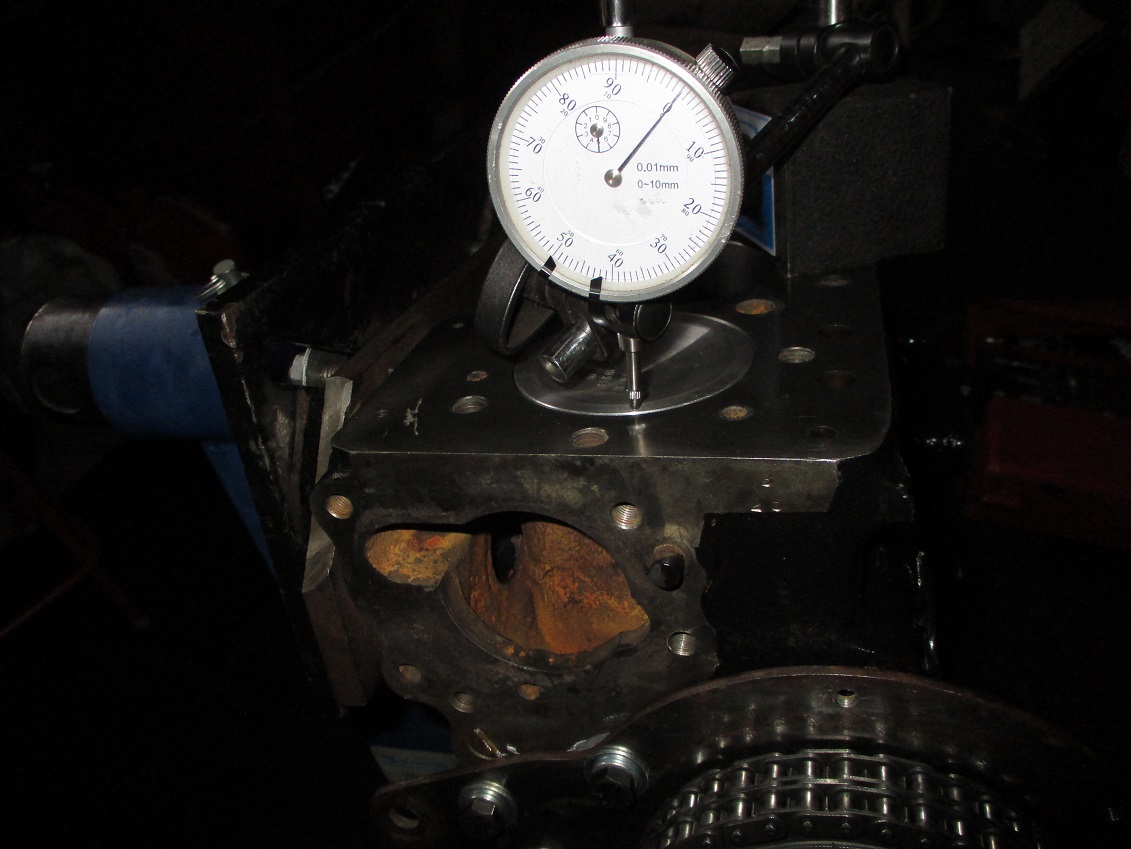
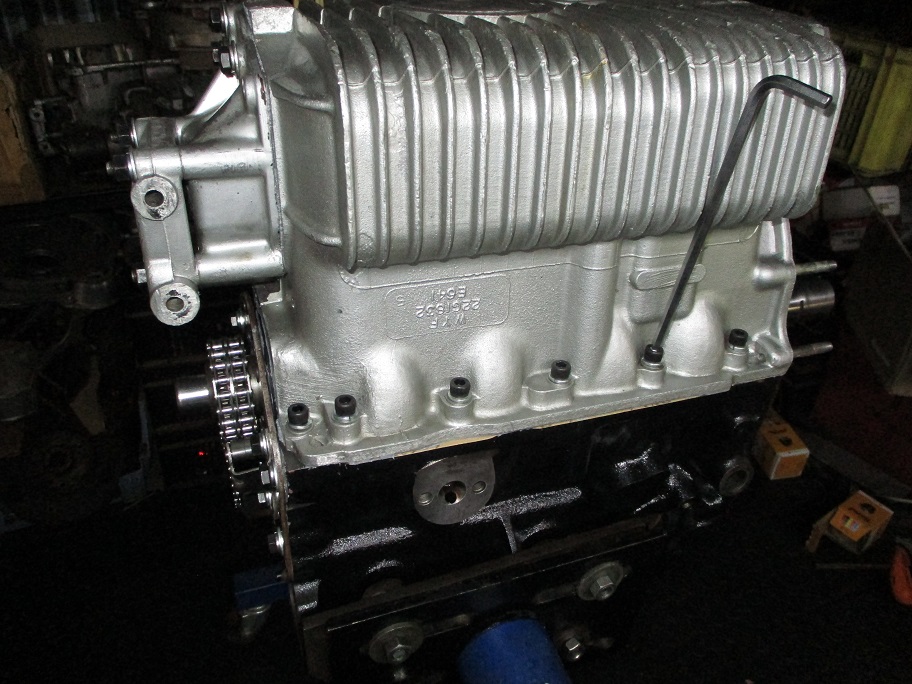
Took some time but got the timing spot on. Next I had to modify the gearbox casing to take the bigger 5/16 bolts. Actually wish I had the MED copper gasket kit for this conversion oh well what I have will have to work.
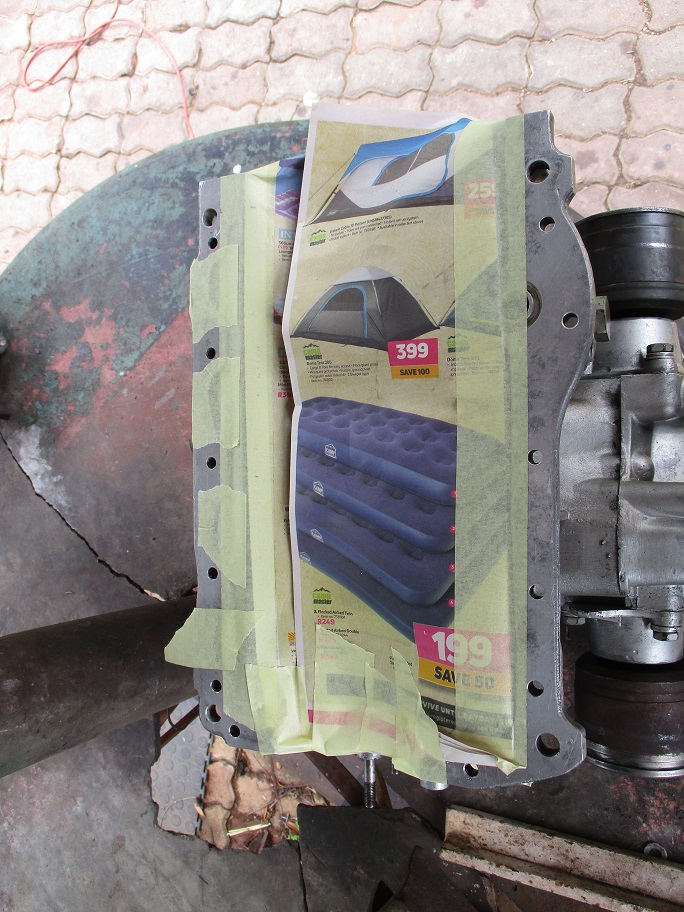
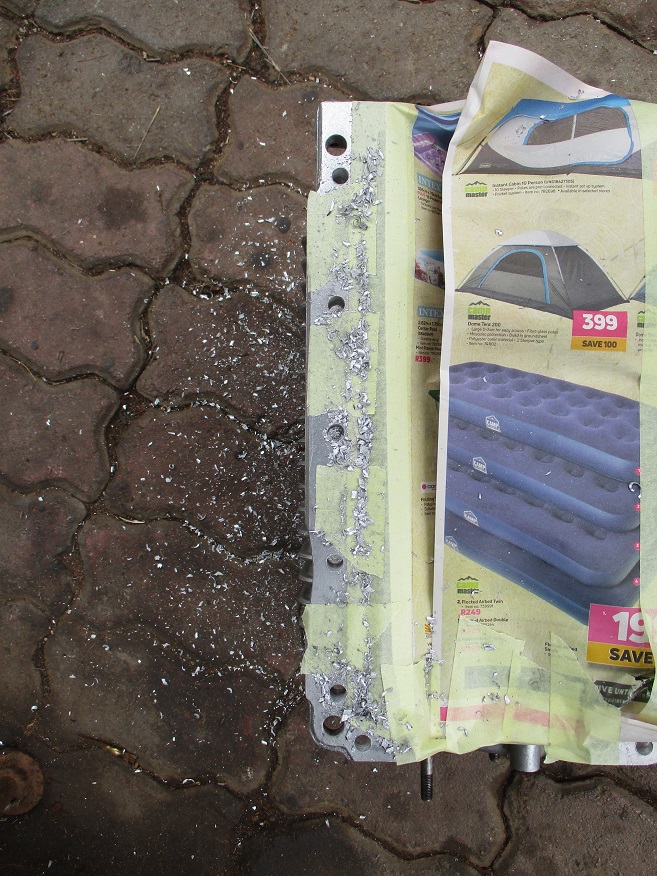
Then when you bolt the gearbox onto the block, now we are cooking.....
Own some minis, break them, fix them, improve them, test them to the limit....
![[-]](https://samini.co.za/images/collapse.png) •
•
Posts: 271
Threads: 28
Likes Received: 90 in 61 posts
Likes Given: 0
Joined: Aug 2015
Reputation:
2
11-07-2020, 04:18 PM
(This post was last modified: 11-07-2020, 04:34 PM by GTSPhil.)
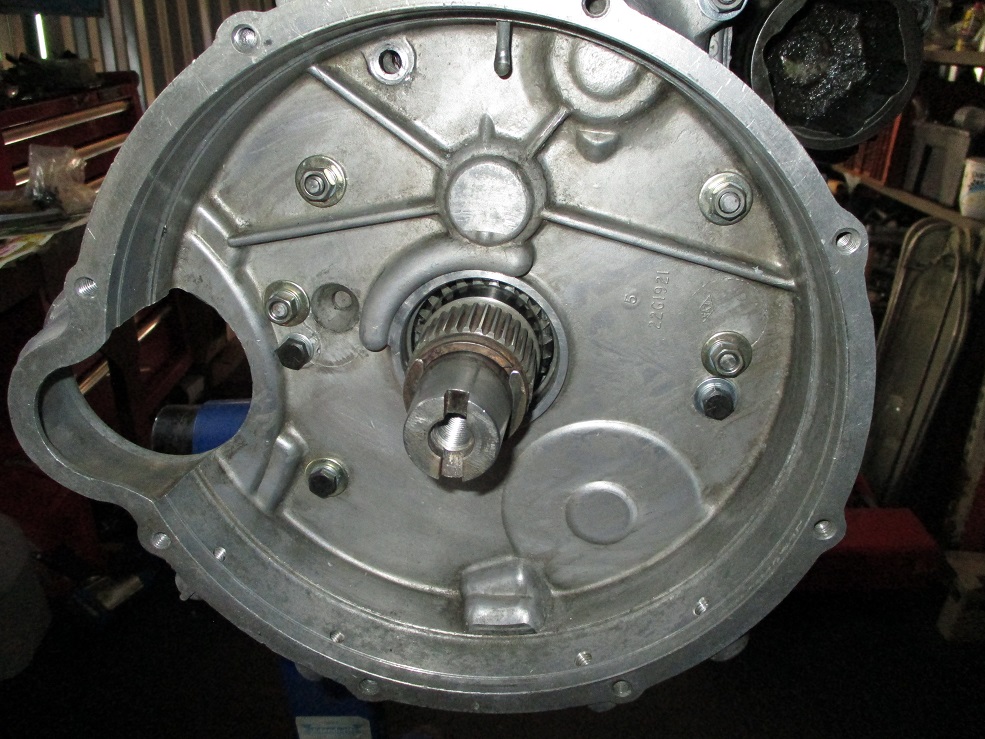
After some measuring, I found that the primary gear thrust washer was the thickest I had, so best I could get end float was this...
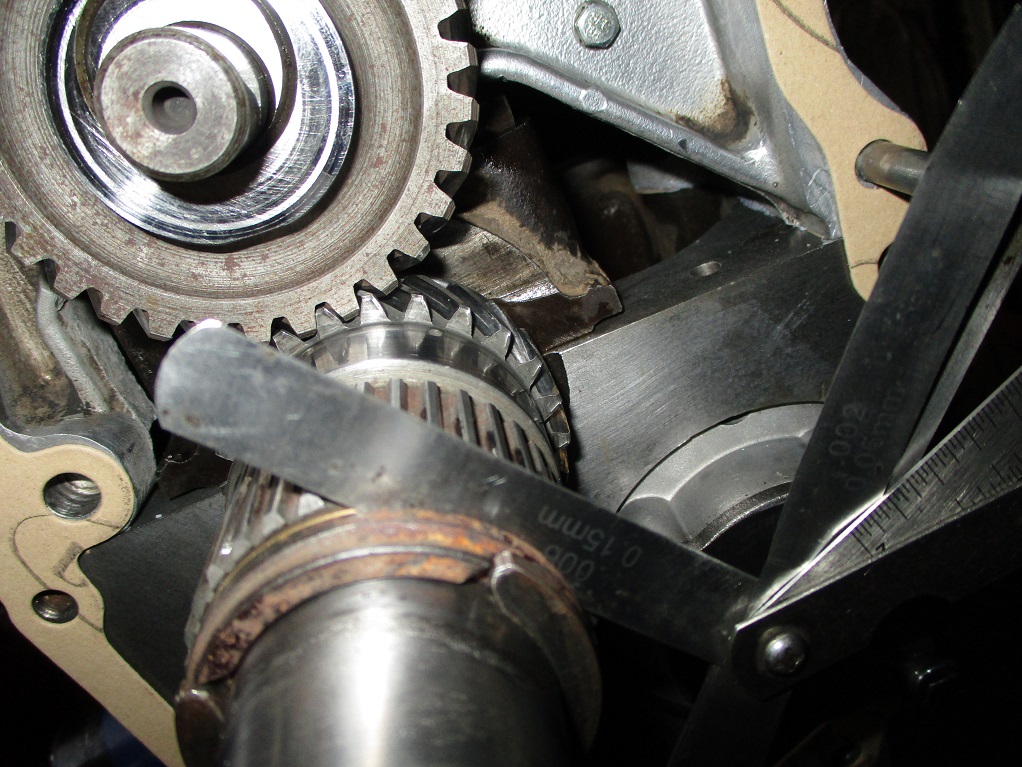
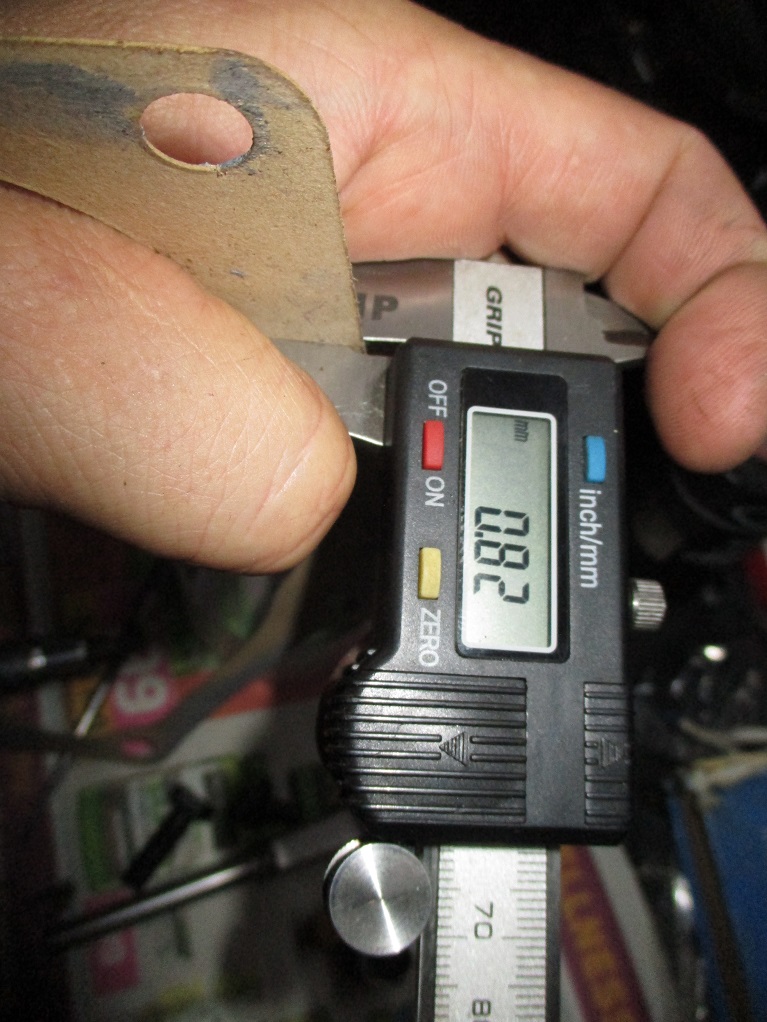
Then when I started to tighten the flywheel housing cover, the damn primary gear stopped turning, so obviously clearance was not enough on the gasket I started with at 0.82 mm for the idler gear.
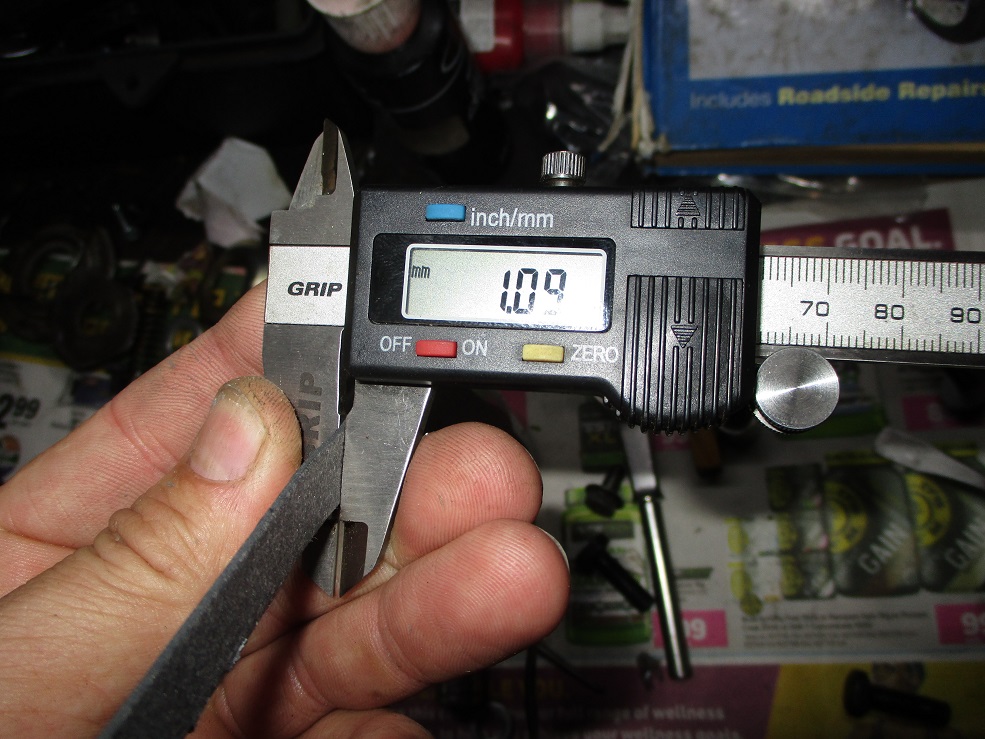
So to the parts bin and I found another make of gasket from a different supplier from a gearbox gasket set at 1.09 mm, so after cleaning mating surfaces, re-applying gasket sealer and trying to tighten again, success.
And some new spring washers and flat washers later.....
Decisions, decisions.... So I have my oil cooler and adapter for GTS clubman type engine block and it's hoses. Clearly the oil filter adapter cannot be used on the GT block, due to this configuration being the same as Cooper S and early type of block.
After some phone calls I found some remote oil filter housings, I wanted to fit these with the oil cooler. So prices ranged from R390 to R1000 for said remote oil filter housings, right then the pipe fittings again would differ from standard mini correct items. I then looked at some pics online and realized that my current oil cooler hoses would have to be remade and nearly 4 times the length depending where the remote oil filter housing is re-located to in the engine bay.
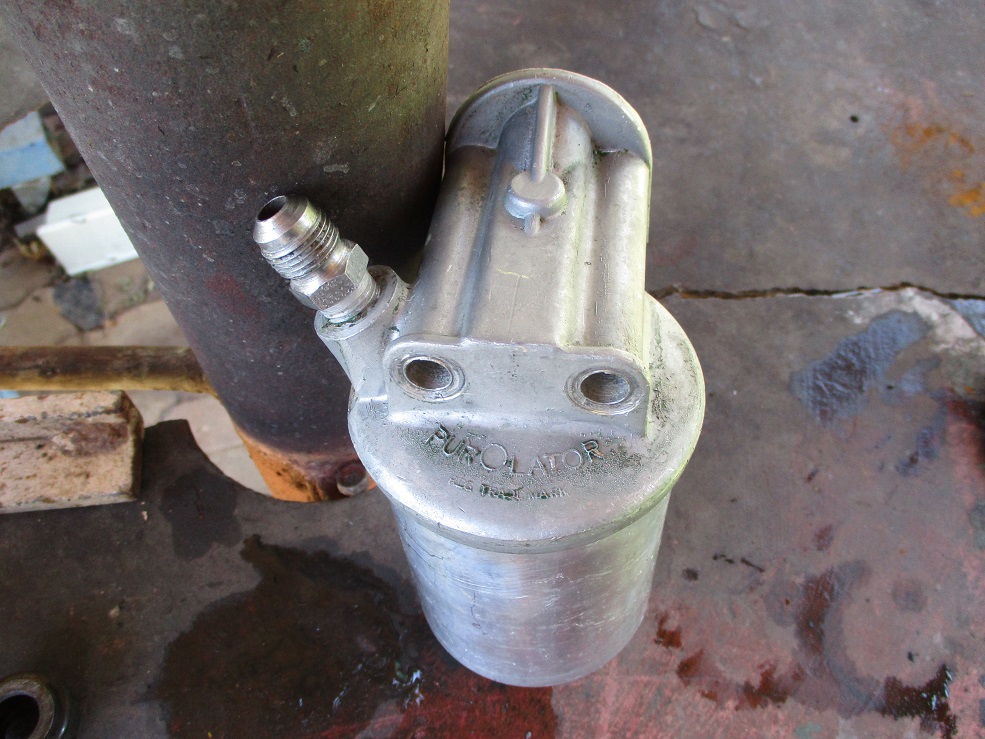
So stuff this. Found two Purolator oil filter housings, opened the first one and it is cracked right where the bolt fits from the bottom and did not have the pressure plate to keep the oil filter cartridge in place.
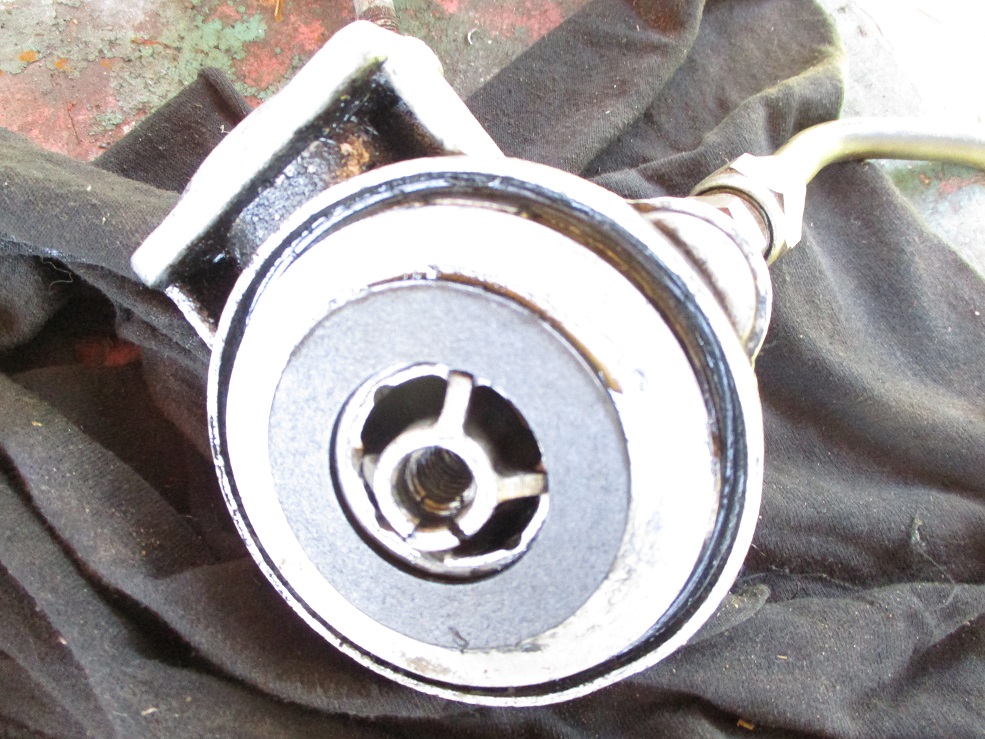
The second one had no bolt and was still painted green.
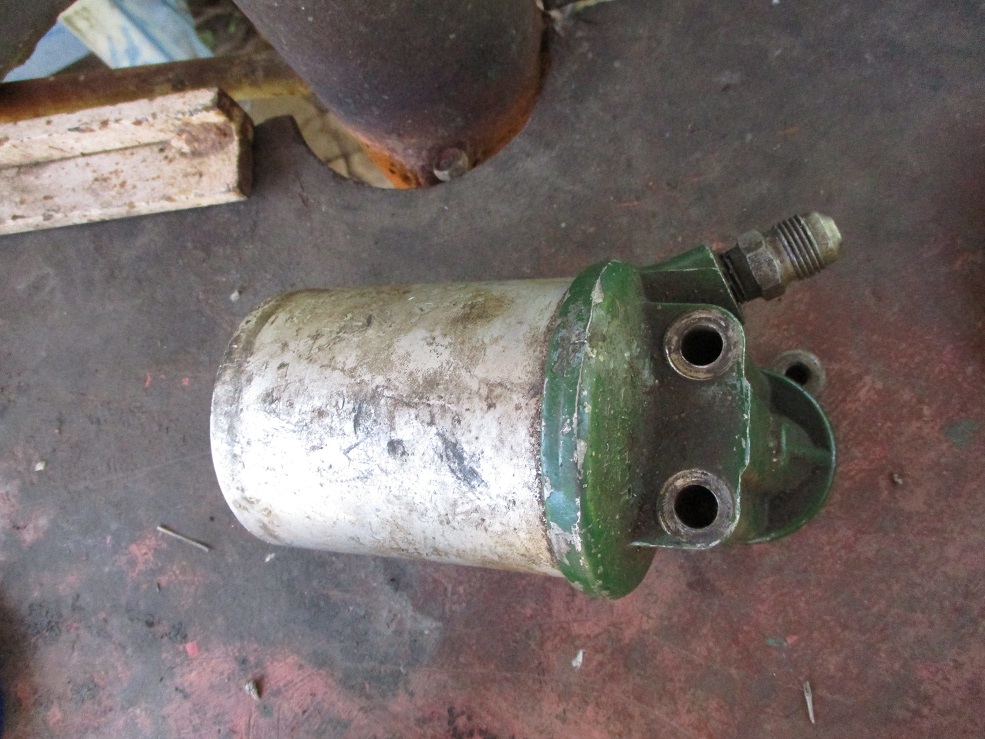
Some paint stripper and cleaning....
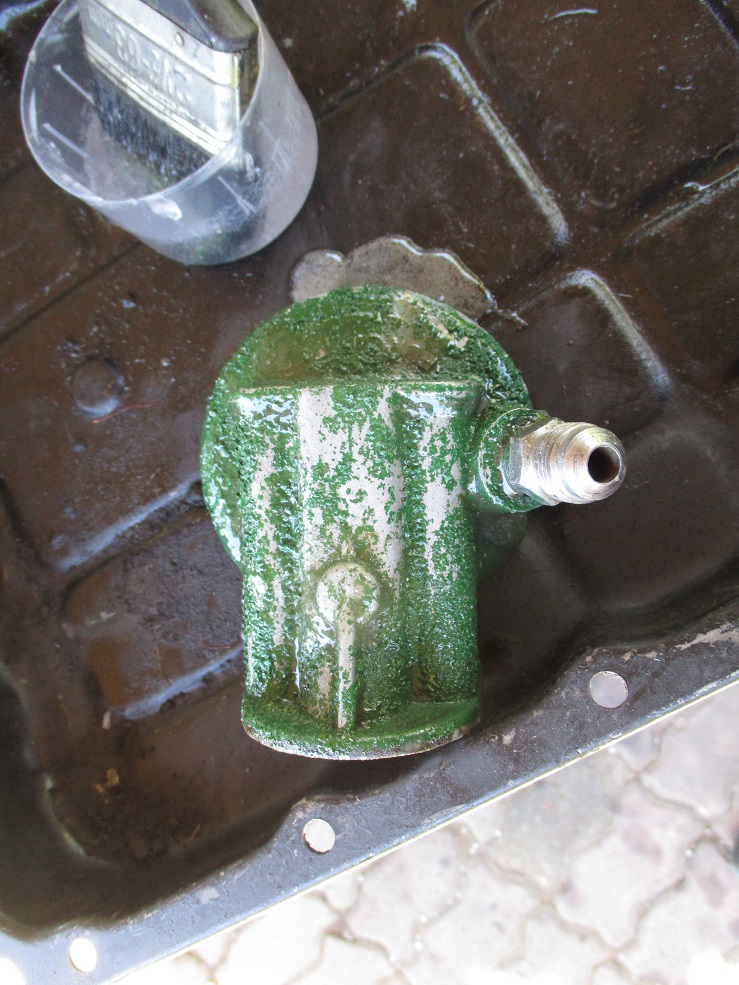
So after cleaning both I can build one good one and YIP you guessed it the current oil cooler and hoses that I have can work and be made to fit the new setup. Also sourced a new filter, but was almost taken for a ride by a local parts supplier wanted to charge 3 times the RRP.
Own some minis, break them, fix them, improve them, test them to the limit....
Posts: 271
Threads: 28
Likes Received: 90 in 61 posts
Likes Given: 0
Joined: Aug 2015
Reputation:
2
On monday this happened....

More parts coming off
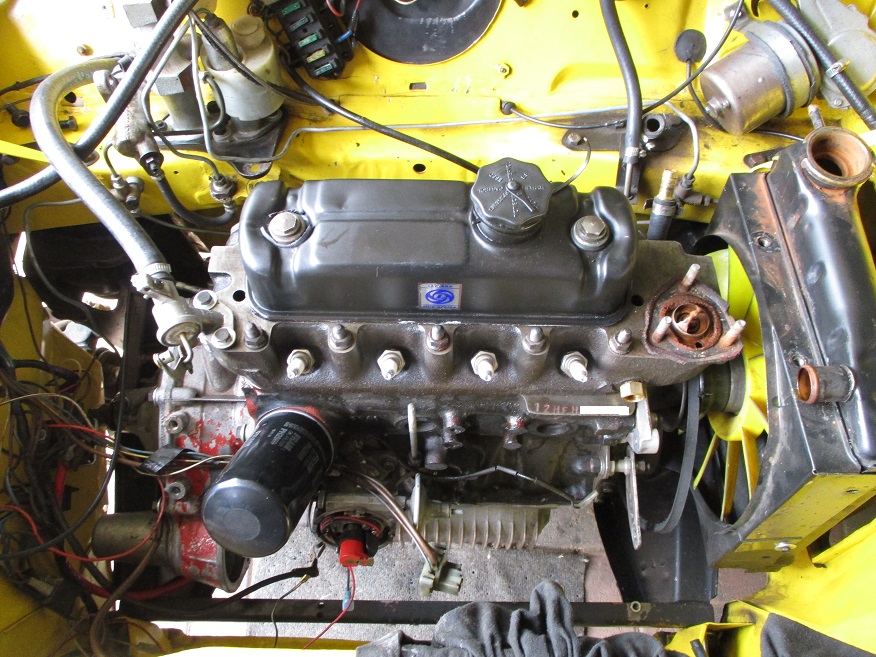
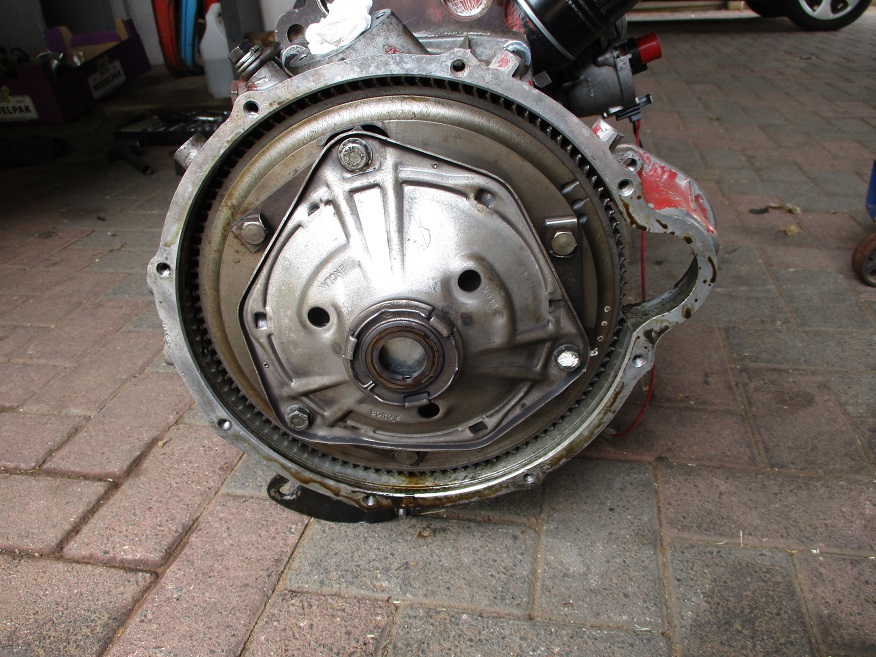
Engine out and the clutch plate and grey diaphragm can be removed from the 1275E engine for the GT engine and standard items fitted to the 1275E engine, which will be going up for sale ASAP.
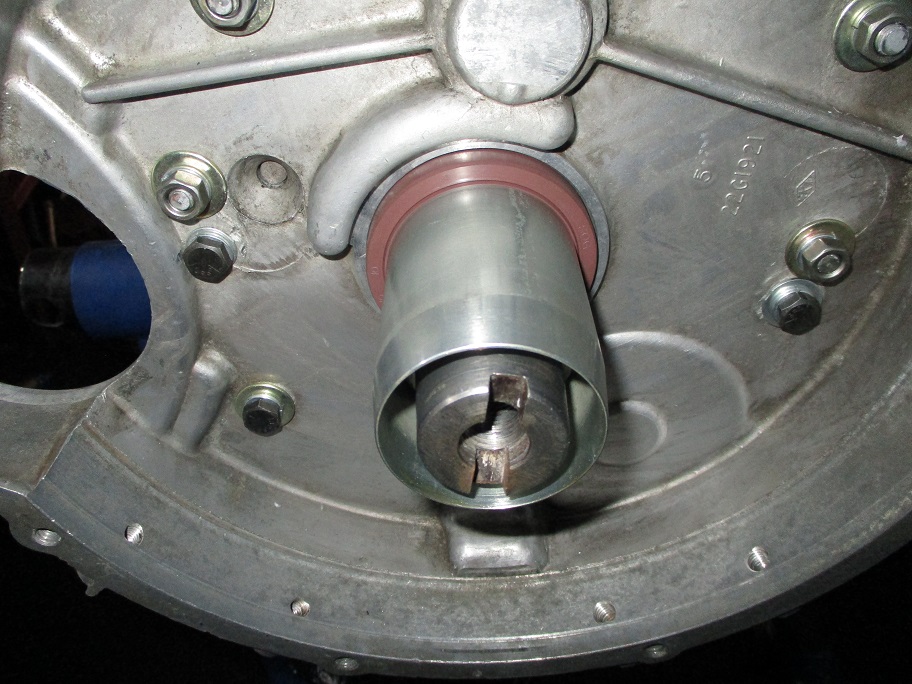
New double lip oil seal to try and keep oil off the clutch....
Finally new copper washers for the banjo bolt for the oil feed.
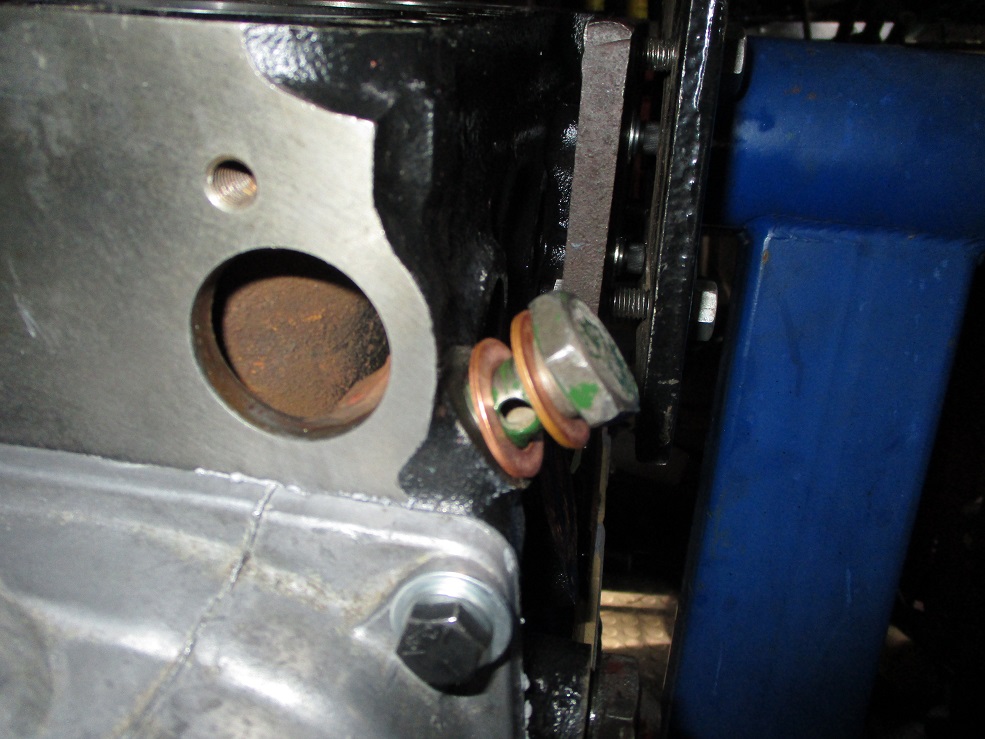
Own some minis, break them, fix them, improve them, test them to the limit....
![[-]](https://samini.co.za/images/collapse.png) •
•
Posts: 271
Threads: 28
Likes Received: 90 in 61 posts
Likes Given: 0
Joined: Aug 2015
Reputation:
2
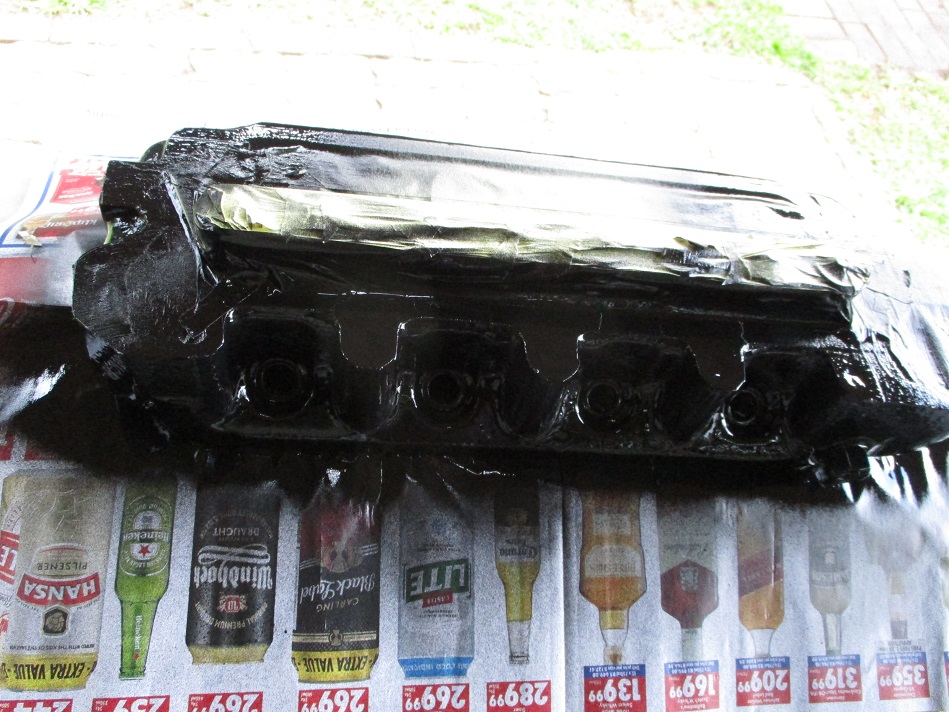
After a serious scrubbing session on the head. I cleaned the threads up for the thermostat housing and inlet/exhaust studs.
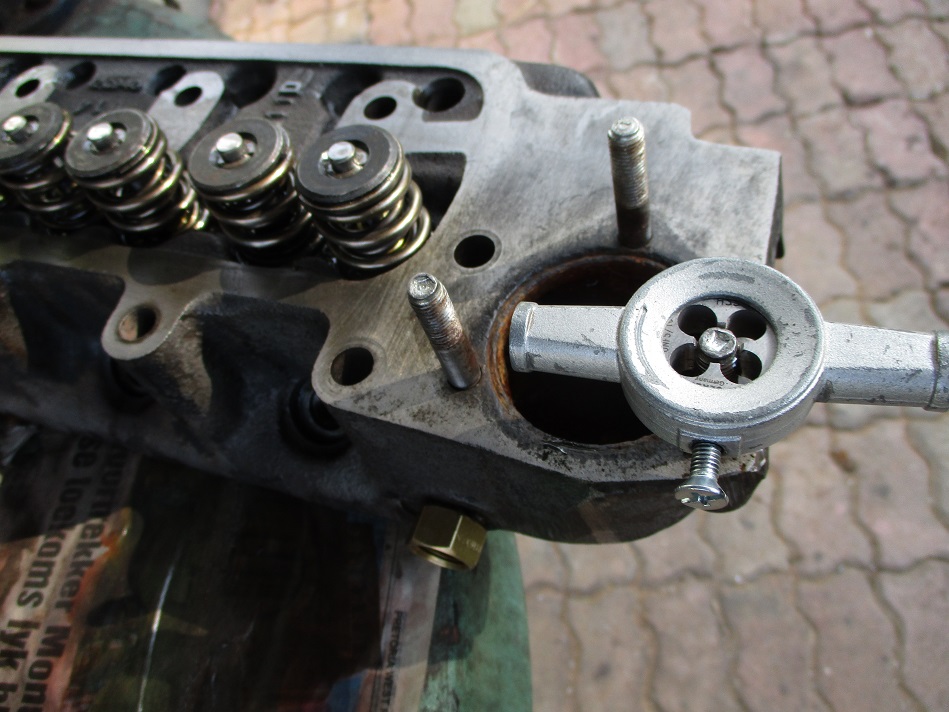
All masked up for some paint.
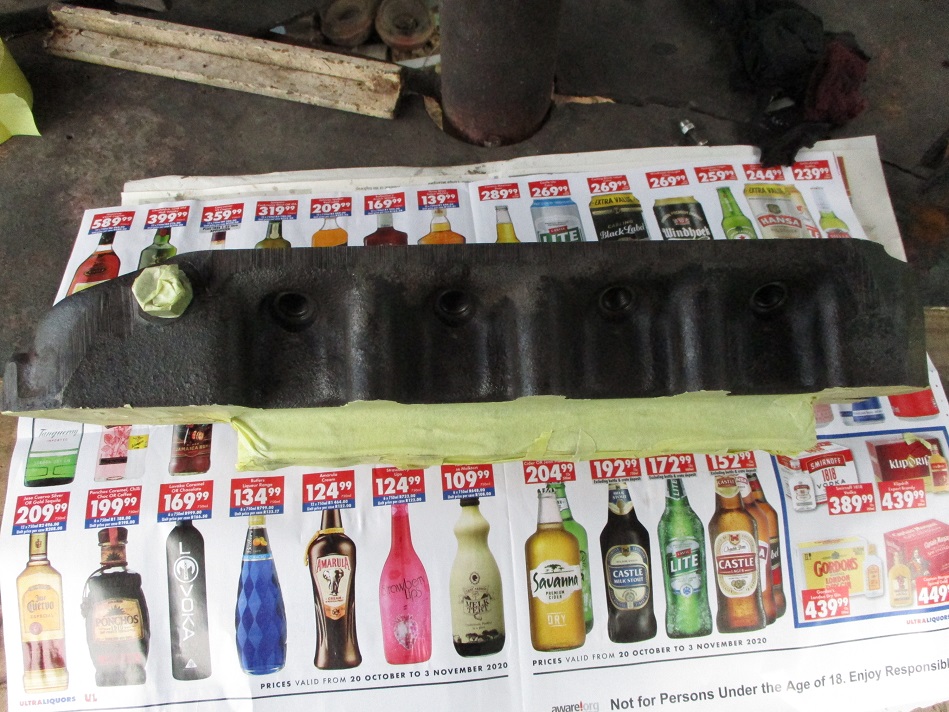
First coat from the back.
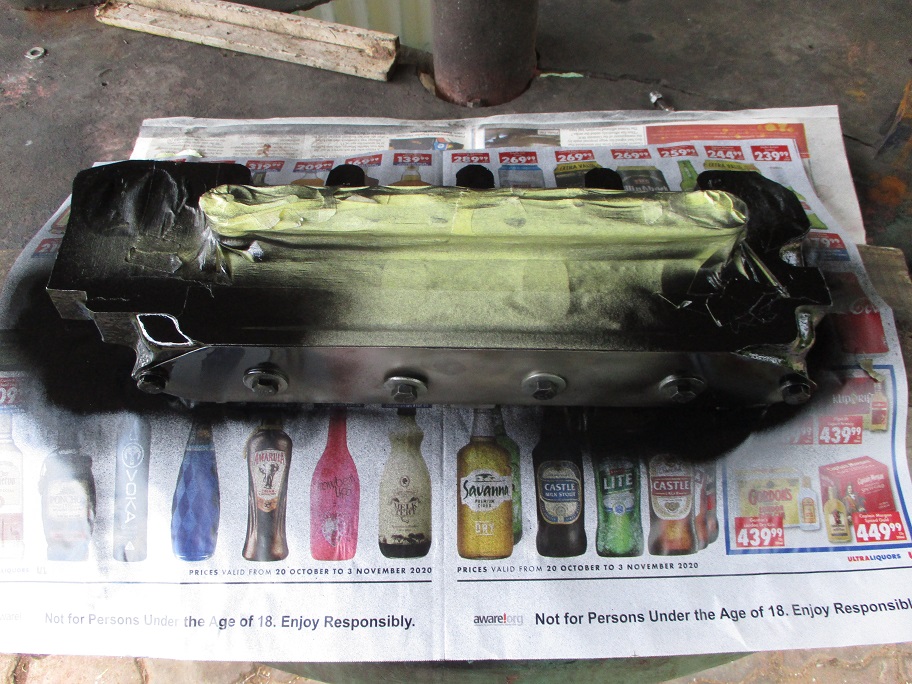
Front side after 2 coats.
Own some minis, break them, fix them, improve them, test them to the limit....
Posts: 271
Threads: 28
Likes Received: 90 in 61 posts
Likes Given: 0
Joined: Aug 2015
Reputation:
2
11-13-2020, 06:45 PM
(This post was last modified: 11-13-2020, 06:55 PM by GTSPhil.)
Some ARP goodness
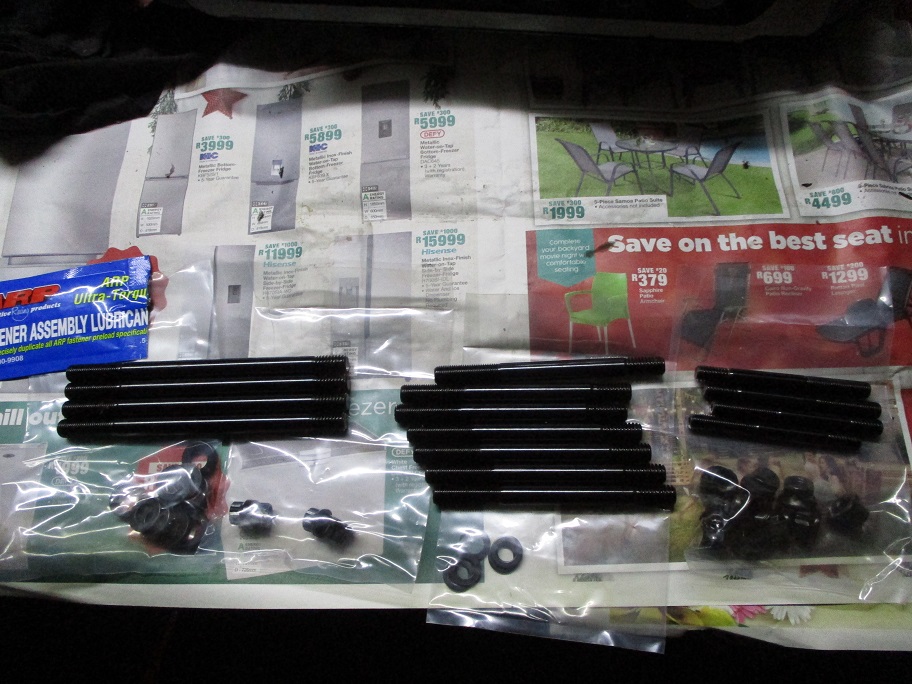
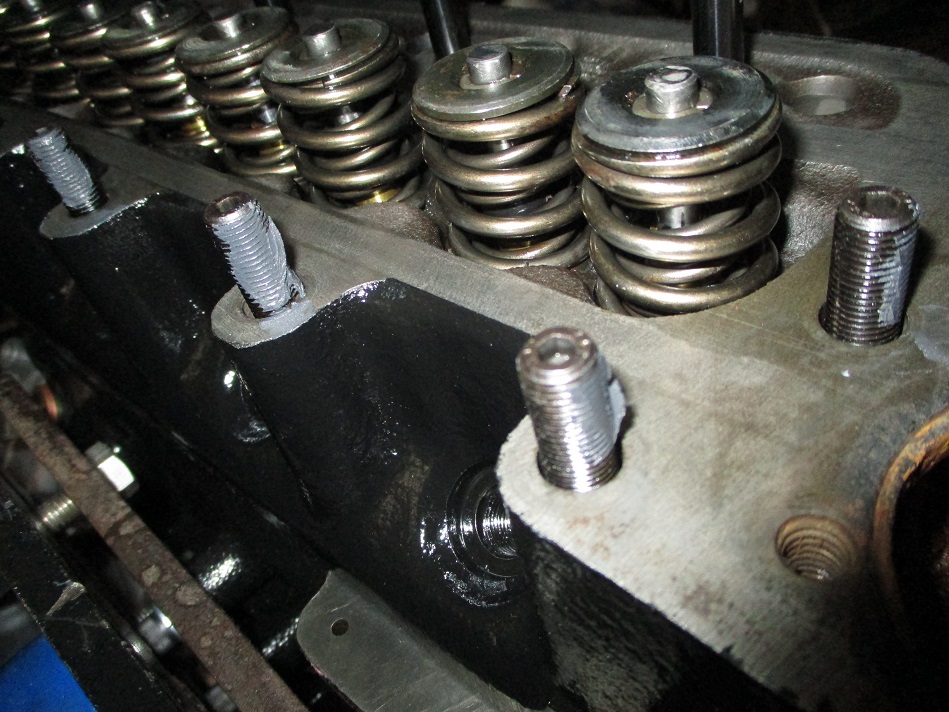
Had to chamfer the stud holes some to ensure no problems on assembly
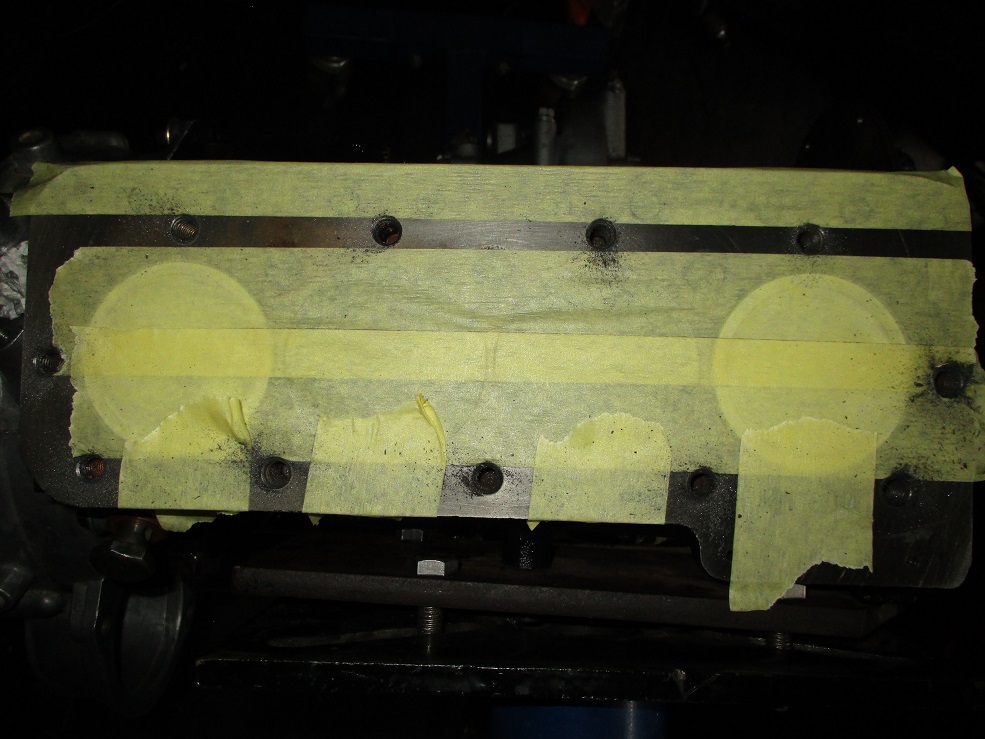
Studs fitted with head gasket
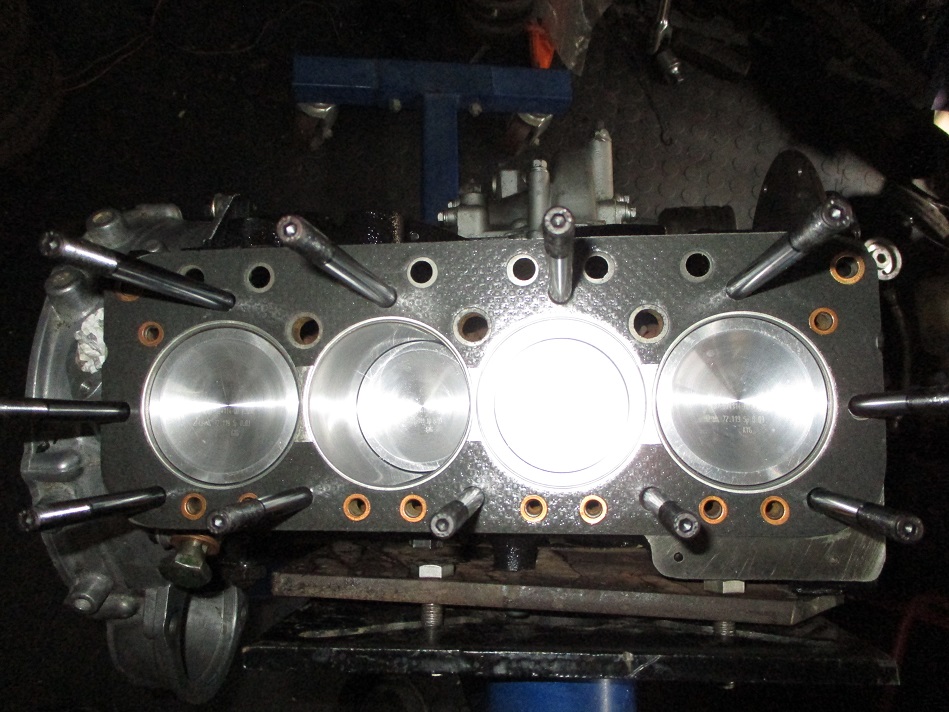
Head fitted and studs smeared with ARP ULTRA TORQUE LUBE then washers and nuts also lubed up.
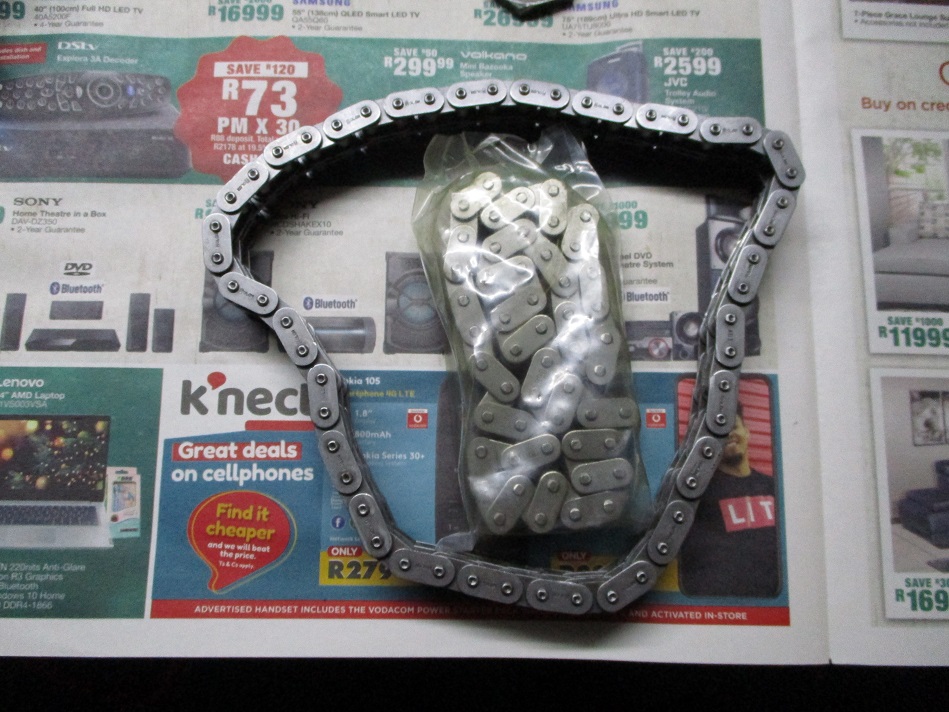
Rather opted for a new timing chain.
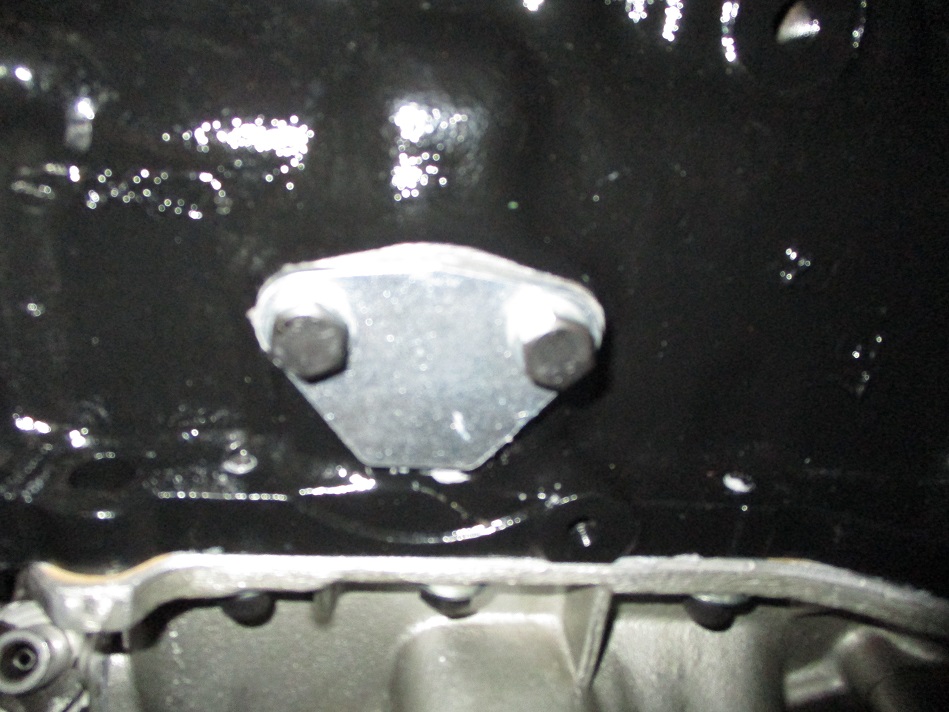
New fuel pump blanking plate.
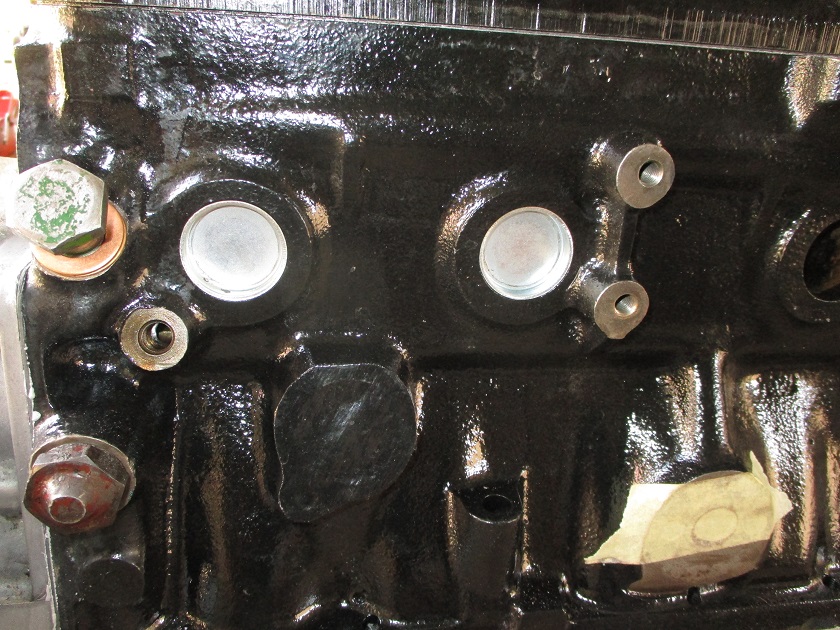
Then I removed the engine off the engine stand and put it on the paving to do final fitment of items before fitment.
New welch plugs, BUT I am one short, darn.
Clutch assembly fitted with new bolt and lock tab.
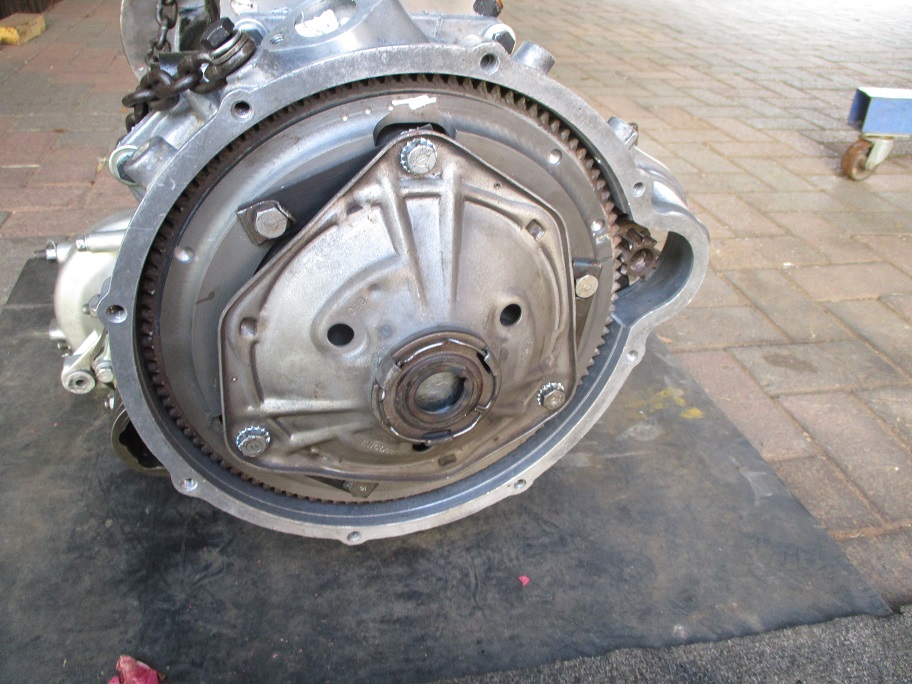
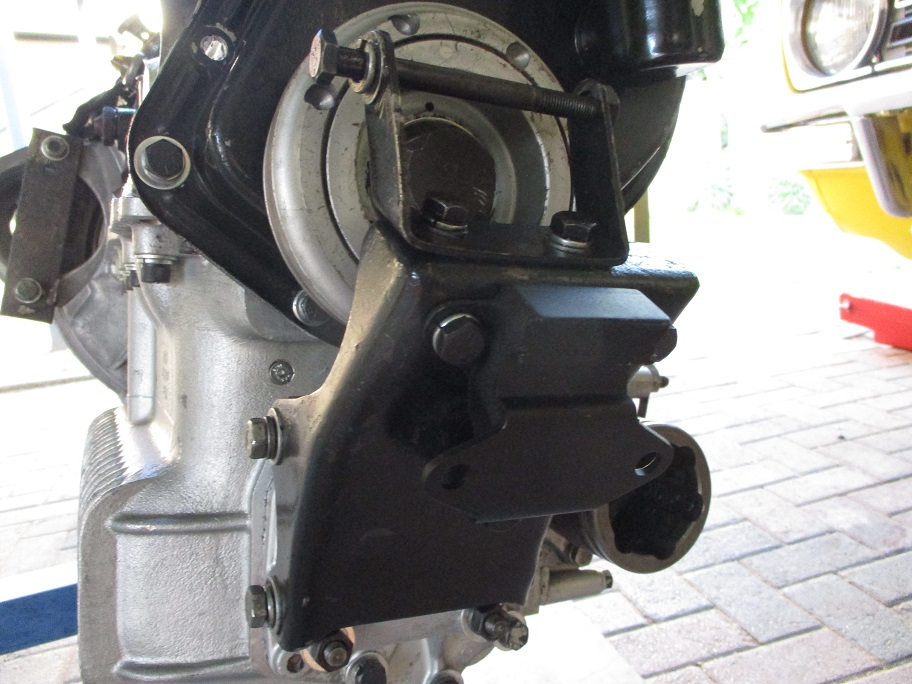
Timing cover got a new gasket and new bolts washers etc. Crank pulley same with new lock tab. I then fitted the lh engine mount with a new engine mounting.
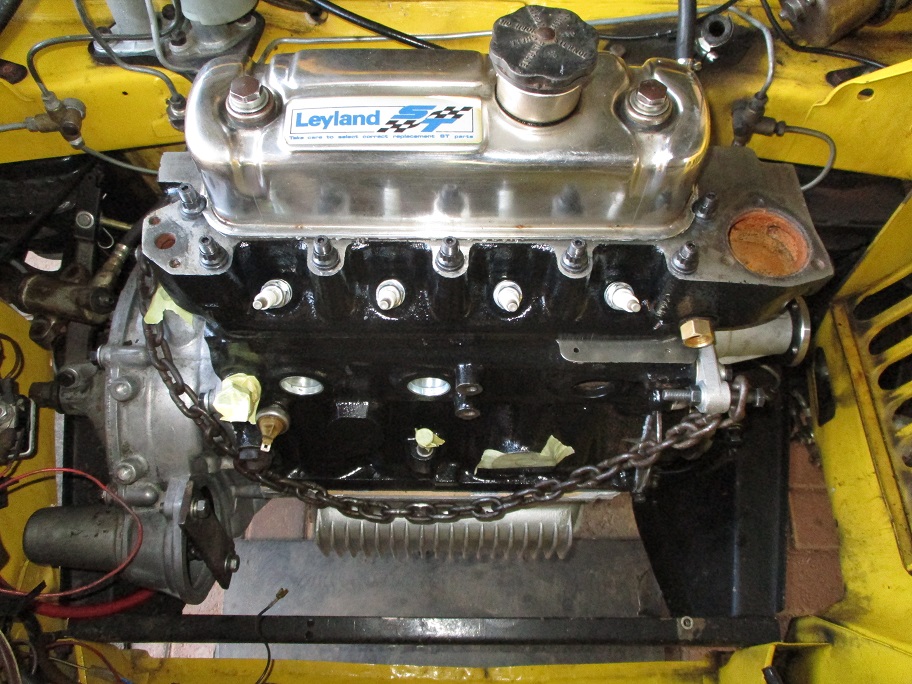
The finally into it's new home it went. Need to fit some more bits and bobs, but engine is in.
Own some minis, break them, fix them, improve them, test them to the limit....
![[-]](https://samini.co.za/images/collapse.png) •
•
|


![[-]](https://samini.co.za/images/collapse.png)