Posts: 271
Threads: 28
Likes Received: 90 in 61 posts
Likes Given: 0
Joined: Aug 2015
Reputation:
2
Fitted the studs and gasket for oil filter housing
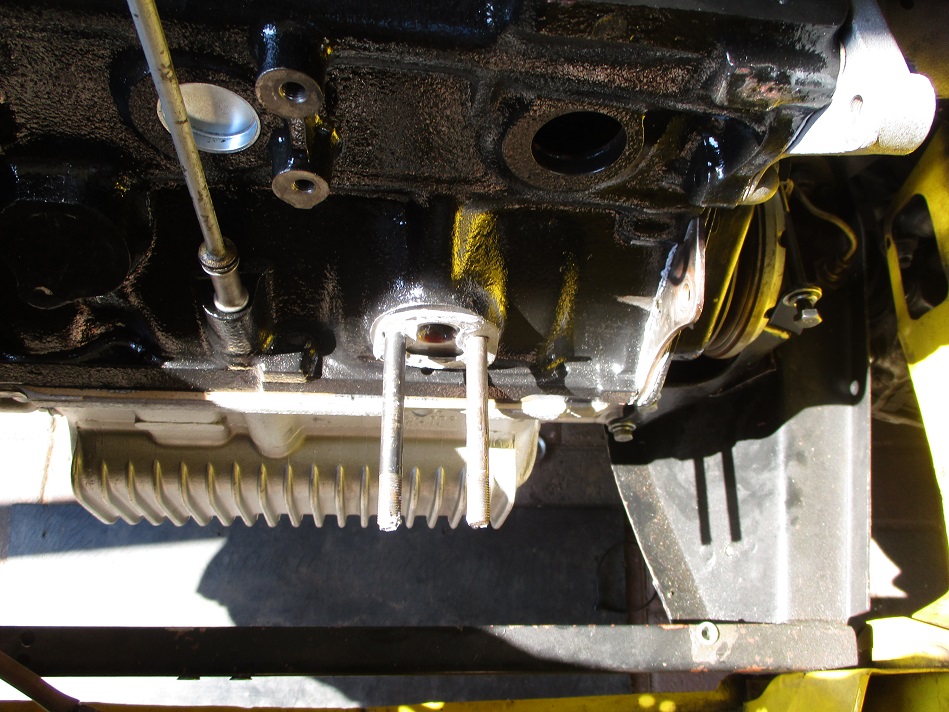
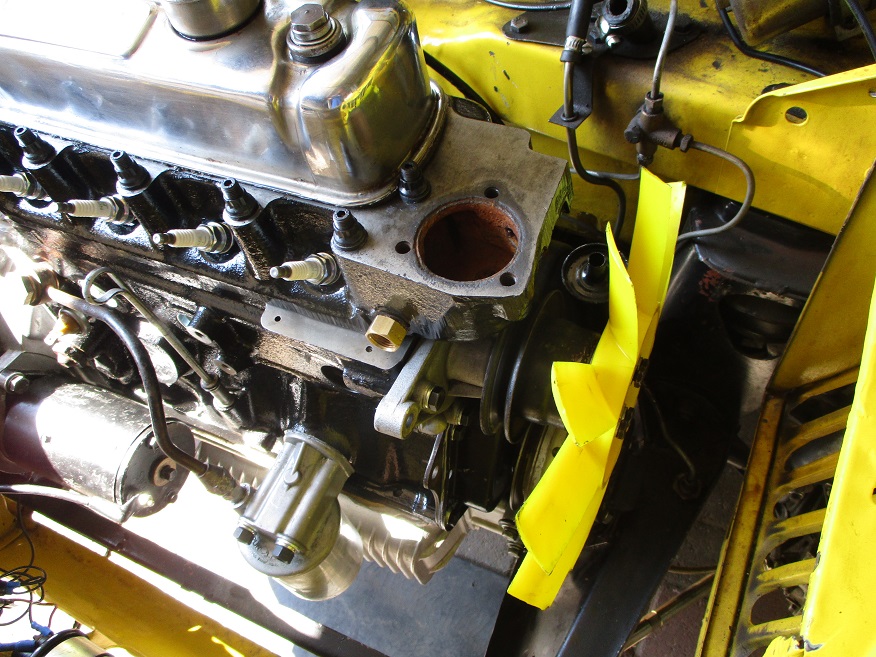
Next filter housing fitted with feeder tube. Starter and cooling fan and pulley.
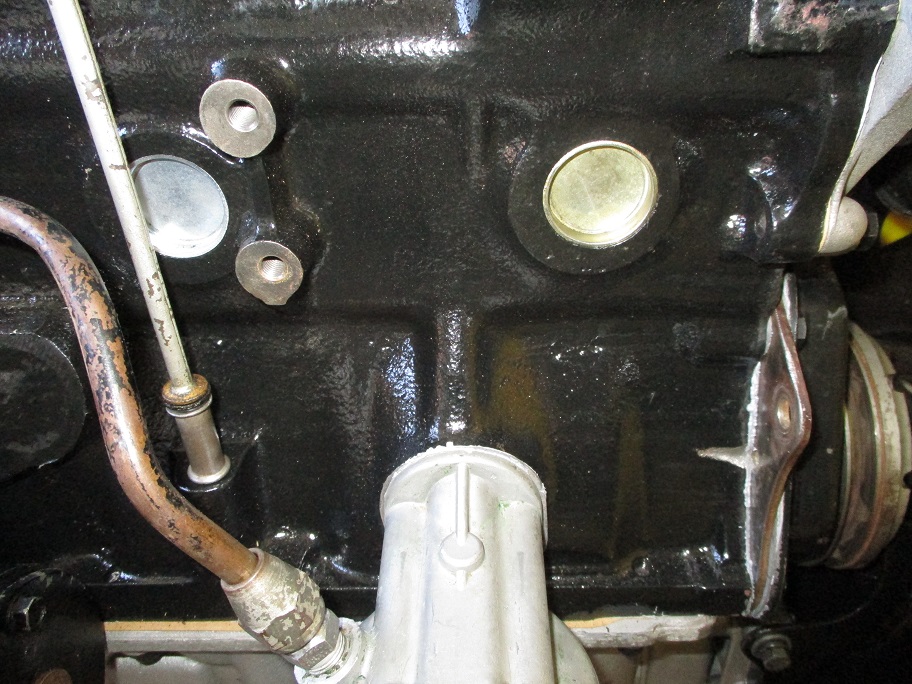
Sourced and fitted missing welch plug.
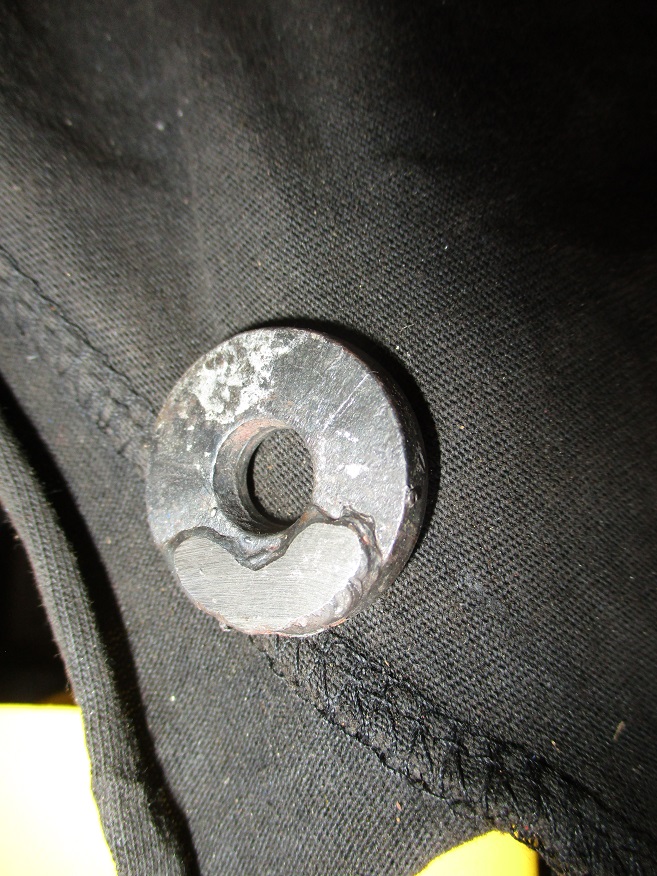
Due to size differences in the LCB flange and inlet manifold flange, I had to resort to this....
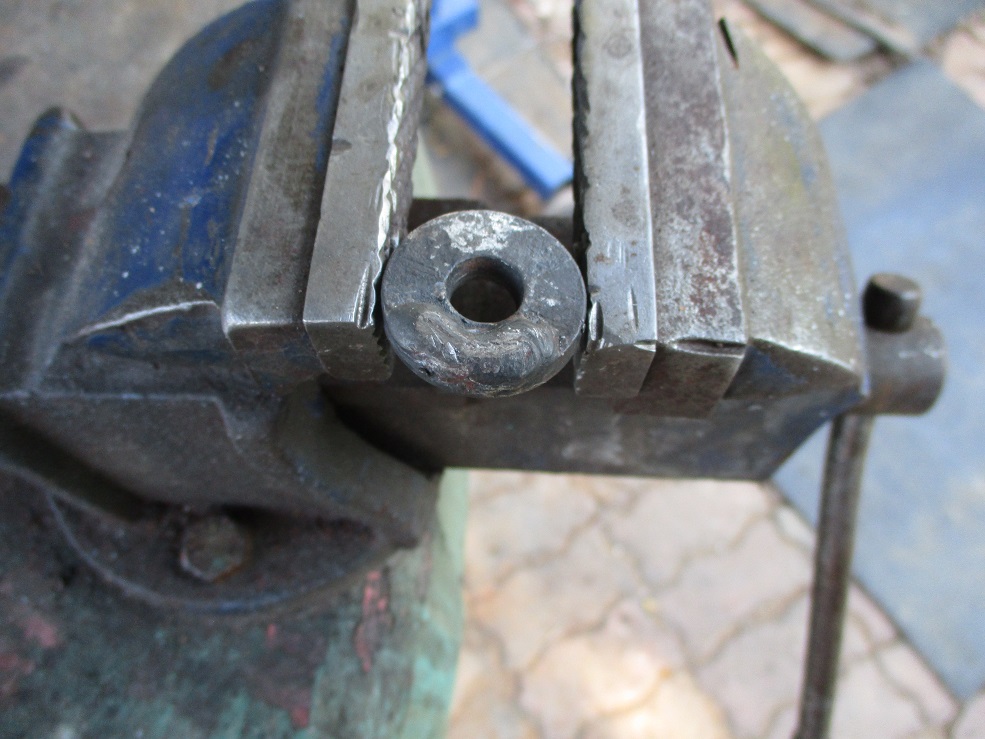
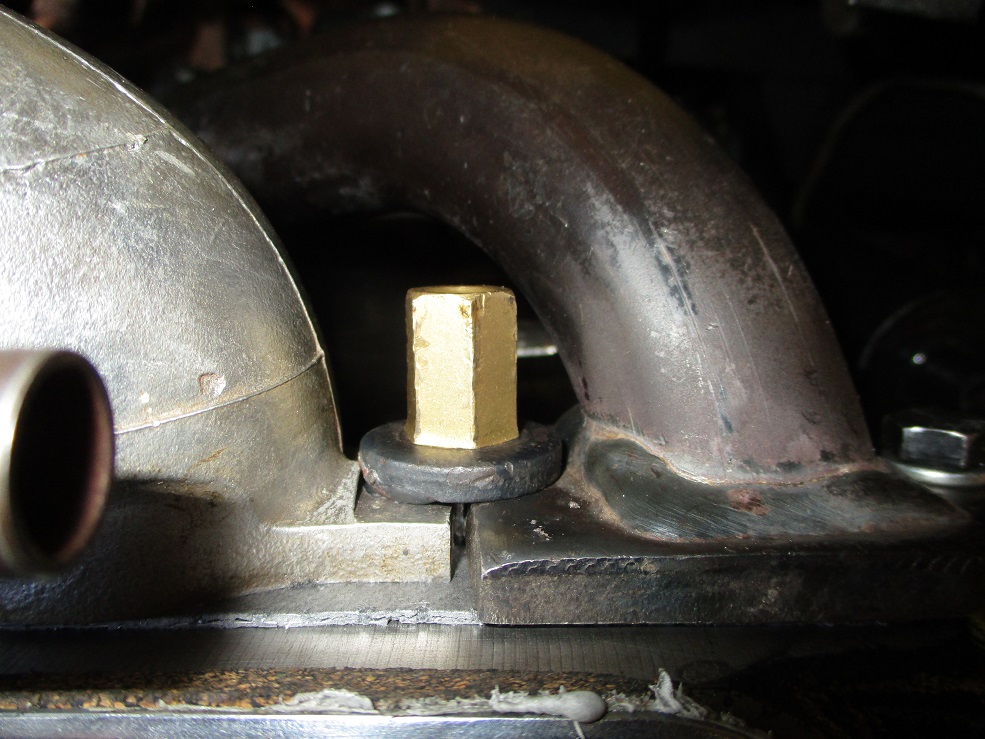
I had these manifold washers that was welded up from a client's job, so I needed to remove some metal as the difference was about 0.25 to 0.3 mm between the two flanges. Then the final result is this....
Once properly torqued down and in place....
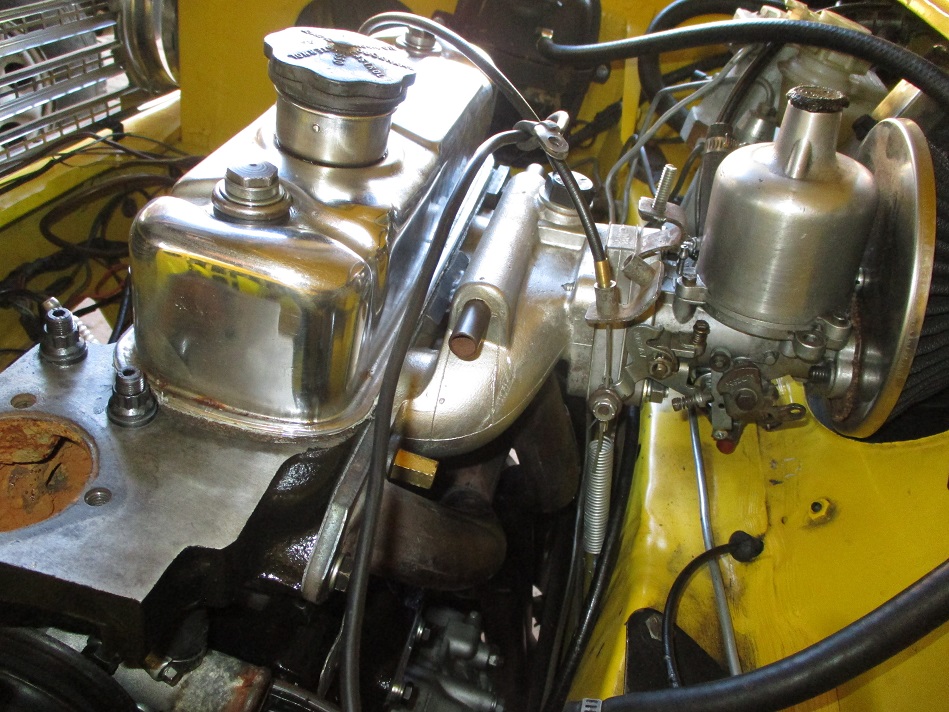
Lastly for the day fitted the carb and filter back.
Own some minis, break them, fix them, improve them, test them to the limit....
![[-]](https://samini.co.za/images/collapse.png) •
•
Posts: 271
Threads: 28
Likes Received: 90 in 61 posts
Likes Given: 0
Joined: Aug 2015
Reputation:
2
11-19-2020, 09:53 PM
(This post was last modified: 11-19-2020, 10:15 PM by GTSPhil.)
Next up fitted the one piece cowl, alloy rad, new thermostat housing and heater hoses.
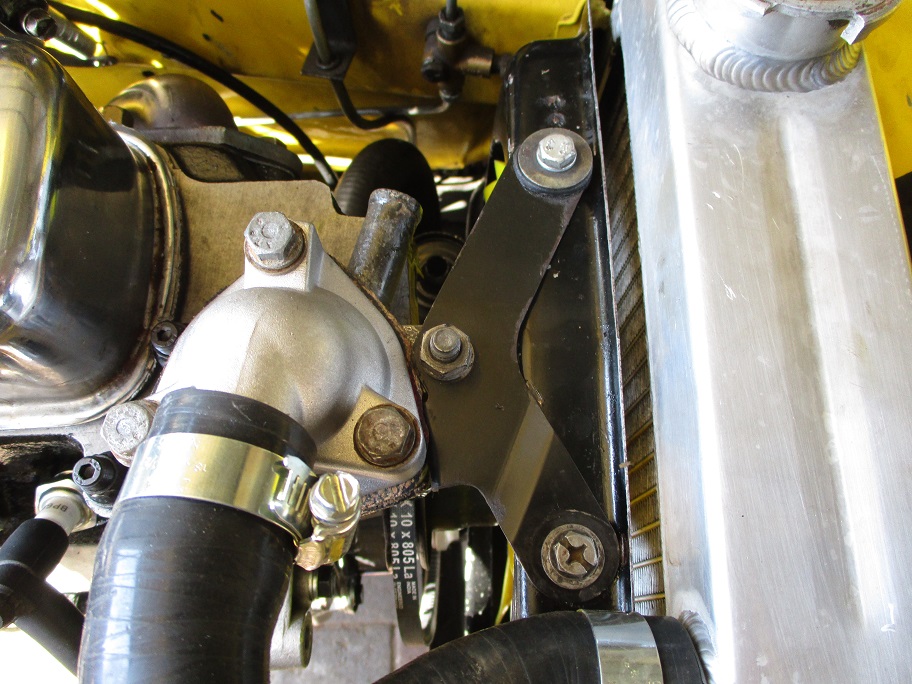
Had to do this little mod on the timing cover and plate....
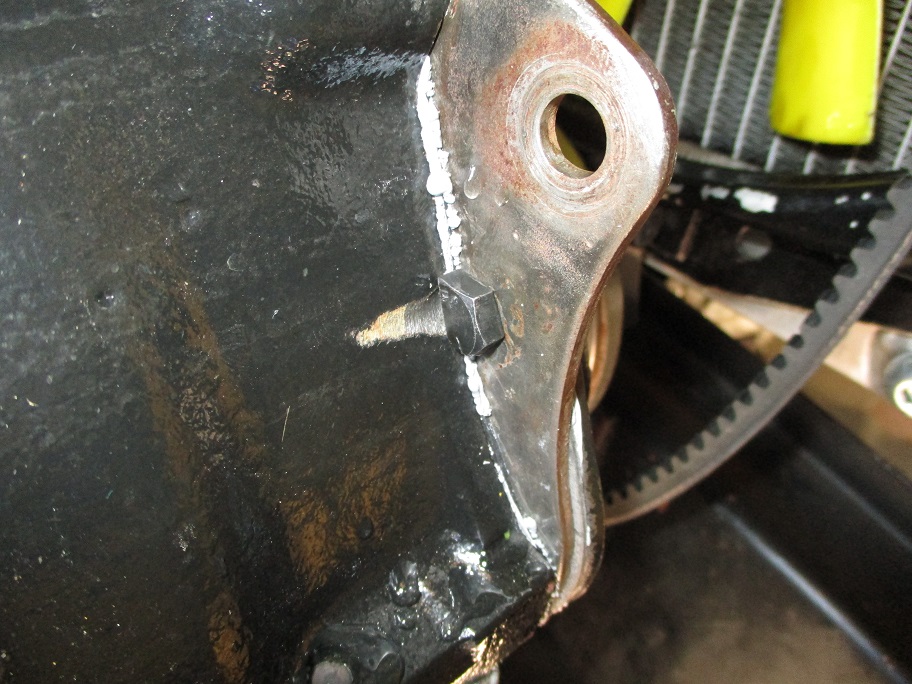
Then great news, set the timing statically after fitting dizzy drive and dizzy. Got engine fired up and it sounded great. Once I added water to the radiator on the conveyer belt that I put on the paving to save spills, well water and oil was mixing and dripping down the radiator side of the engine....WTF WTF WTH what went wrong????
After some investigating I found the bolt for the sandwich plate for thermostat housing right above the waterpump was leaking up the bolt, so that was an easy fix, thankfully.
Ran the engine a little longer and the oil puddled and was full of bubbles still down the timing chain side....
I traced it to above the timing chain backplate, so I deduced that it could only be one of the oil gallery threaded inserts, that was the good news. The bad news however was even after tightening it as much as I could with a flat massive screwdriver still it leaked, AFTER removing the radiator and draining the cooling system again naturally.
Yip you guessed it, I had to get the damn insert out that hit the back of the timing cover back plate. It was al stripped off the engine.
So I decided to go and source some grub screws instead of the damn inserts. After some phone calls and two visits to some bolt and nut suppliers located close to me, needless to say, they only stock 9/16 UNC grub screws and NOT the 9/16 UNF item that I had (insert choice swear words here). I ended up putting alot of thread sealing tape on the insert and using the biggest flat screw driver insert I own into my multi bit changer handle and managed to tighten the damn thing till death do it part.
New gasket for back plate and timing cover later
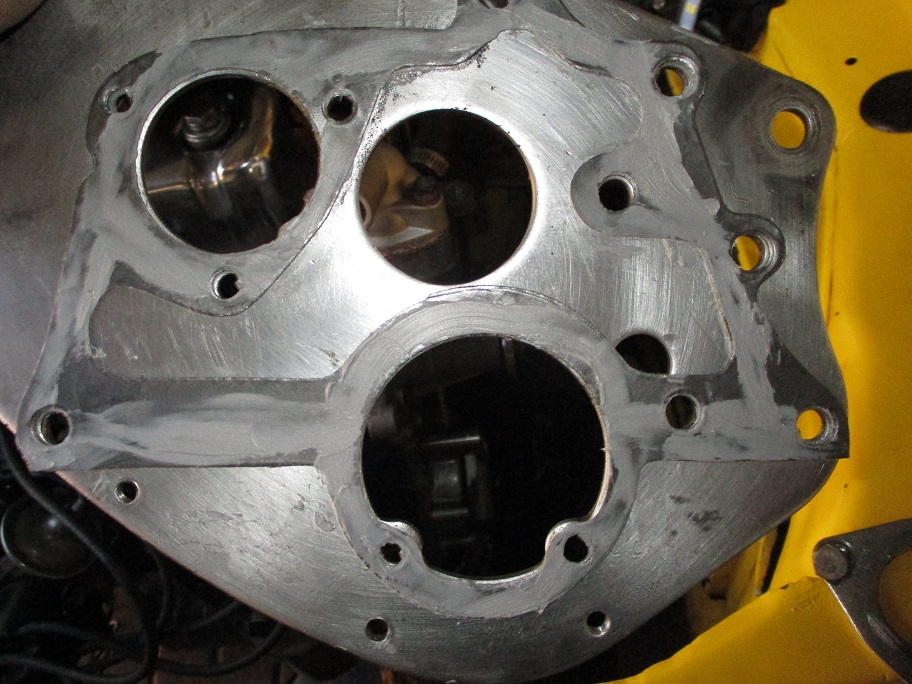
I ran the engine for a few seconds without fitting the radiator back yet and success finally. I drove the GTS about 10kms in 2pm heat. Engine temp was good, had to keep reminding myself to keep under 3500 rpm to stay off the midrange of the cam. But damn the car was going well. I got back to the shop and ran the engine with the bonnet open and heard something I had experienced before on a engine build some time ago, WHICH ENDED BADLY. A very bad noise from the flywheel side of the engine that was obnoxiously loud. Had a good look and deduced it could most probably be the darn idler gear. Although I shimmed it and was so very careful still it made a stomach wrenching noise.
Initially I thought just leave it, it will be fine, then I remembered that I have not even entered into the power curve of the cam so the input on the idler gear to the first motion shaft of the gearbox was only slight at the moment. So saneness prevailed and it dawned on me that although I just had the timing chain side of the engine open I will need to open the clutch side also....
Frustration does not describe what I felt at this moment in time.
Own some minis, break them, fix them, improve them, test them to the limit....
![[-]](https://samini.co.za/images/collapse.png) •
•
Posts: 271
Threads: 28
Likes Received: 90 in 61 posts
Likes Given: 0
Joined: Aug 2015
Reputation:
2
I decided to remove the clutch in situ and the flywheel housing cover.
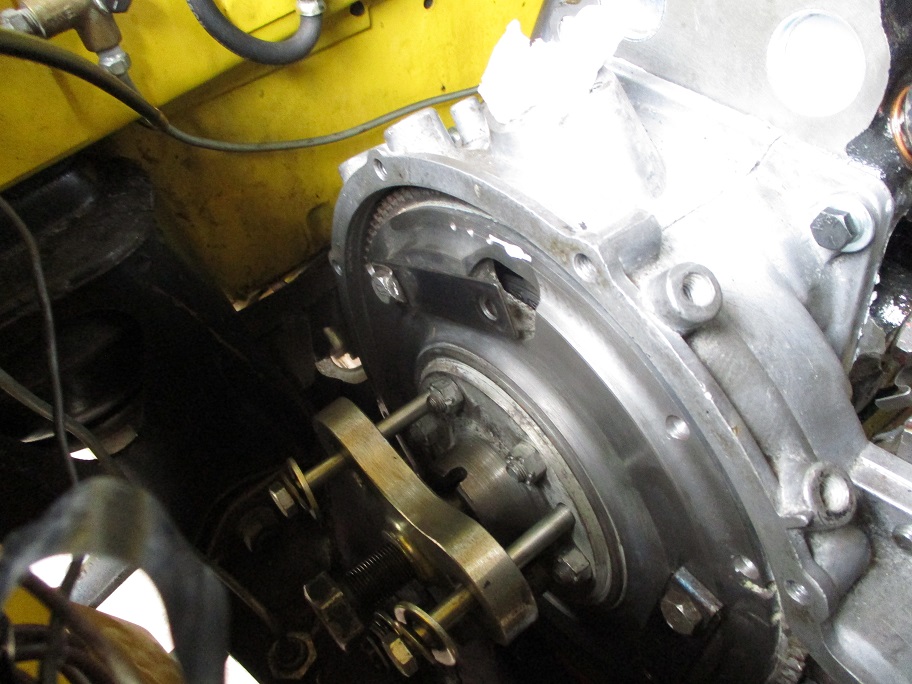
Upon trying to remove the flywheel housing cover out the engine bay, it just could not be done, with exhaust and gearbox selector and steady still connected.
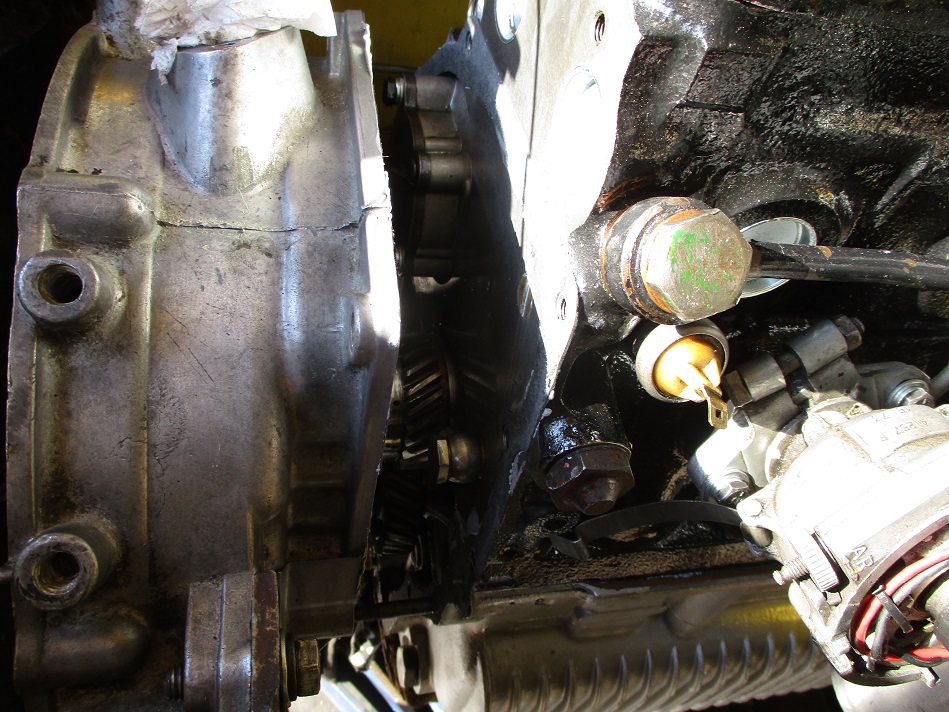
So once again the engine was completely removed and disconnected.
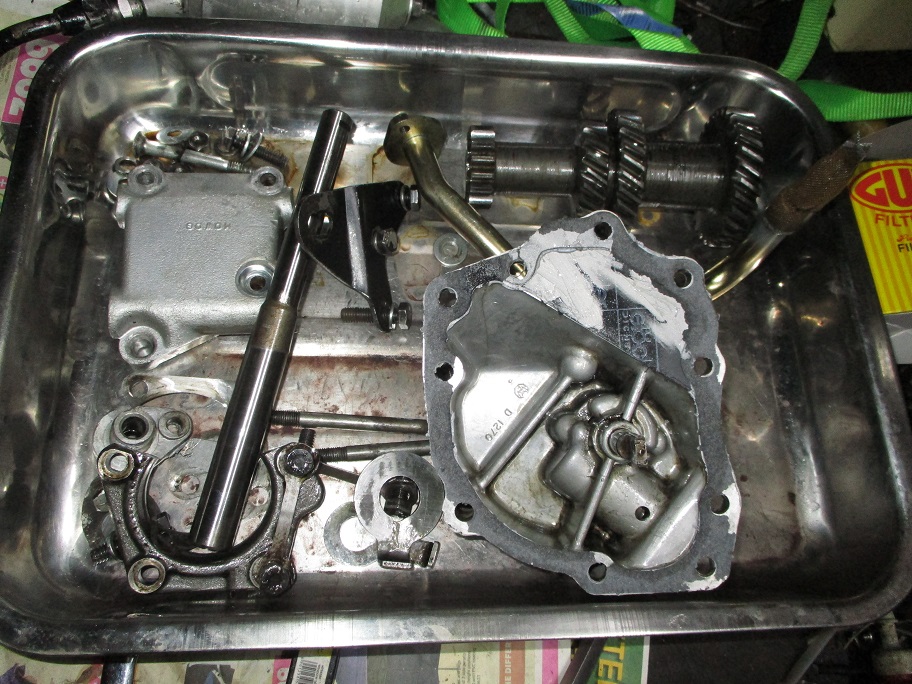
I then removed the flywheel housing cover and the idler gear etc, looked in good condition....
Initially I could not determine what the noise was being caused by, till I turned the 1st motion input shaft on the gearbox.. that had about 2mm of play. My best guess is that the 1st motion shaft bearing has finally had it, after about 7 years of feeding the gearbox the power from the engine. So
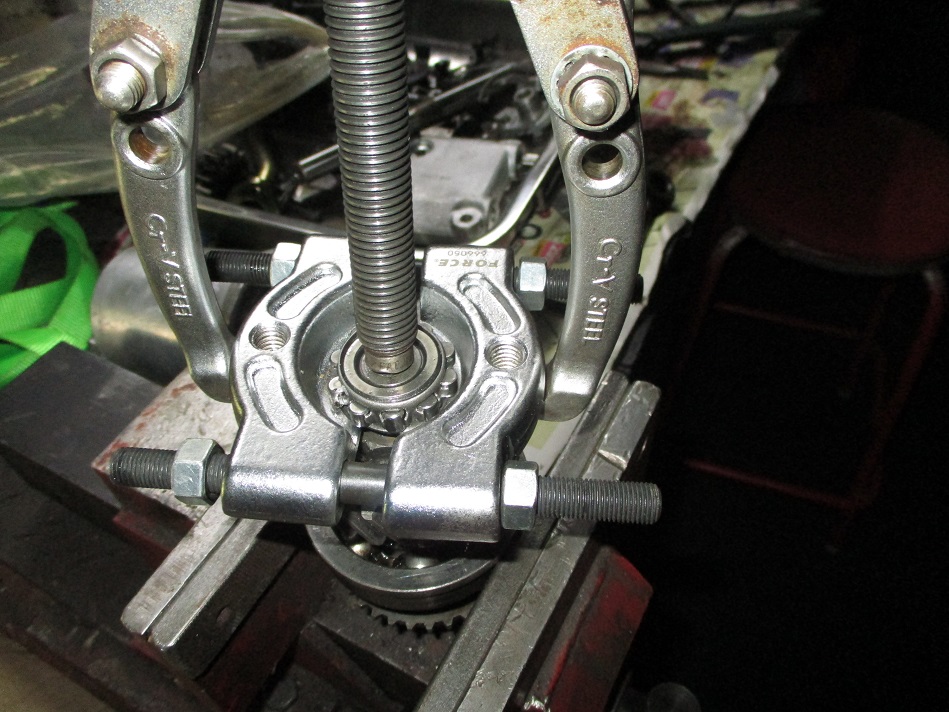
I had found the best way to remove this bearing and re-use it was with this bearing separator and puller.
Then I needed to remove the 1st motion nut, normally when I strip gearboxes I do not remove this nut from the 1st motion shaft and also then do not need to tighten it. The multi-spline 29mm socket that I have used in the past to do this did not work in this instance, so I phoned around looking for a 1 1/8 socket which is the correct sae size, BUT you cannot find such a item and it is special order, so a 29mm 6 point socket was sourced and this worked a treat.
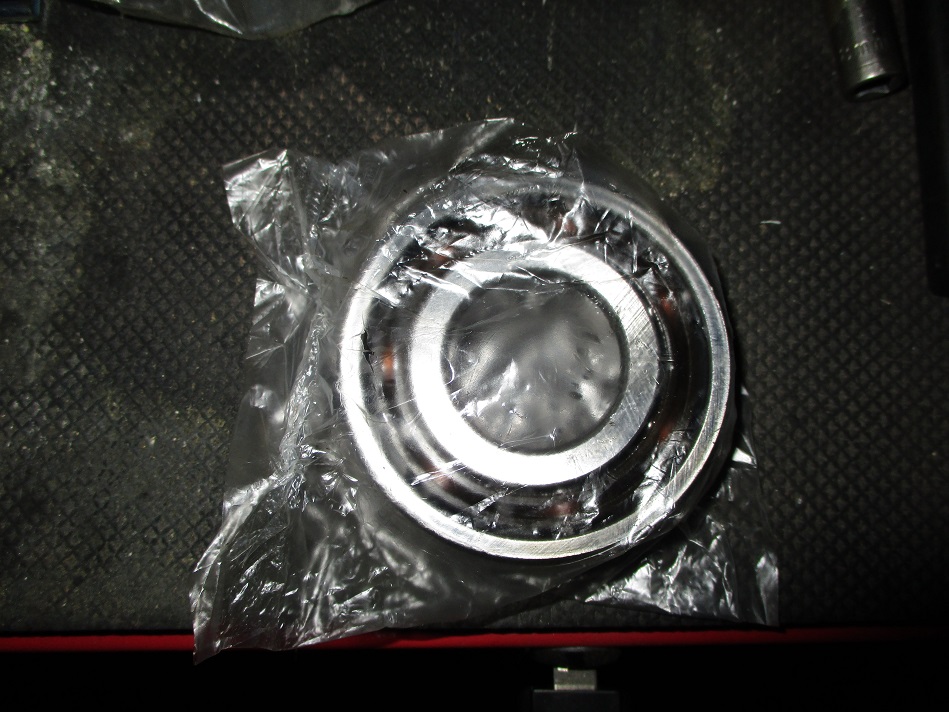
New 1st motion bearing and 14mm bearing later, I had the gearbox back together and yes the original 1st motion bearing had sooo much play in it.
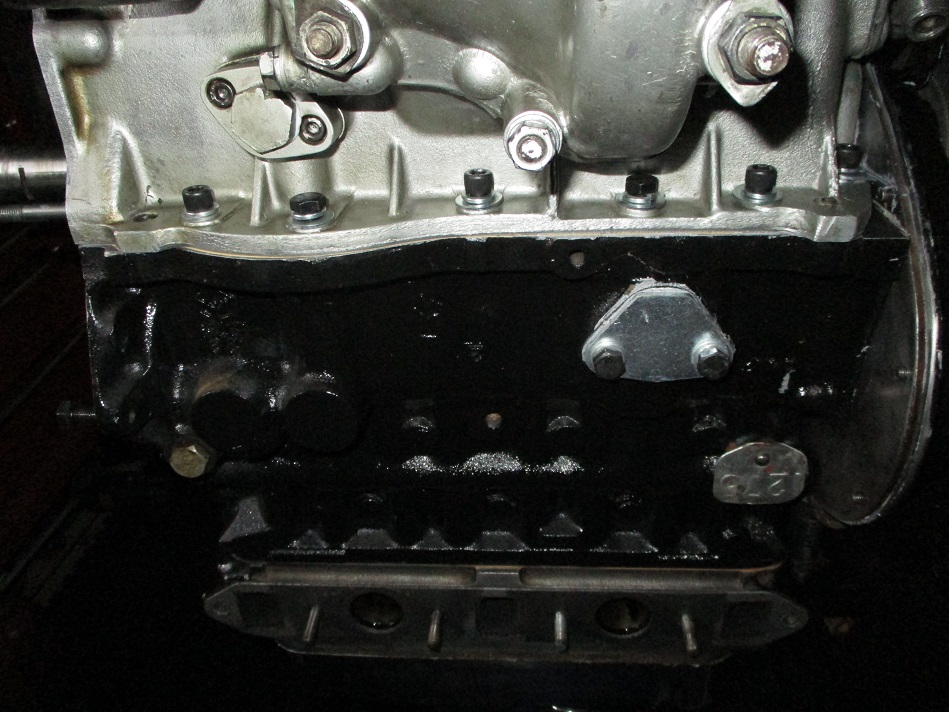
I then re-shimmed the idler gear end float again, due to a different thickness gasket being used again. After cleaning all mating surfaces and cleaning the gearbox out of all oil etc. Finally the engine and box was back together again.
Own some minis, break them, fix them, improve them, test them to the limit....
![[-]](https://samini.co.za/images/collapse.png) •
•
Posts: 271
Threads: 28
Likes Received: 90 in 61 posts
Likes Given: 0
Joined: Aug 2015
Reputation:
2
So I made another discovery by chance.
This is the flywheel housing cover, end cover AKA wok....
I measured the hole where the clutch plunger operates and found it to be way out of spec and very worn indeed.
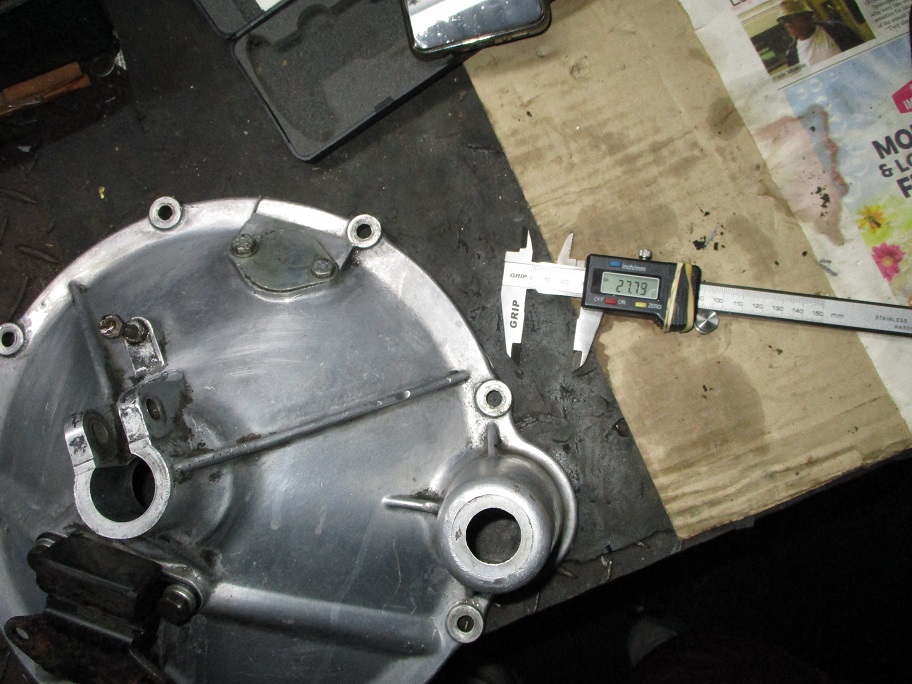
and a better suited wok that is less worn.
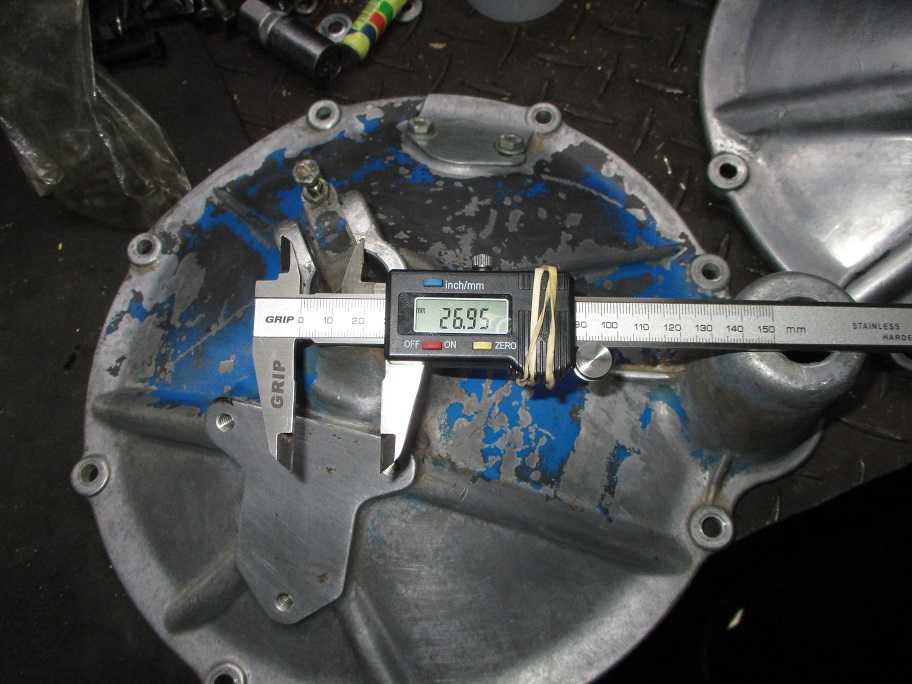
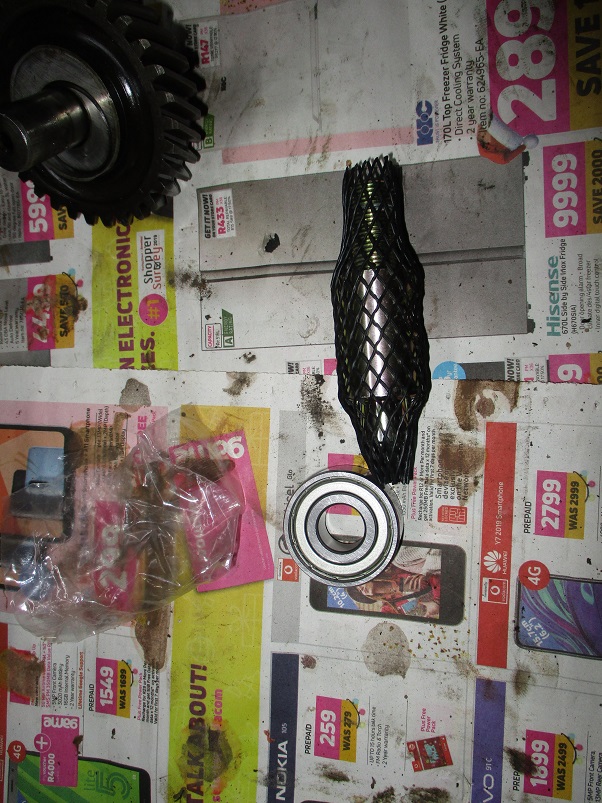
While I was at it, the plunger and release bearing was renewed also.
I decided to use the engine test stand and run the engine before fitting it back into the body and find anymore problems before hand preferably. I ran the engine with only the LCB but it still so loud that I had to make a plan.
I modified the LCB side like so...
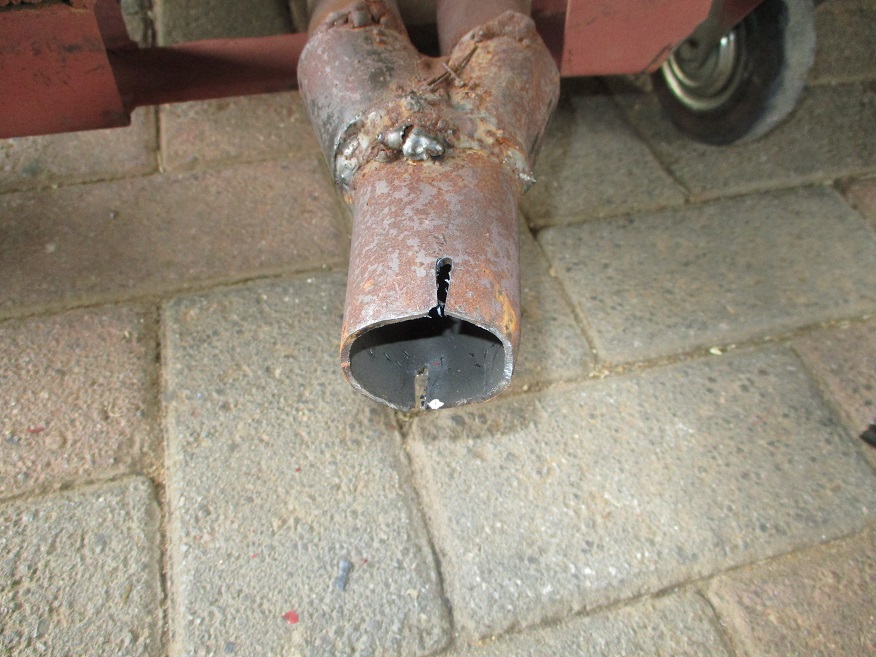
And the silencer like so....
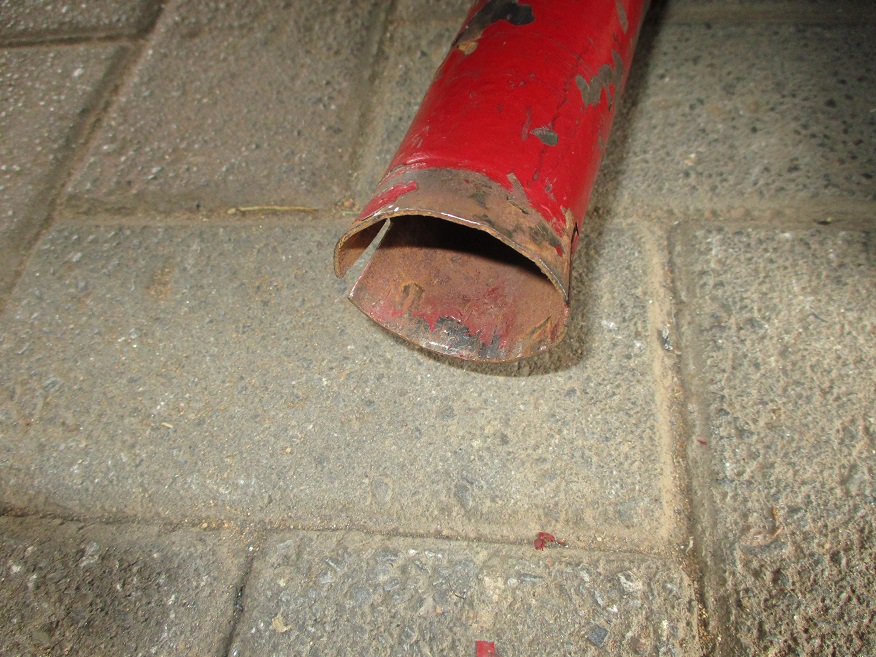
Then I could successfully run the engine and ensure no more little niggles...
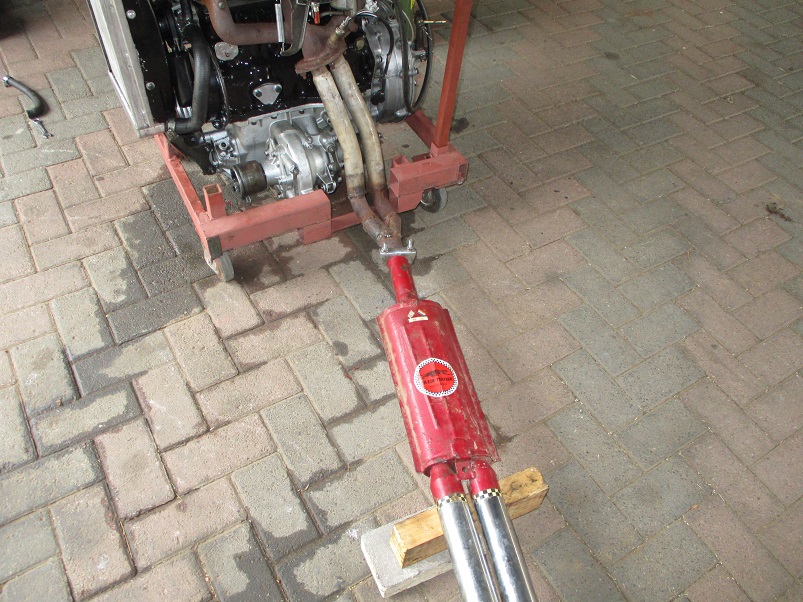
All connected and fluids checked and all systems go.
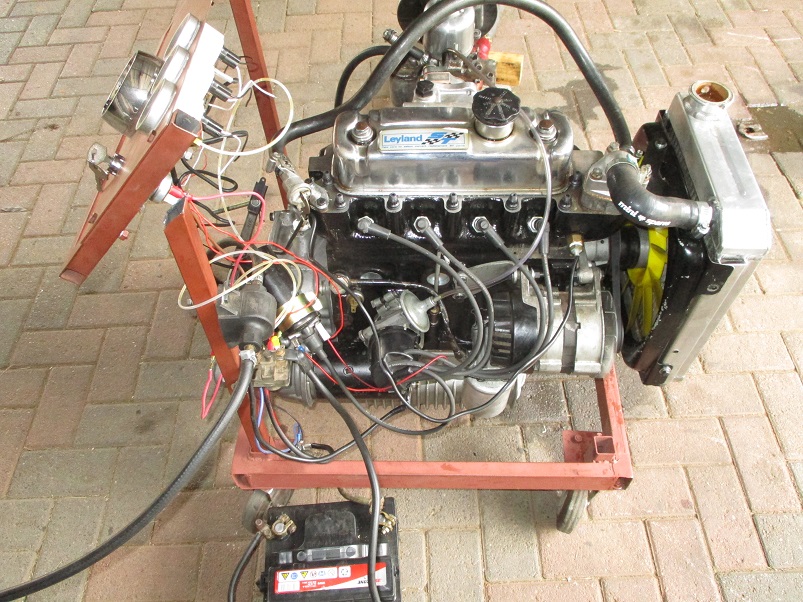
Own some minis, break them, fix them, improve them, test them to the limit....
![[-]](https://samini.co.za/images/collapse.png) •
•
Posts: 271
Threads: 28
Likes Received: 90 in 61 posts
Likes Given: 0
Joined: Aug 2015
Reputation:
2
Have had these 1275E under dash storage shelf for yonks and thought I would fit one.
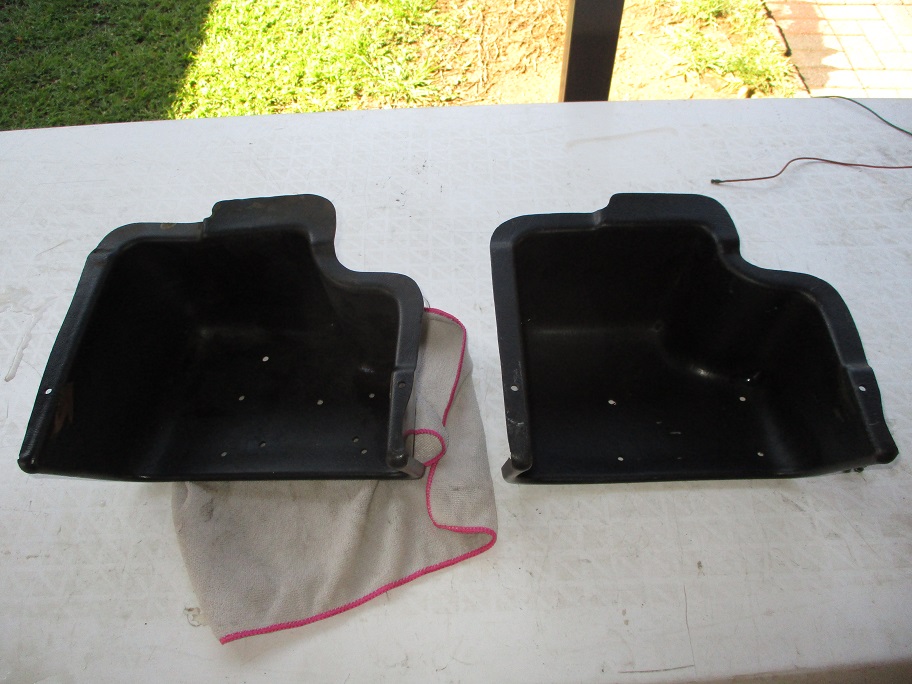
In the car
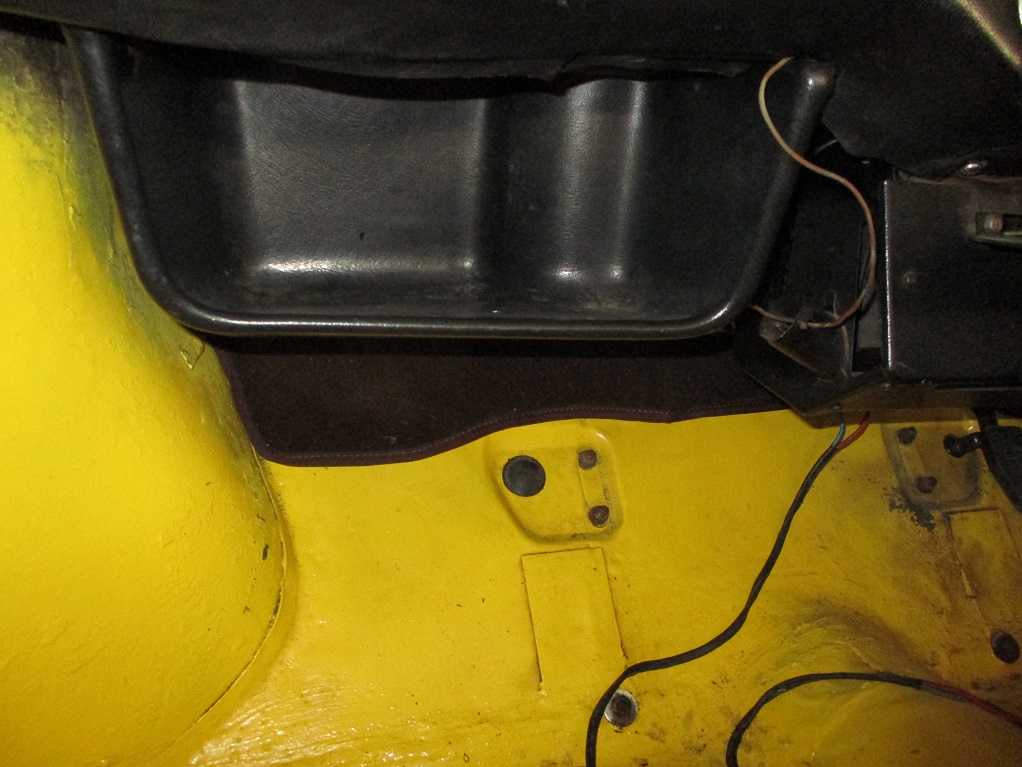
The engine went in fine, ran the car some kms, wanted to start the car, dead battery. So out with the old and in with the new, which I have wanted to do for a while in anyway.
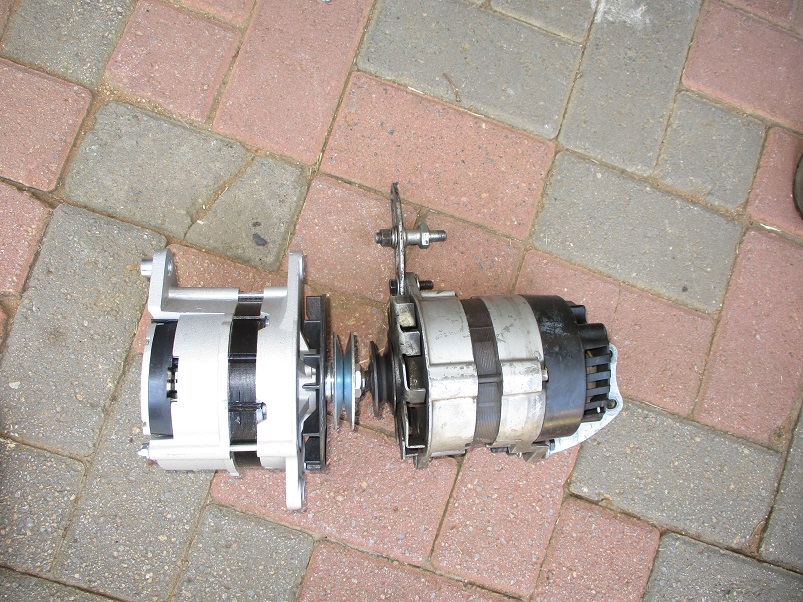
Had to open the hole on the alternator bracket on the block up to 10mm due to that bolt size on the new alternator, also had a extended alternator bracket laying around so that was fitted with new next size up fanbelt.
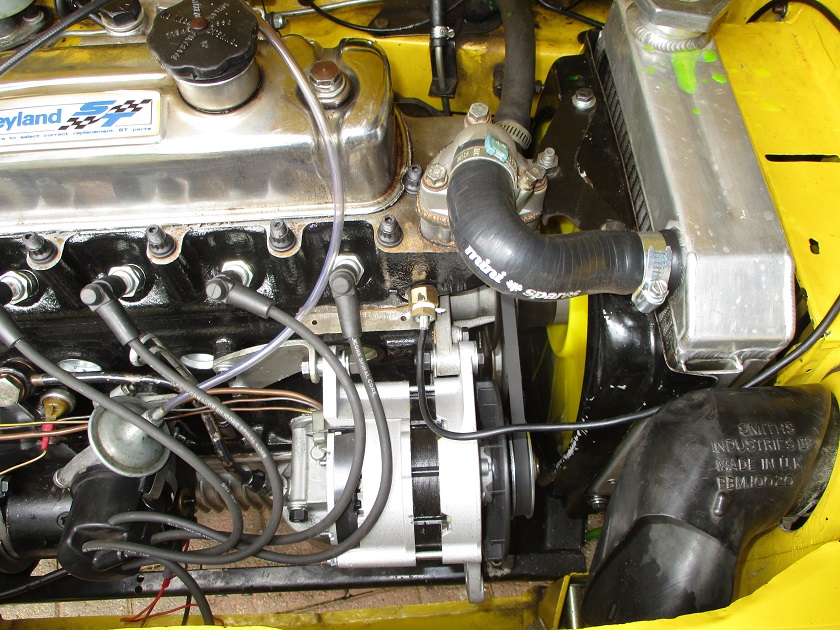
Did some serious miles on the car about 250 kms for the last two days.
Own some minis, break them, fix them, improve them, test them to the limit....
![[-]](https://samini.co.za/images/collapse.png) •
•
Posts: 271
Threads: 28
Likes Received: 90 in 61 posts
Likes Given: 0
Joined: Aug 2015
Reputation:
2
I have bought and sold a new interior light like 3 times previously, so I decided it was time to fit the darn new item I had bought last week.
The wiring as it was left after the last respray.
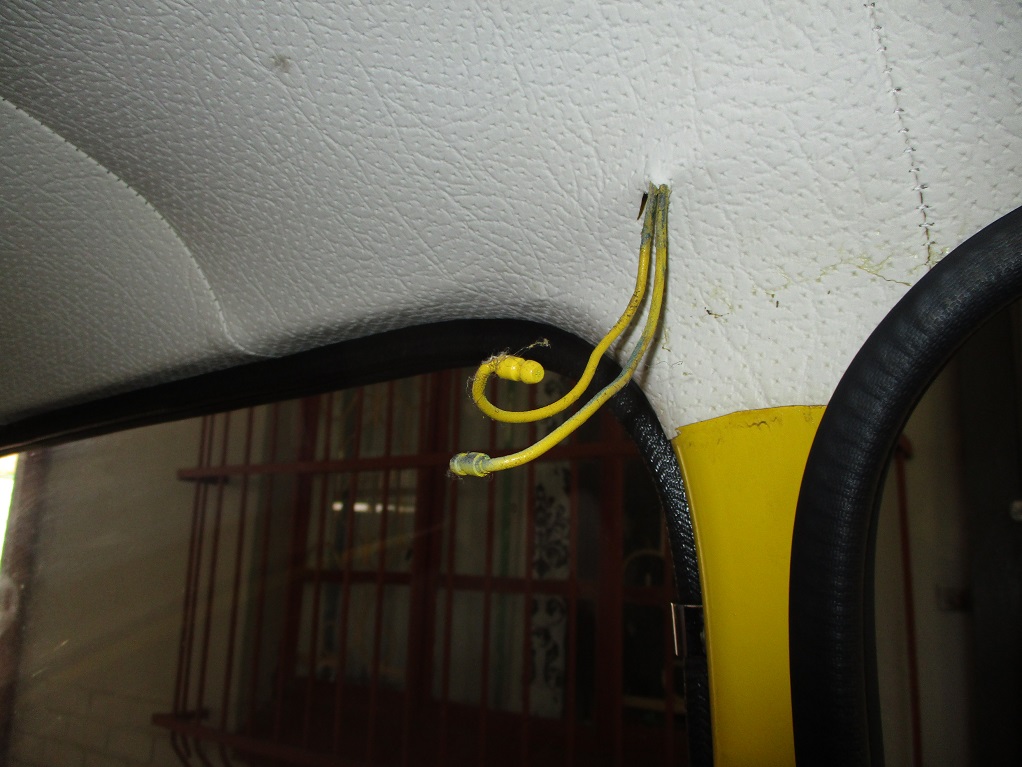
Some thinners later....
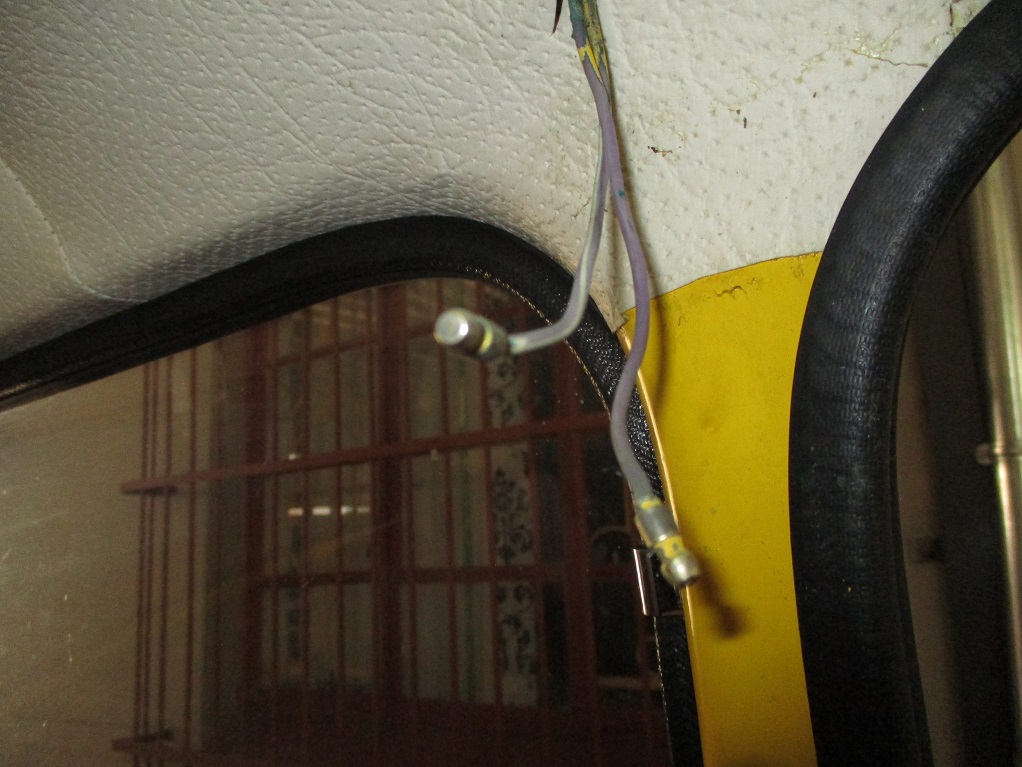
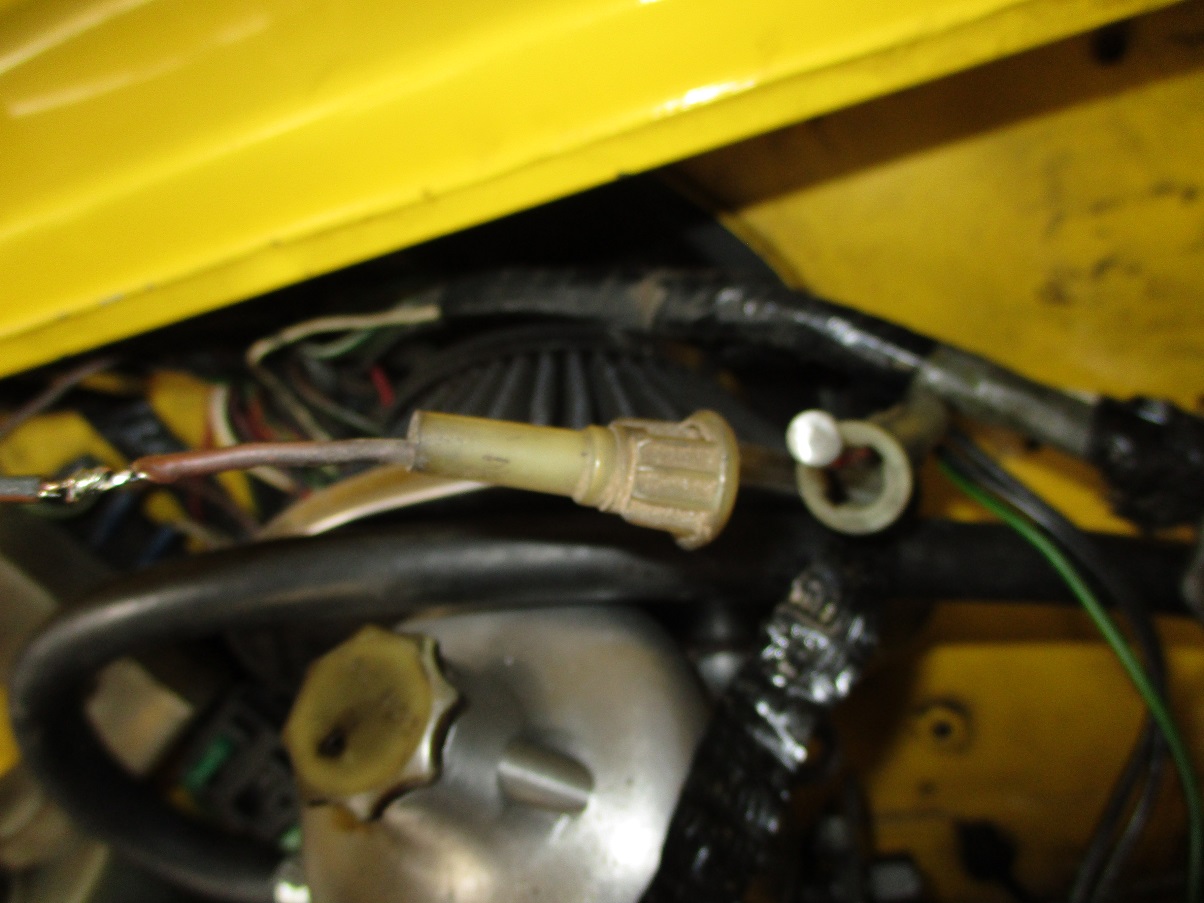
So light would not work after installing it. Started testing the wiring and traced it back to the engine bay area, where the inline fuse no longer had the top part and correct wire to connect. I remembered that I had a brown wire under the dash that was connected to nothing, turned out to be the wire that was needed to make the door switches and interior light work. After some soldering and re-doing the loom tape.
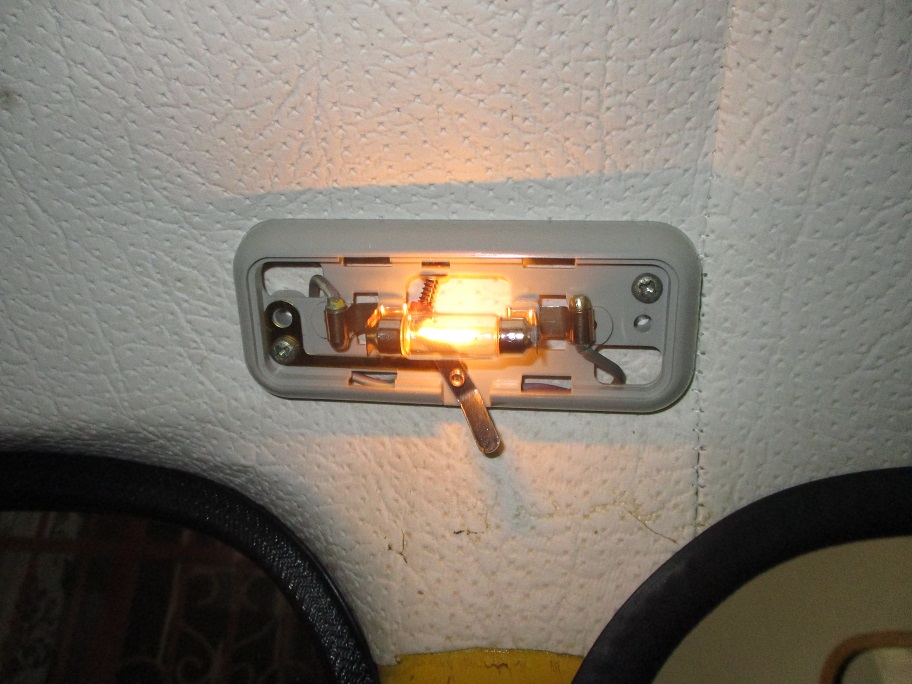
I finally had some success, this light had not worked for nearly a decade....
Own some minis, break them, fix them, improve them, test them to the limit....
![[-]](https://samini.co.za/images/collapse.png) •
•
Posts: 1,172
Threads: 32
Likes Received: 179 in 132 posts
Likes Given: 45
Joined: Aug 2015
Reputation:
3
Location: Kokstad
Haven't been on here in a while myself. Just caught up on this car. Good work 
![[-]](https://samini.co.za/images/collapse.png) •
•
Posts: 271
Threads: 28
Likes Received: 90 in 61 posts
Likes Given: 0
Joined: Aug 2015
Reputation:
2
06-08-2021, 06:32 AM
(This post was last modified: 06-08-2021, 06:56 AM by GTSPhil.)
So 2021 came in hot....
Have already built 4 engines for this year, 5th already in at the engineering getting new AE piston goodness. Then did 2 engine swaps and a total bolt and nut restoration on a round nose. So finally have some time to work on my own car....
I found after some fast trips on the highway the engine bay on the radiator side is full of oil and I just had to accept that I have to source the problem and fix it. The damn noise was back on the clutch side.
Before...
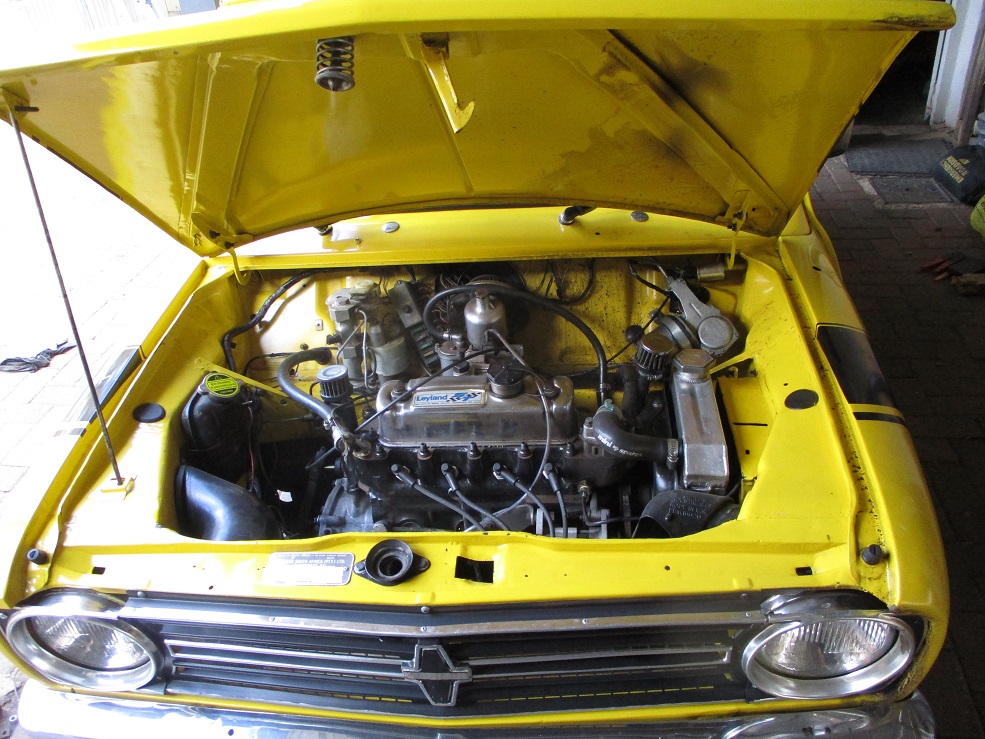
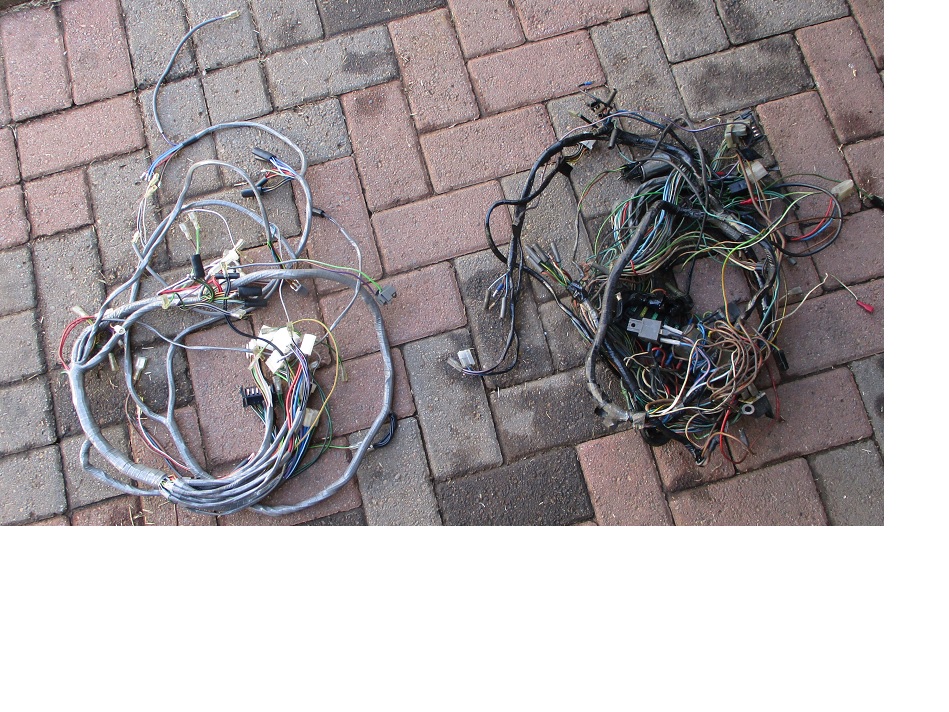
I recently came across a brand new GT wiring loom for the front of the car, so a plan was hatched. The darn wiring that myself and brother started to hack in 2009 by adding a later fusebox and some later mods for relays for the lights and electric fan wiring etc. The wiring was always letting the engine bay look down. The bigger fusebox is in the way of the twin HS4 carbs and I am not using all the fuses, so it was a waste.

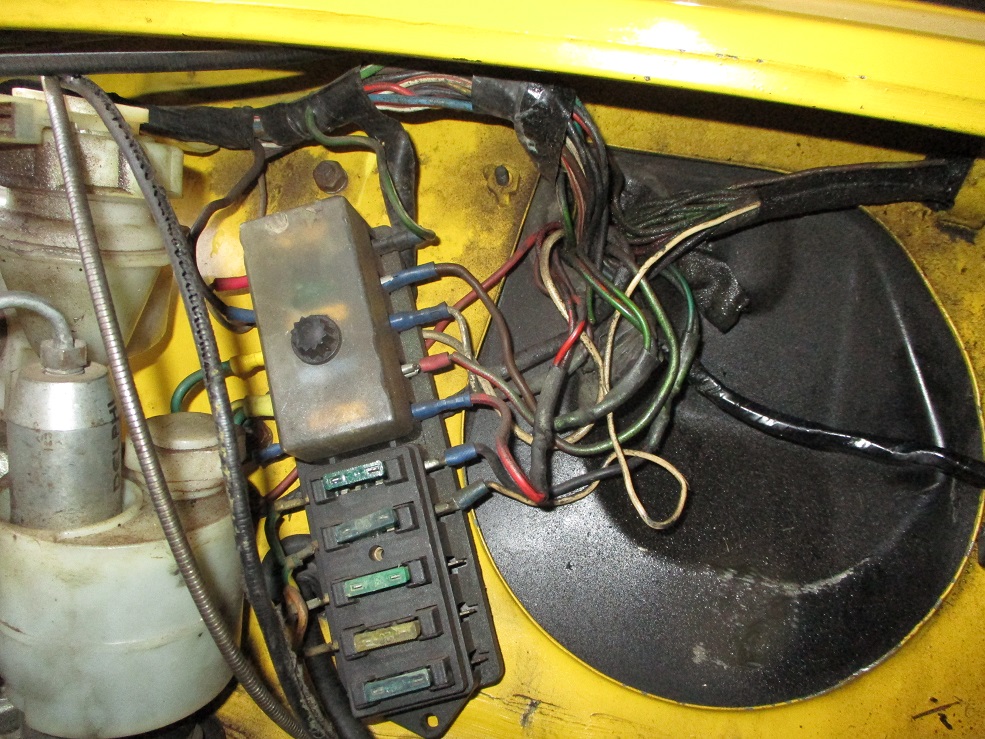
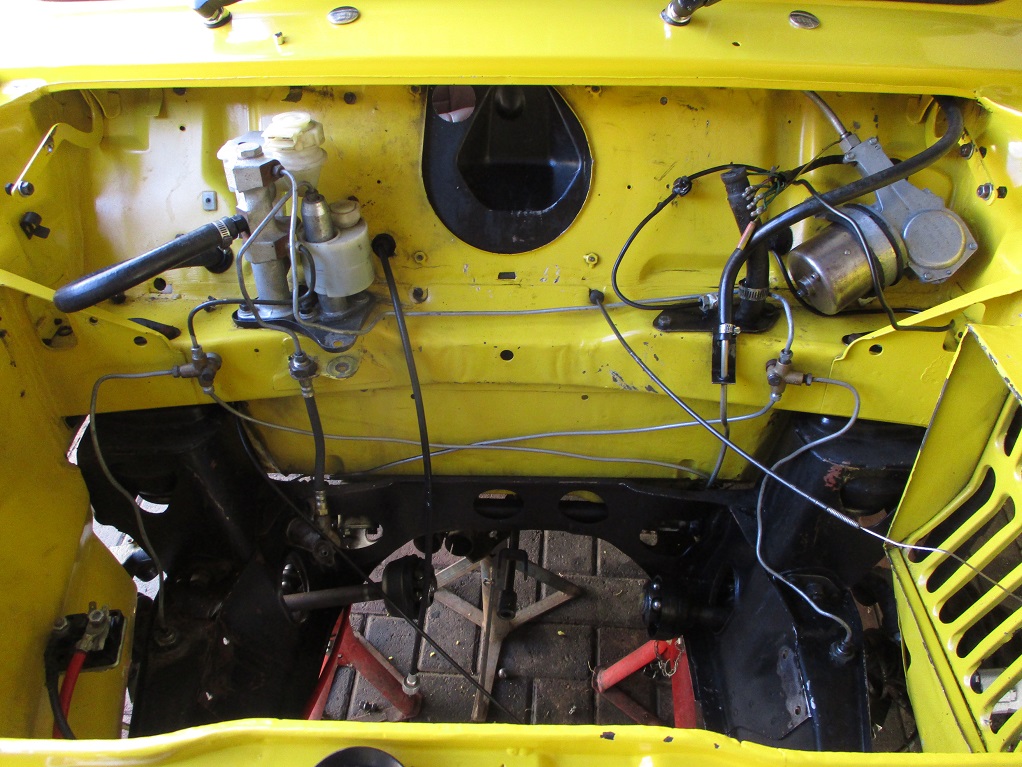
After removing the engine and having a marathon cleanup first with the pressure washer and then by hand with de-greaser the engine bay was in an acceptable state to remove the old loom.

Had to strip dash and gauges etc...
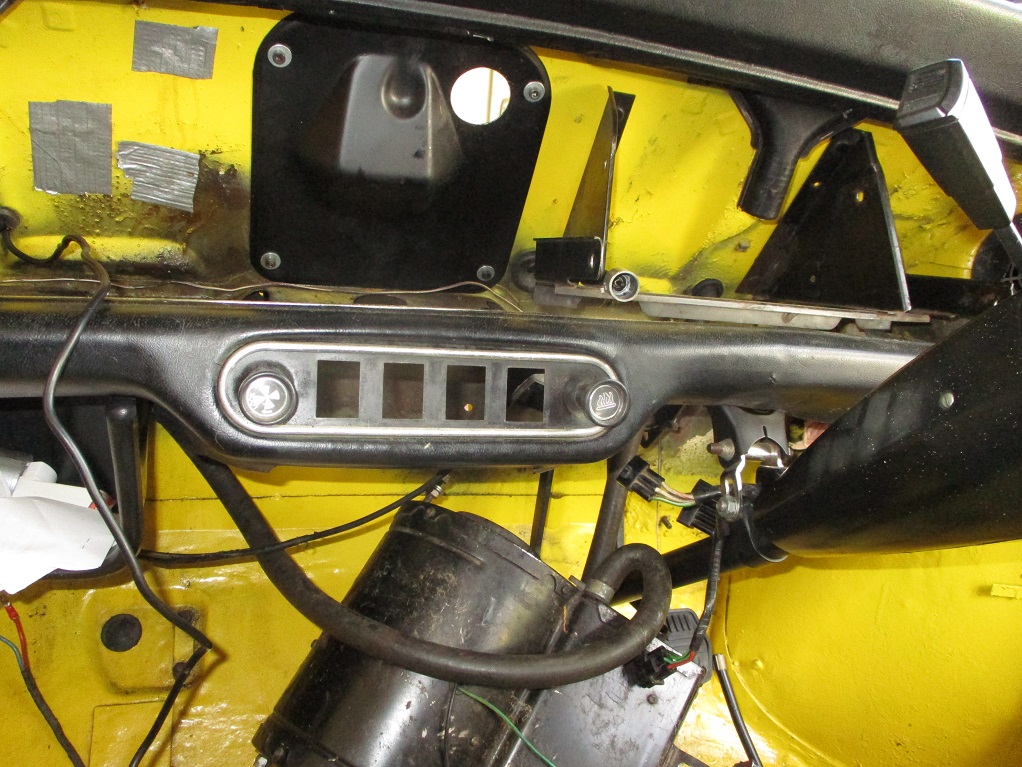
Beautiful engine bay loom less.
New loom on the left, old loom on the right.
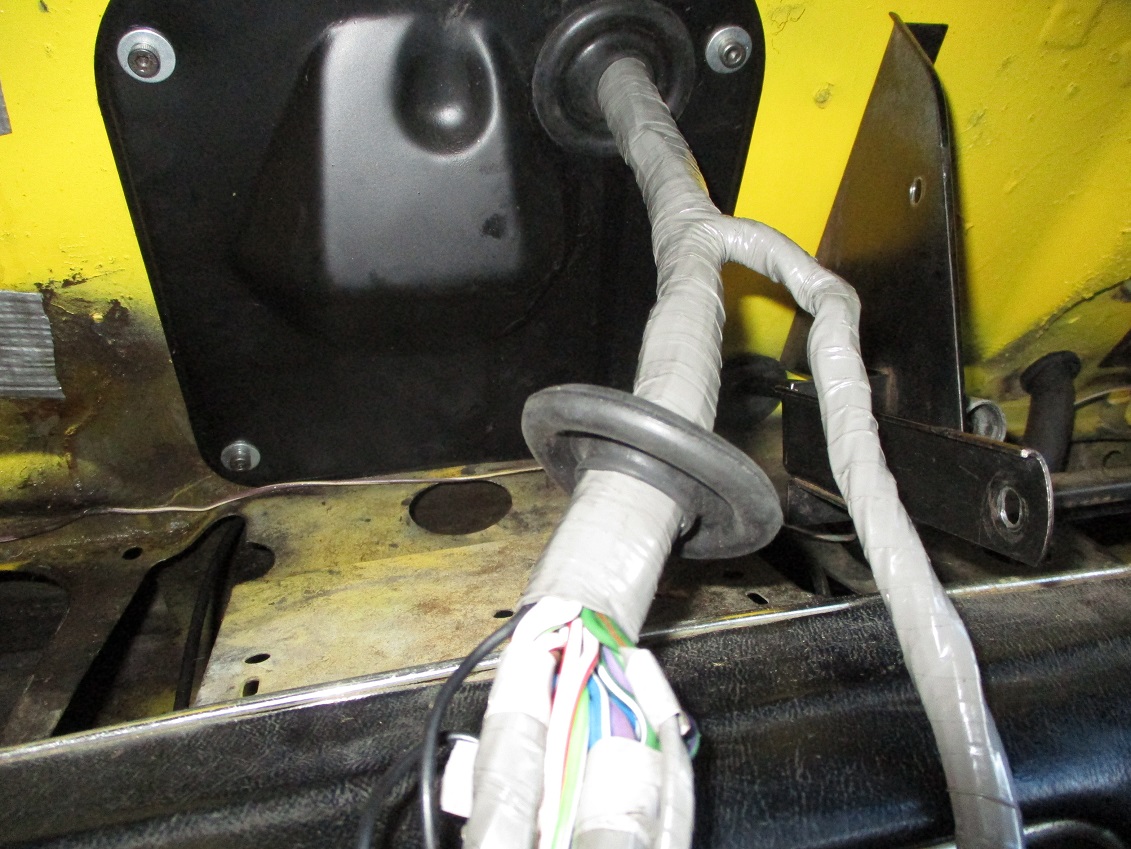
After routing and fitting the new loom. Sourced some 25 mm grommets for the wiring to pass through on the inner wings, I believe these grommets have been missing since I own the car from 2004 till now. Connected the lights to the main loom with double bullit connectors, will fit single connectors at a later stage.
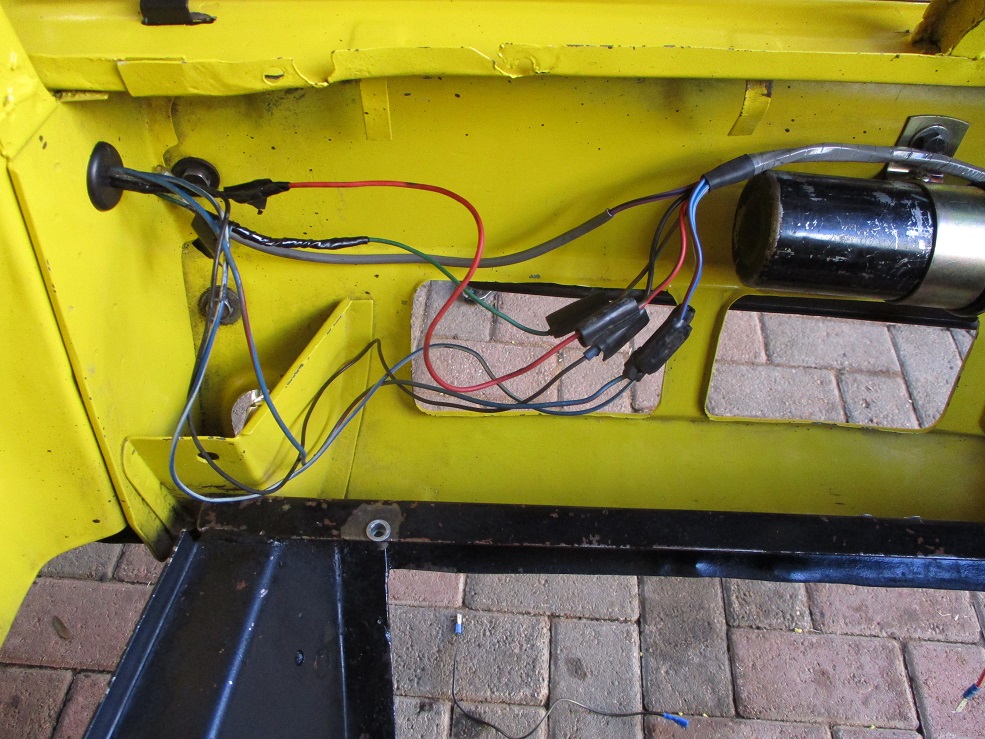
Driver side.

Finally back to original on the starter solenoid and it's connections, simple and effective.
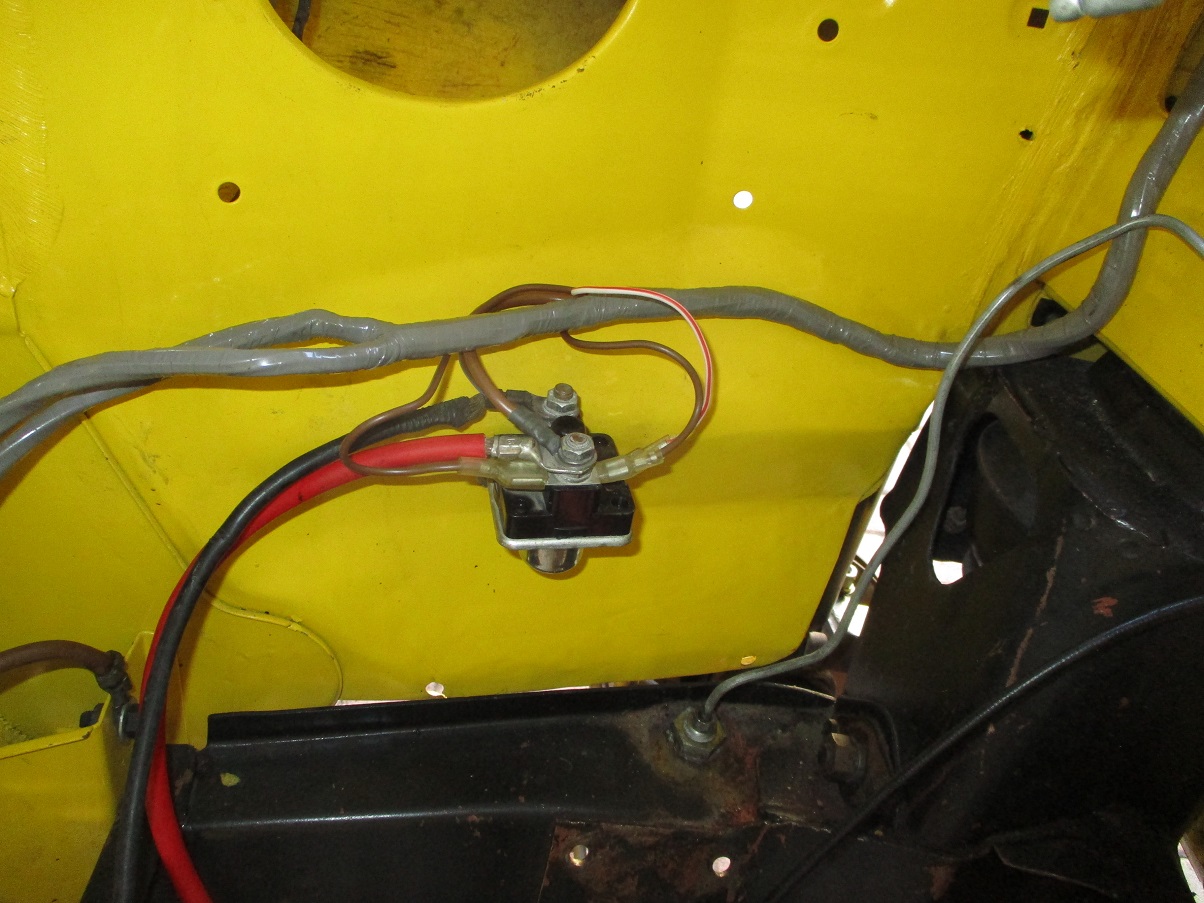
On the passenger side of the firewall first grommet was fitted to blanking plate, again this second grommet was never fitted to the original loom, so yet again more back to correct and original we go...
Had to remove the switch panel because on the new loom the live and ground wires to the sides of the switches once connected could not fit through the mounting holes, so with panel disconnected the switches was fitted and then the wires connected...
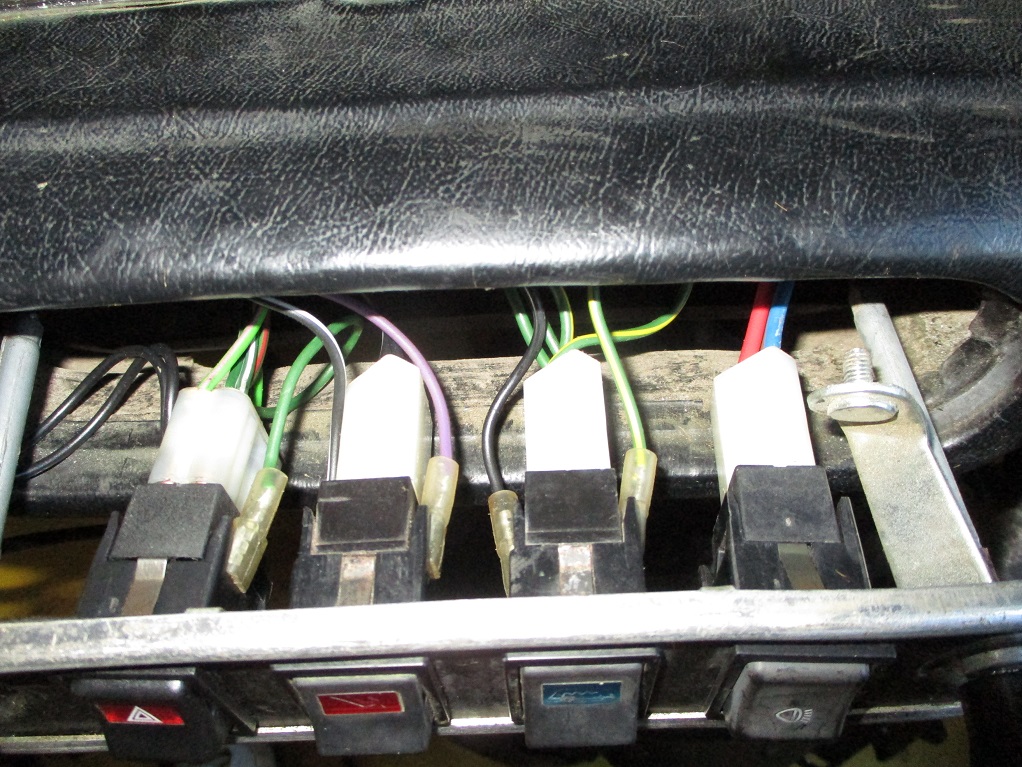
New fusebox and some new fuses later and mounted to the old screw holes.
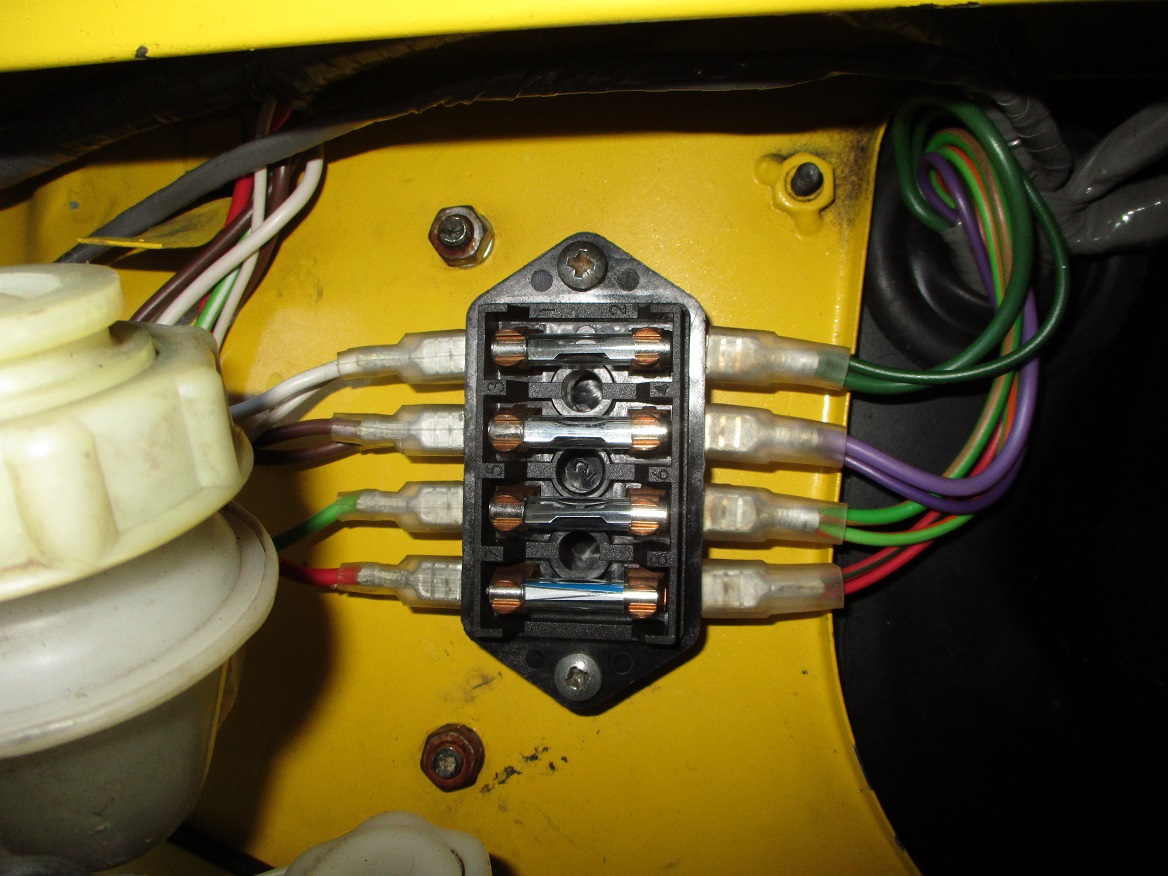
Own some minis, break them, fix them, improve them, test them to the limit....
![[-]](https://samini.co.za/images/collapse.png) •
•
Posts: 271
Threads: 28
Likes Received: 90 in 61 posts
Likes Given: 0
Joined: Aug 2015
Reputation:
2
Kicking up the originality factor a few notches. Was looking at some engine bay pics of GTSs and GTs and saw I needed some clips. So I stole the clips for harness to inner wings from my spare GTS and fitted them.
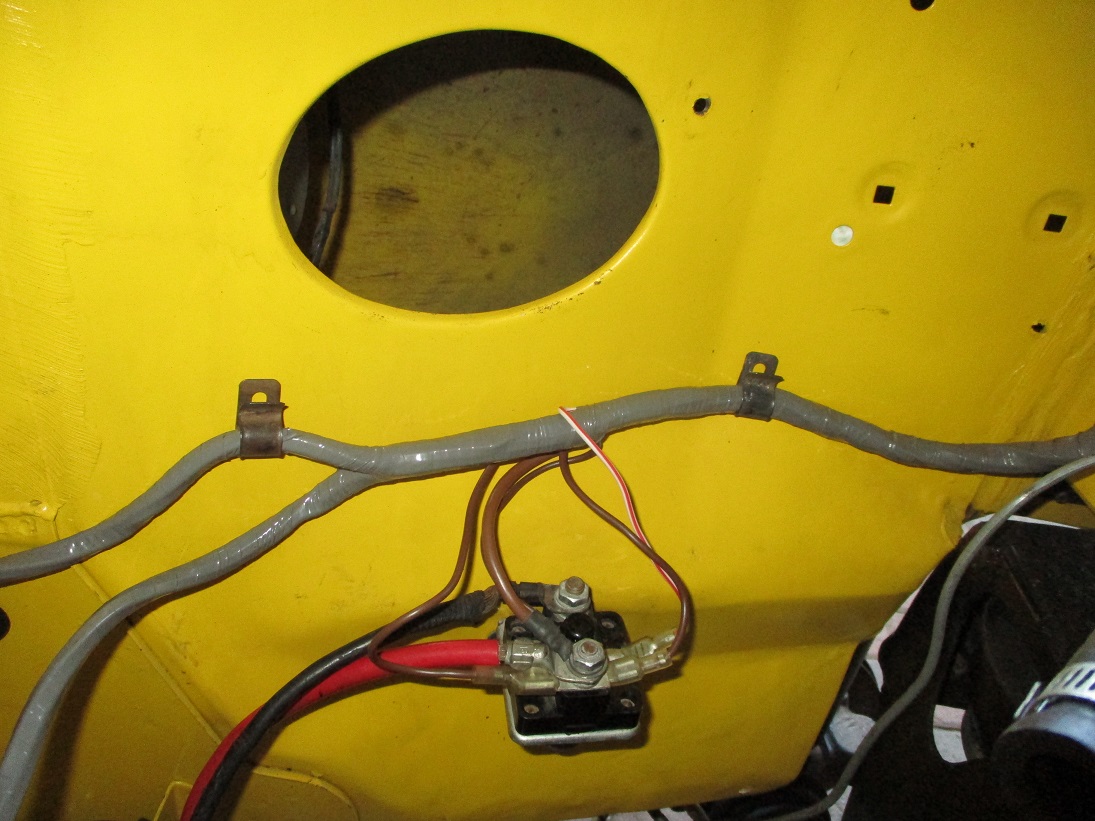
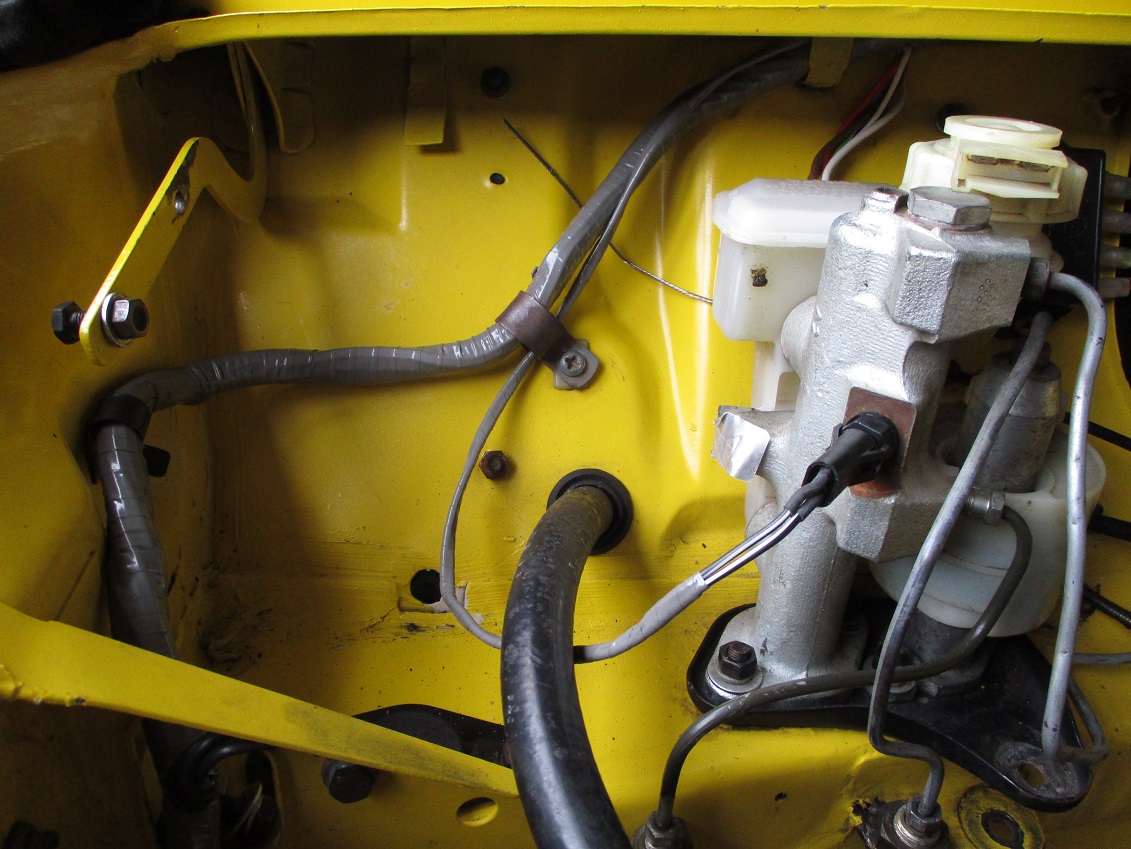
Now I was undecided about the p-clip for the wiring near the brake master, but the spare GTS and stripped 1275E both had it so I stole it again and fitted it.
The starter solenoid was still not up to scratch so I remembered that I bought boots for the main cables yonks ago, so they were fitted.
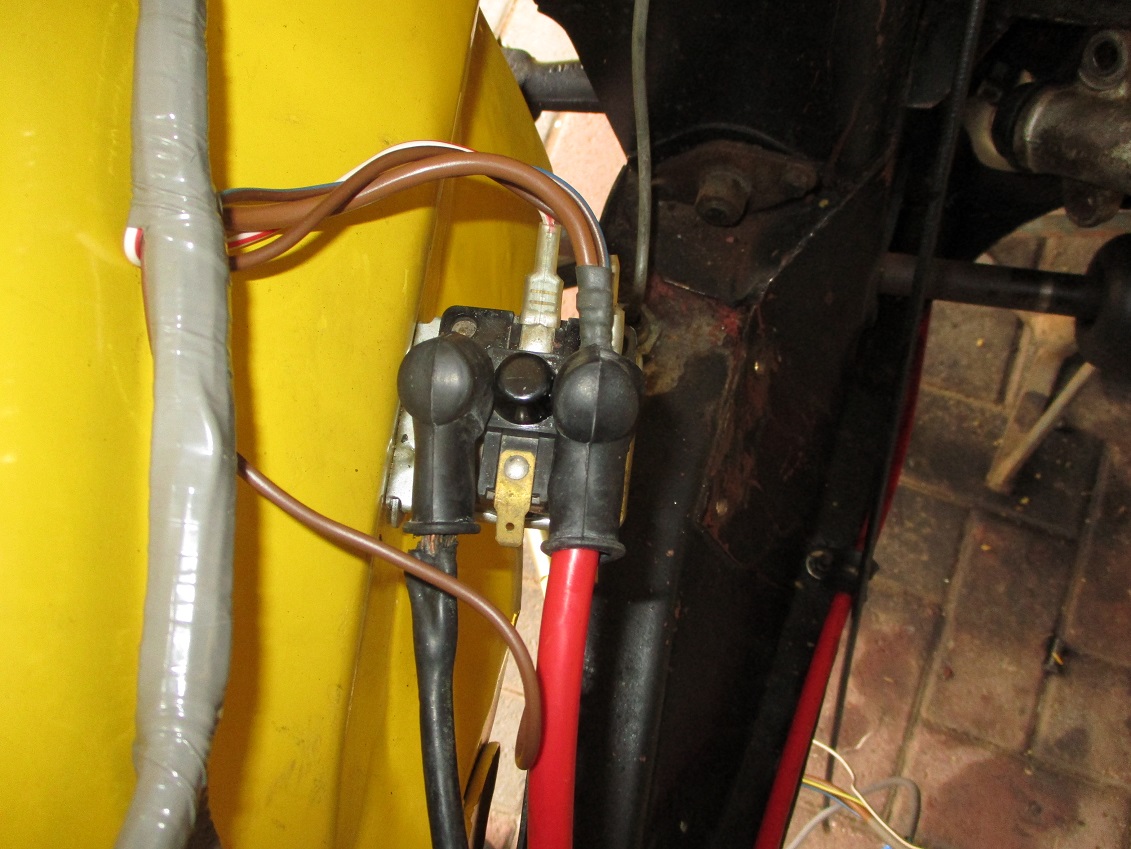
Got some single bullet connectors and replaced 10 double bullet connectors with the single connectors. The new loom differs from a SA loom where the wires connect to the rear loom in the way that it has only the male bullet brass connectors, where the SA loom had insulated female bullet connectors this is why the single double connectors is needed.
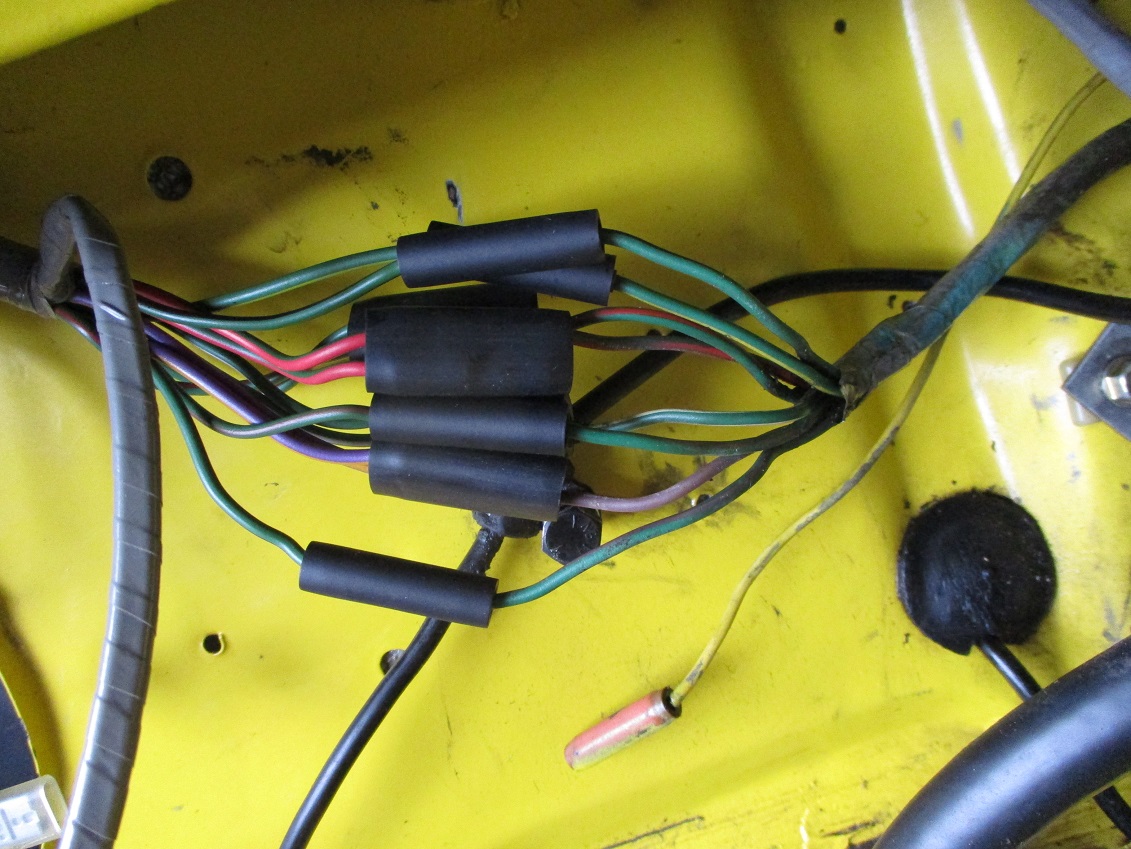
Own some minis, break them, fix them, improve them, test them to the limit....
![[-]](https://samini.co.za/images/collapse.png) •
•
Posts: 271
Threads: 28
Likes Received: 90 in 61 posts
Likes Given: 0
Joined: Aug 2015
Reputation:
2
10-05-2021, 05:28 AM
(This post was last modified: 10-05-2021, 06:08 AM by GTSPhil.)
So few months no updates on the car.
Firstly while the GT engine was out I ended up replacing the idler gear bearing in the flywheel housing, after sourcing a blind puller.
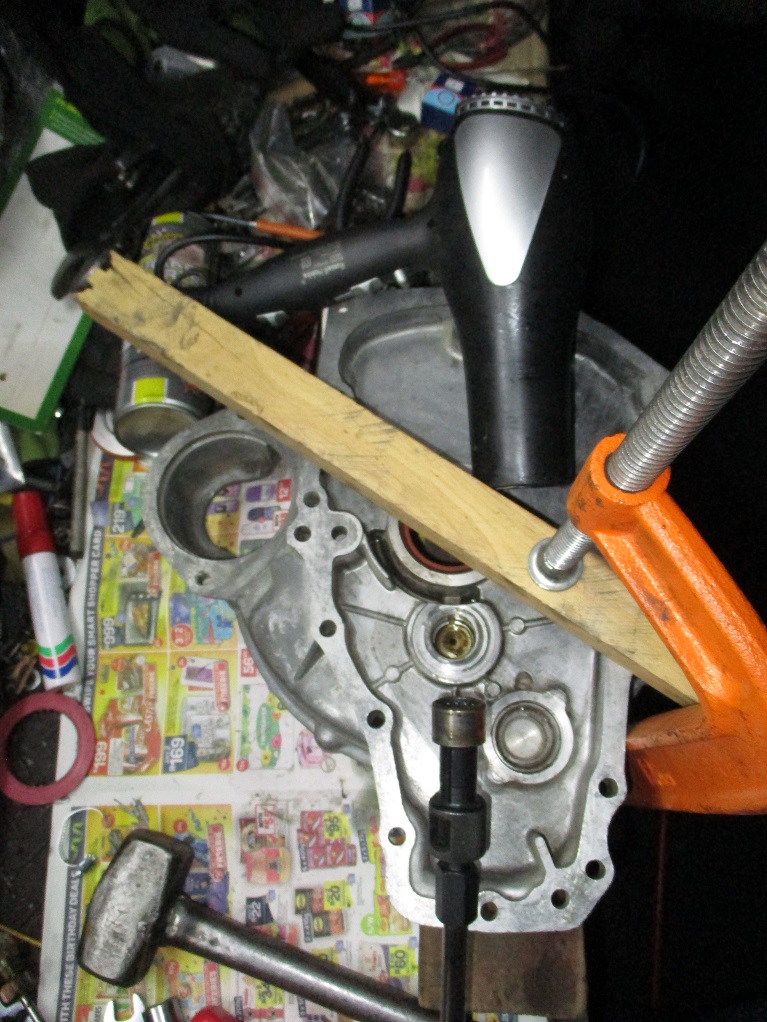
Then the engine went back in the car. Drove it a month or two, but still I was not completely happy with the idler gear, primary gear irritating noise.
In the mean time the fifth engine that I had started to prep to build was a GTS ENGINE with 11 stud goodness....so after some thinking I decided to yet again take the originality factor into the stratosphere. What I needed next was a close ratio GTS gearbox, which I had available.
I started with this, a close ratio 22G1040 gearset, with a small idler bearing 22G1832 casing gearbox that needed some attention.

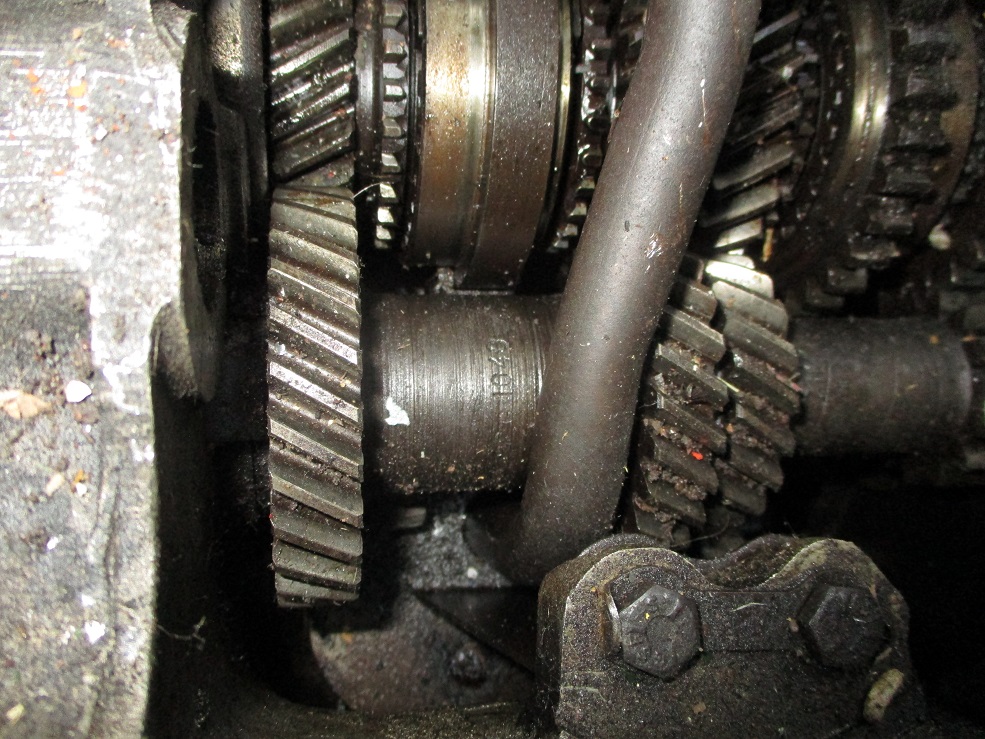
The inside needed some attention and there was no diff.
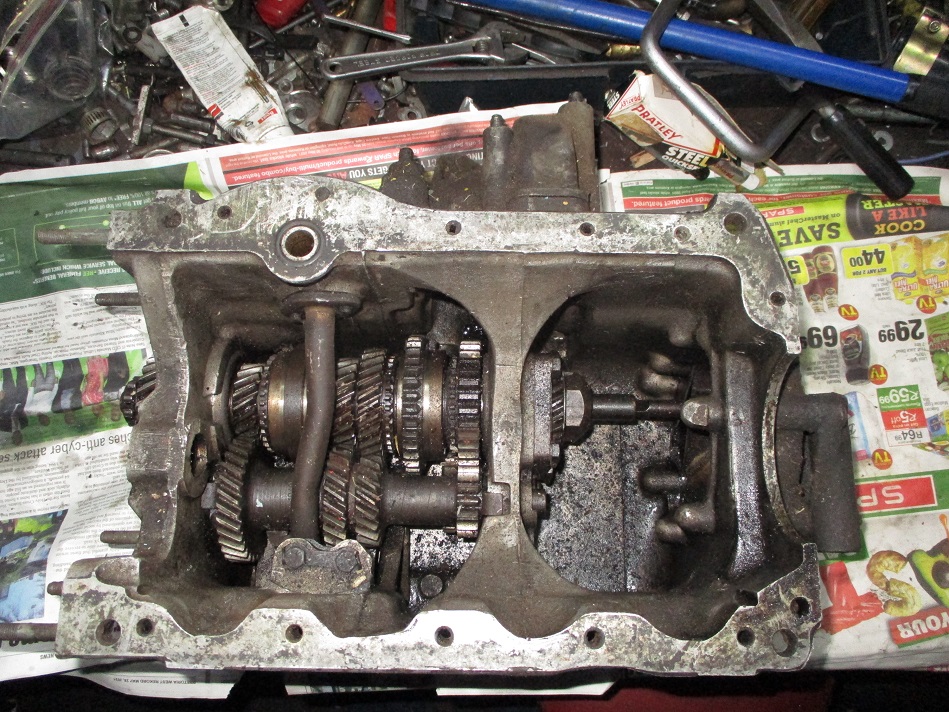
The block after being machined and skimmed etc...
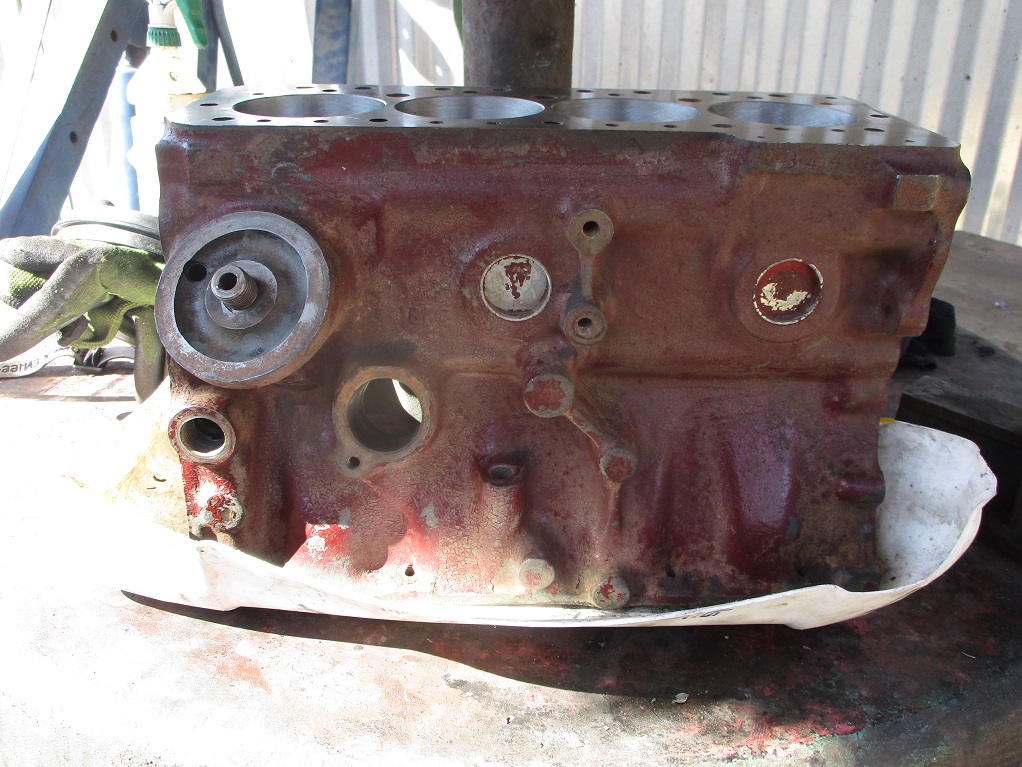
After a proper clean, degrease and paint strip session, masked off for new engine enamel.
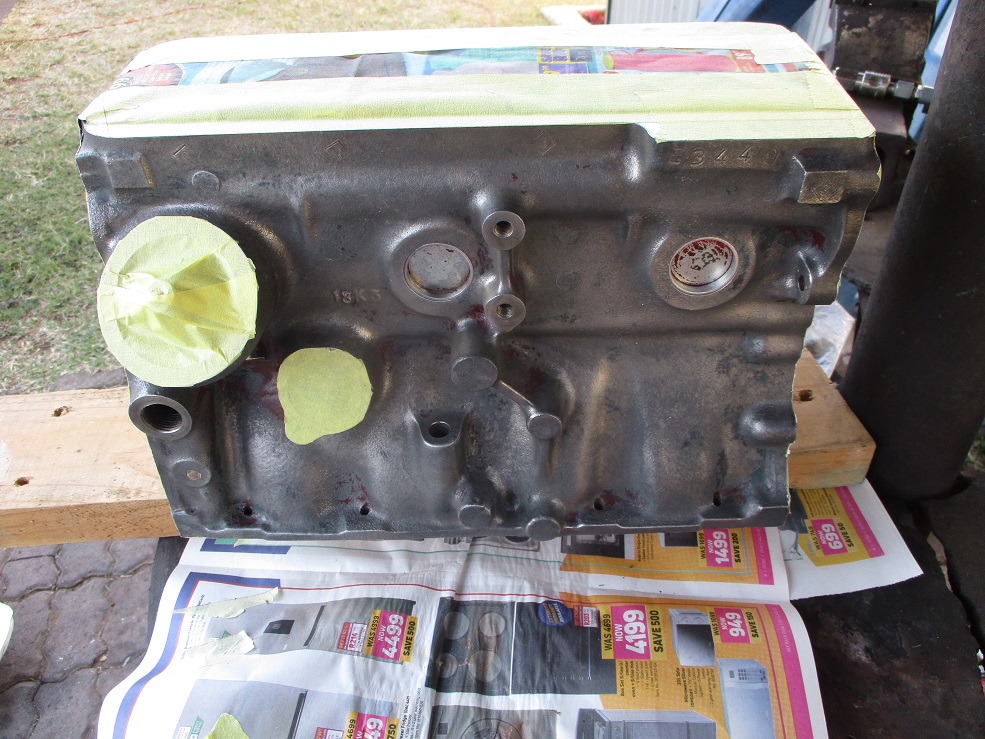
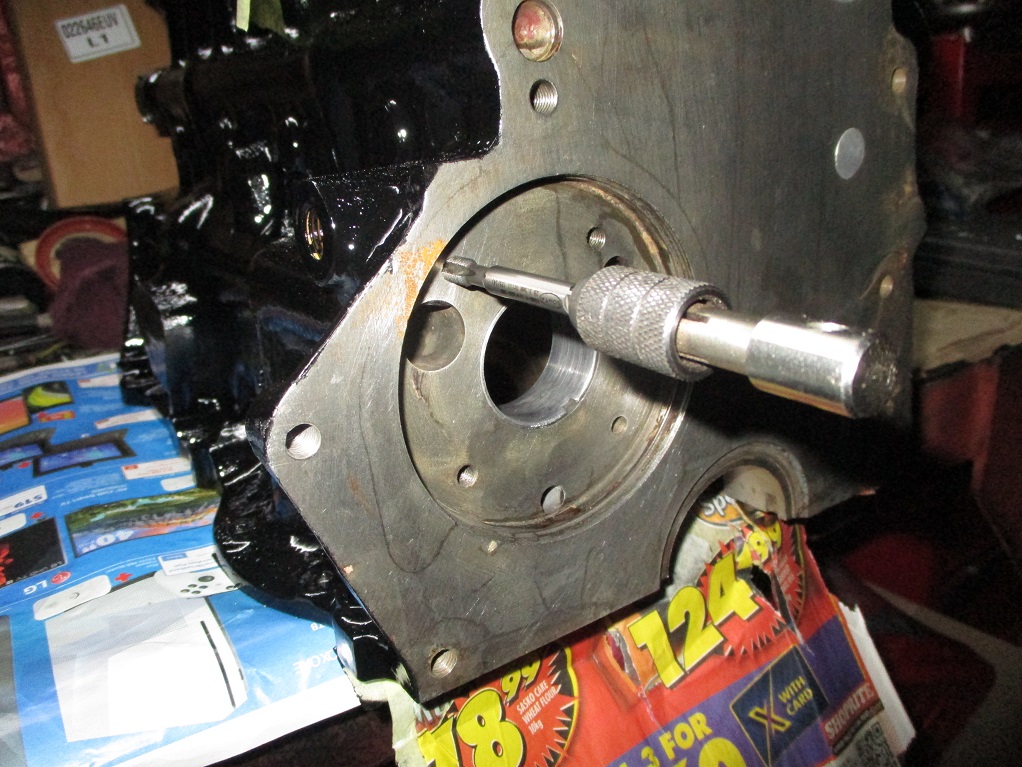
A coat of black later, cleaning the treads.
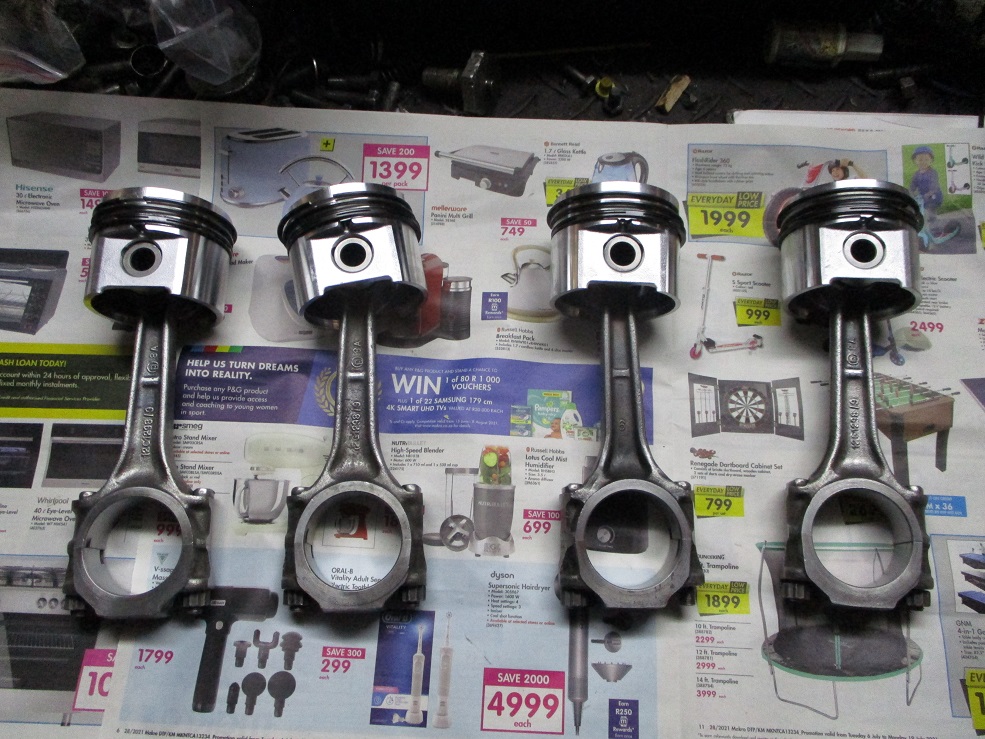
GTS conrods with new 40 thou pistons std compression fitted.
The crank needed some oversize thrust washers to get within spec, but the end result was spot on.
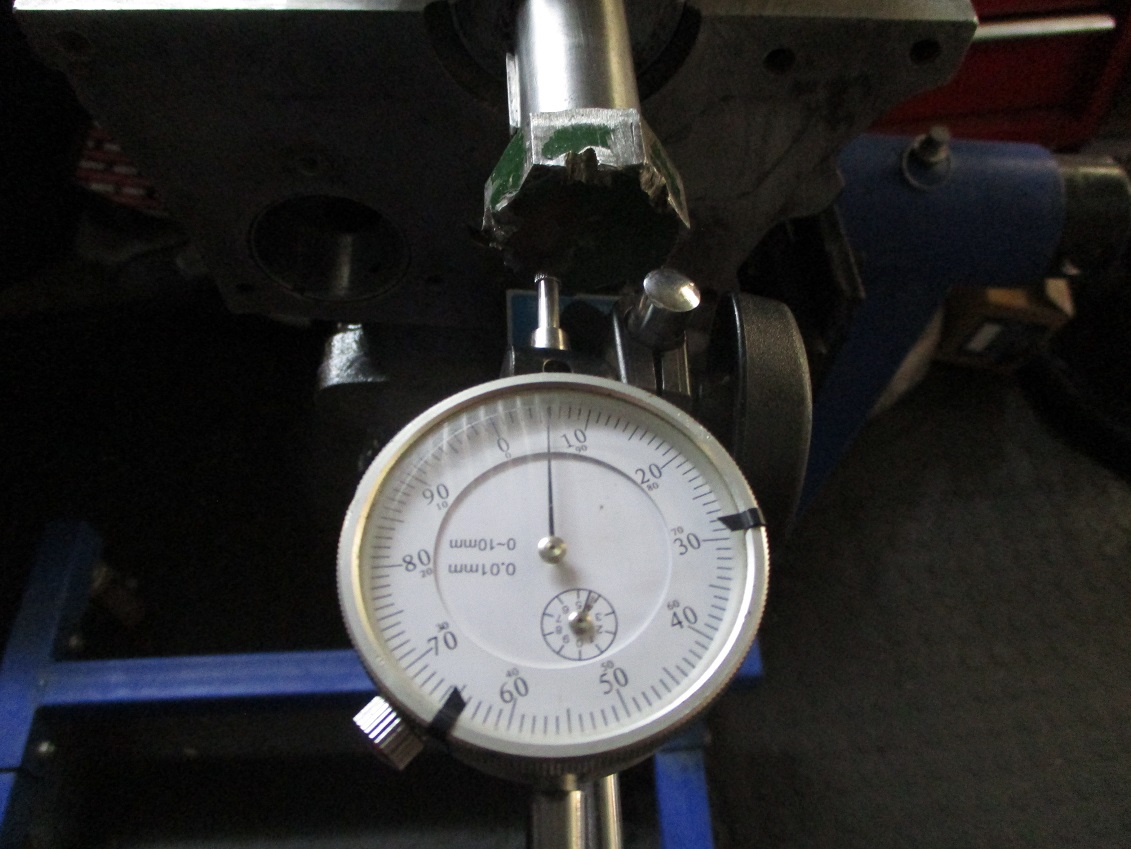
All fitted and lovely.
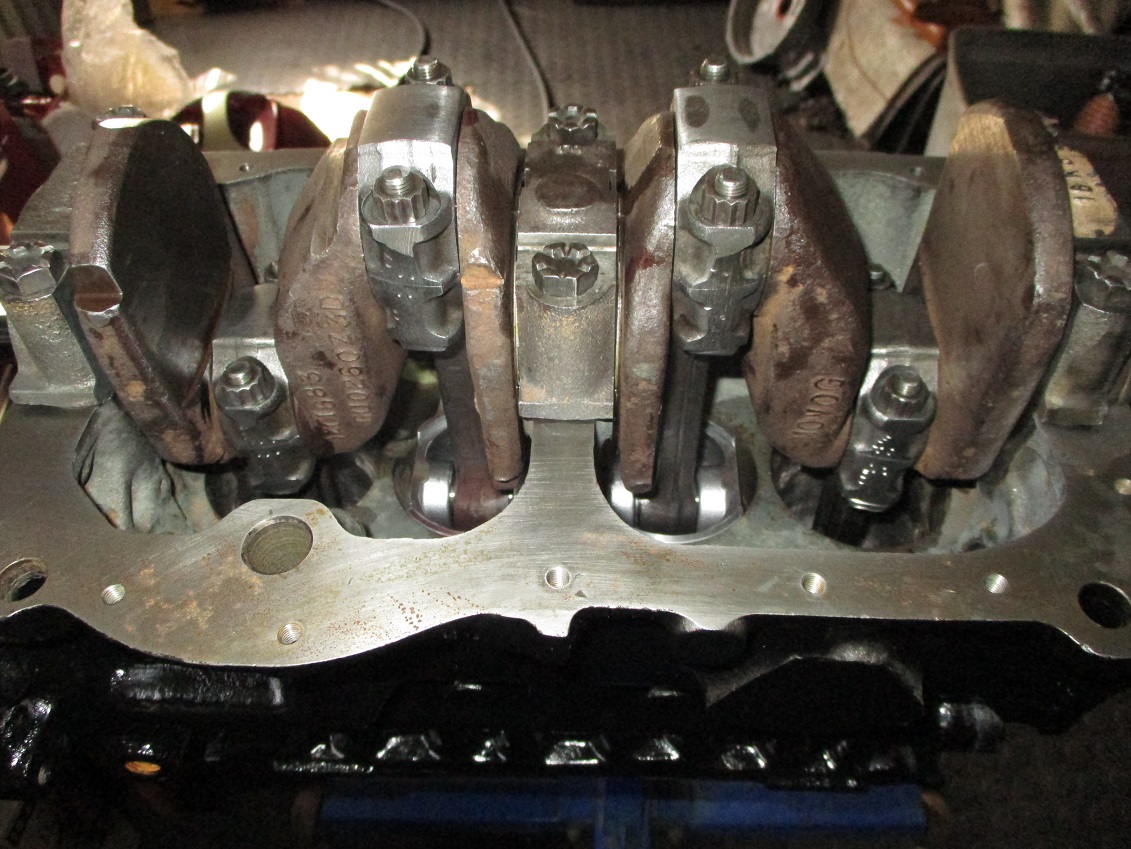
Top view

Own some minis, break them, fix them, improve them, test them to the limit....
![[-]](https://samini.co.za/images/collapse.png) •
•
|


![[-]](https://samini.co.za/images/collapse.png)


![[Image: XLqVNZw.jpg?1]](http://i.imgur.com/XLqVNZw.jpg?1)