Thread Rating:
  • 3 Vote(s) - 3.67 Average
  • 1
  • 2
  • 3
  • 4
  • 5
1978/79 GTS
#81
Hi Tim

Working with a perfectionist makes life very hard, but the end result will be great.

Minimad the body work continues....


I took my big grinder and wirewheeled where I could in the door jambs and the roof gutter.
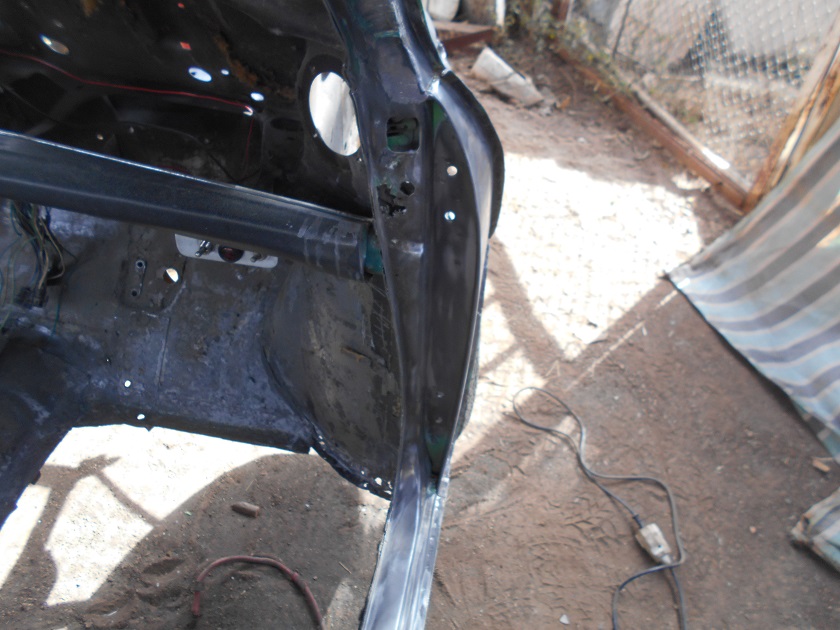


Some hard to reach left over paint and primer in the roof gutter.
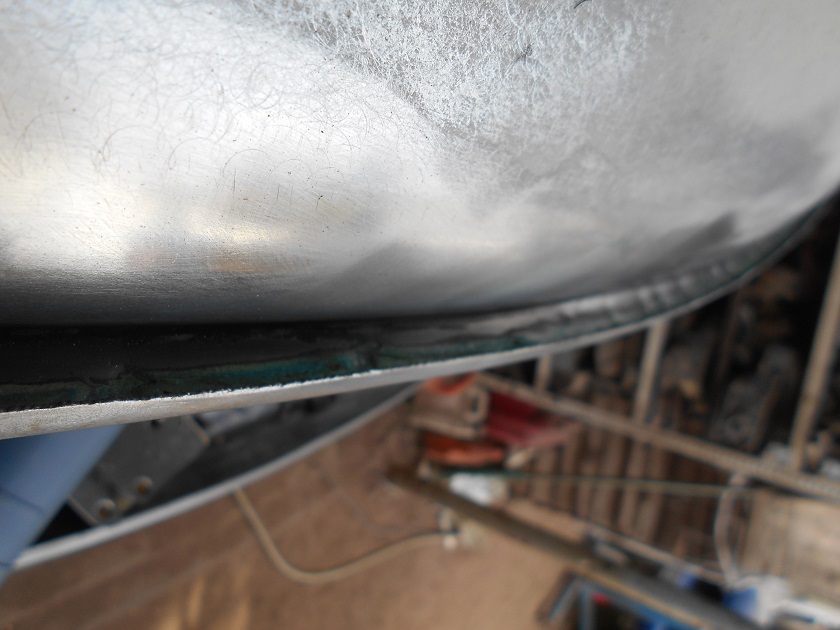


The next step was to remove the seam finishers on the rear and I got some proper serious paint stripper and applied it to the hard to reach areas and the dreaded roof gutter.
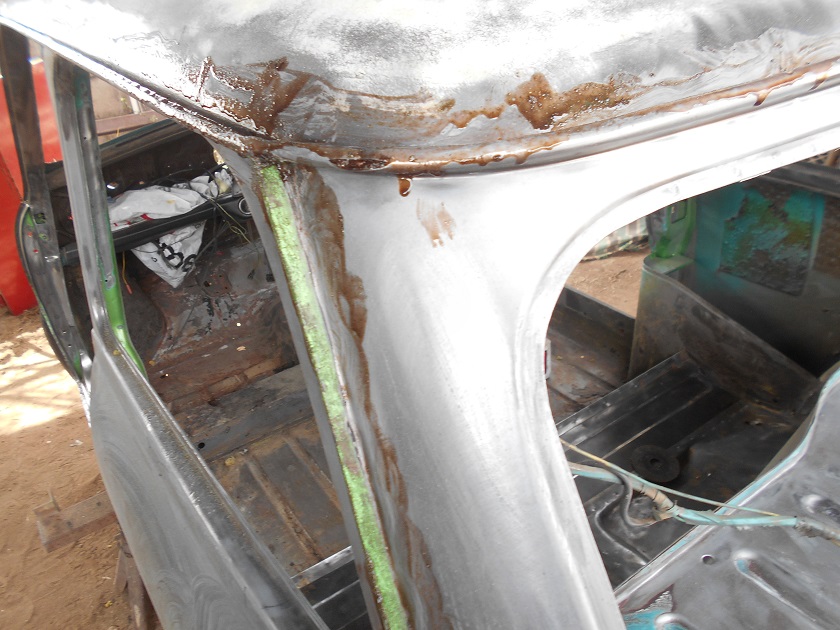
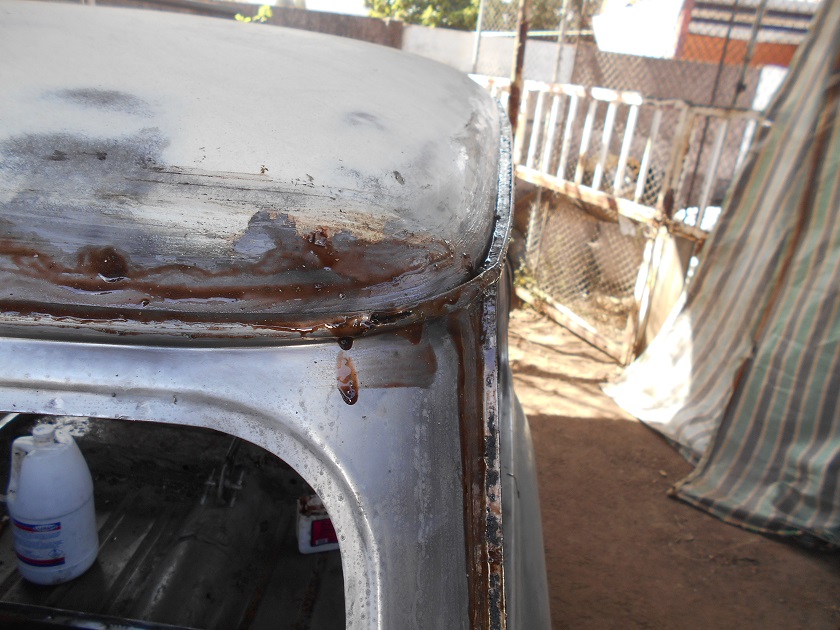


The whole body got pressure washed and de-oxidene treated once again...
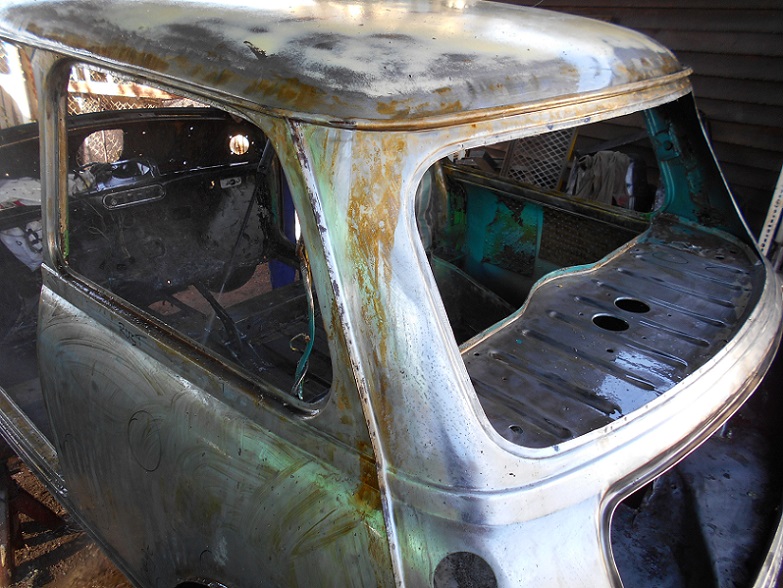


I proper de-rusted area....
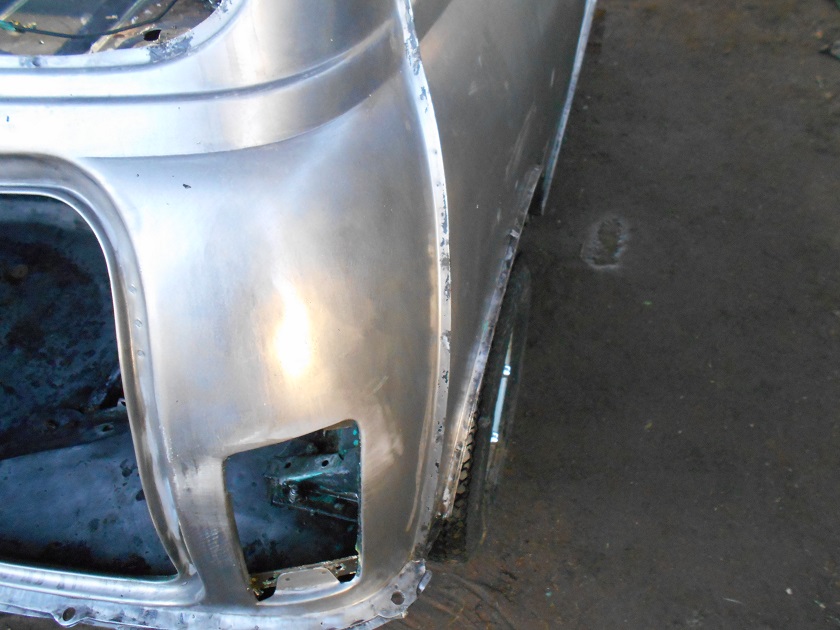


A good and clean example of the front roof gutter.
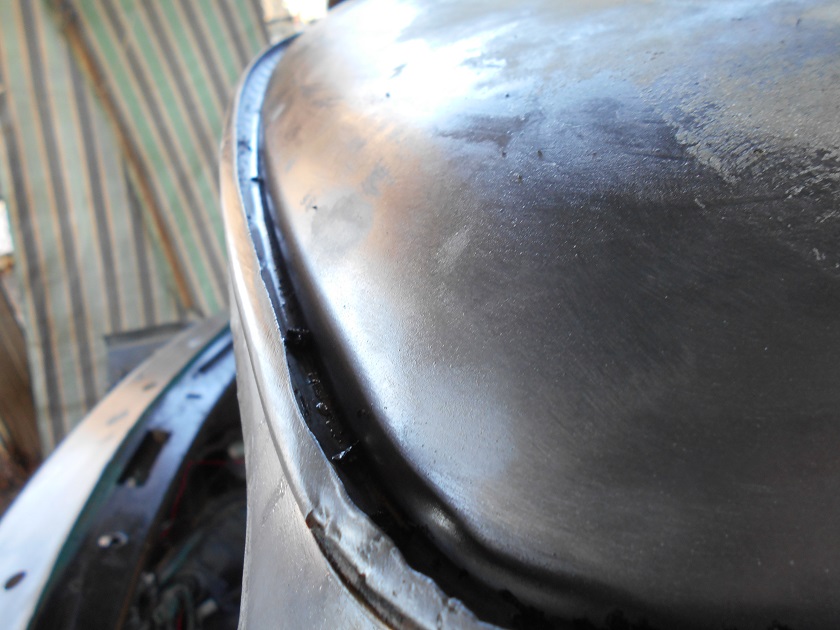


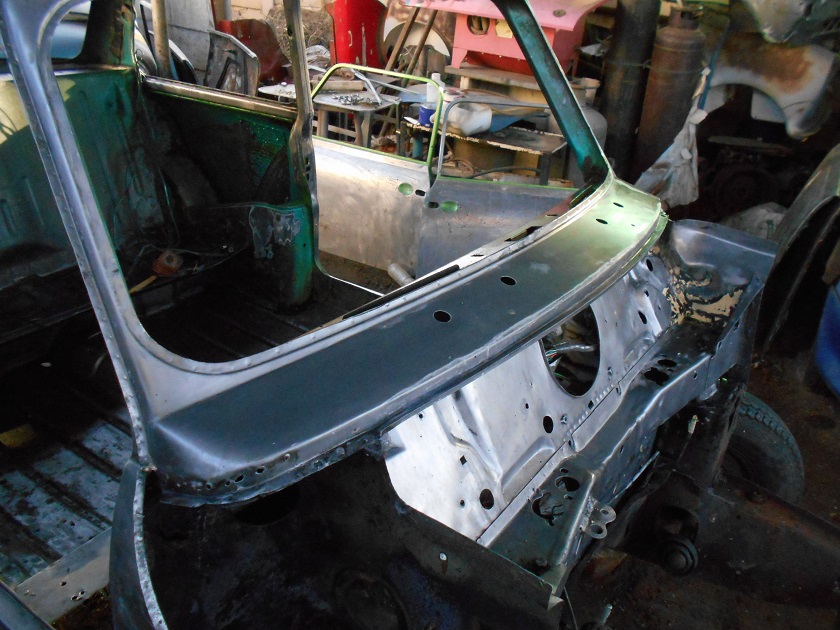
The wiper area under the windscreen also got paint stripped.  Now just here and there some final scraping with a scriber or wire wheeling and the final prep is done.

   
Own some minis, break them, fix them, improve them, test them to the limit....
Reply
#82
sorry maybe i missed it somewhere in this thread but what color are you going on this car, from the efforts you making it seems like you going back to original...looking forward to seeing another original GTS
Reply
#83
Hi Sooper

The color will reveal itself in the future.  I can tell you that it will be a GTS Leyland period correct color as IF I consider selling the car in future that would count in my favour for a higher asking price.  The color in the past had been a topic of great discussion when it came down to how ORIGINAL my car was/is.  Just for interest sake I had the car valued last year by the local GURU that does insurance evaluations and his comments was along these lines:

"The color is incorrect, the front mount radiator is a big no-no, the wheel arches is not right and if I fitted the correct 12 inch steel wheels with the plastic hub caps if would be more original.  As the car stands with all the obvious faults pointed out between R85000 to R100 000 to the correct buyer.  Rectify the problems and in-accurate items and up to R125 000 could be achieved from a true enthusiast"

So the journey has been long and very hard not to mention eye wateringly expensive to correct certain items and improve upon a already good base.

Yesterday was quite an eventful day.

Still more of the old paint needed removal and it seems the previous owner got silicone for free by the truckload or something, as it was applied to every joint and nook and cranny.  The idea was to remove this as much as possible as only certain areas needed a sealant from the factory.  I had thought it strange that the rear floor panels had silicone applied in the grooves running parallel so started to remove it. 


 The grooves looked a bit rusty so it was probed with a screw driver for strength and IT FAILED MISERABLY  Angry Huh Dodgy


The cleaned up cross member and rear floor joints.  The last of the sound deadening on the rear quarter panels was also removed.


First came the dis-belief then the frustration and finally the anger and realization that the work and time and money just went up again to rectify this mess....
It was decided for the same effort that three of the floor panels gets replaced I might as well just replace all four and be done with it.

After some phone calls were made, money paid and a delivery later...same day I might add.  That made the panel beater shake his head in disbelief...


The Inner wheel arches needed cleaning up for the welding and joining of the nose and new rubberizing will be added, so again out came the mighty wire wheel.


RH side is much worse for wear and will need some serious work to repair.


The rear seat upper was also paint stripped to a clean bare surface.


Own some minis, break them, fix them, improve them, test them to the limit....
[-] The following 2 users Like GTSPhil's post:
  • minatic, minitim
Reply
#84
Top job Philip. You doing all of this at home?
Reply
#85
Are you on leave at the moment Phil ? or pulling all nighters !!!!!!
Reply
#86
Hi Phil,

Great work there bud. cant wait to see the end results.

If you dont mind me asking. What paint stripper is it that you are using. I am using the one from builders and its crap.
Reply
#87
Hi Tim

Not at my place at the panelbeater's place.

Sean I am off now yes.

Grimz
I do not call it serious paint stripper for nothing, I got it from a specialized paint supplier and it is the Luxor product and it is not cheap at R145 per liter or R540 for 5L. The crap from the hardwarestores will not work. Please note Terms and Conditions apply on the paint stripper, do not loose a finger or hand.
Own some minis, break them, fix them, improve them, test them to the limit....
Reply
#88
lol :-) Thanks Phil, I will check with the paint shops closer to me.
Reply
#89
Great progress Smile
                                                                            Mk3 Full Build Thread
                                                                    [Image: XLqVNZw.jpg?1]
Reply
#90
Thanks Jared

So this happened after the brake and fuel hoses was removed from the front part of the floor.


After the rear sub-frame removal I have found the source of why my car was crabbing.  The frame is no longer square.  Most probably another frame will be used.


Not for the faint-hearted I must say......


Here after the whole area where the LH rear floor pan must fit was panel beaten and cleaned after paint stripping happened.  This continued till the new floor pan fitted like glove.

The ugly dent on the sill was removed and the whole area rust treated and black etch primed.


Like a glove I tell you.... Cool  The seat belt mounting holes needed some fettling and the drain holes under the rear bins was de-siliconed and the new floor matched to the holes.


Own some minis, break them, fix them, improve them, test them to the limit....
Reply


Forum Jump:


Users browsing this thread: 6 Guest(s)