Thread Rating:
  • 3 Vote(s) - 3.67 Average
  • 1
  • 2
  • 3
  • 4
  • 5
1978/79 GTS
#91
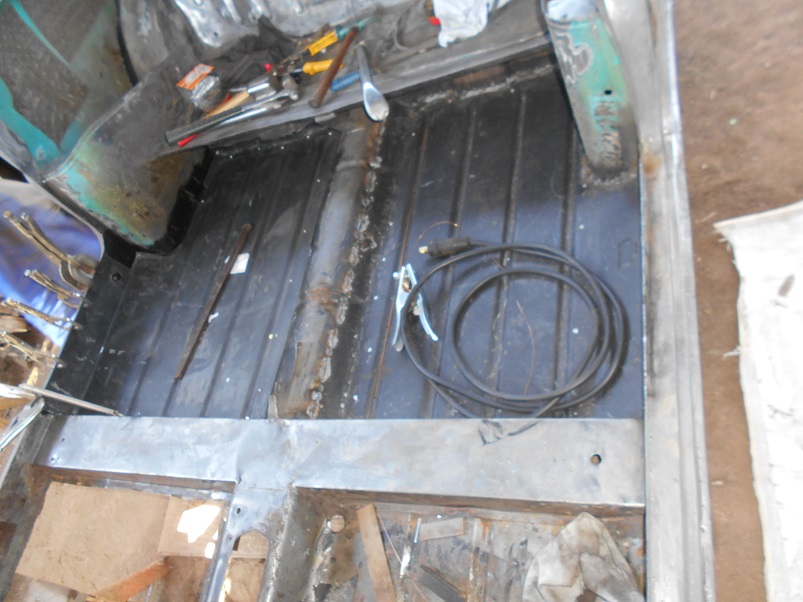
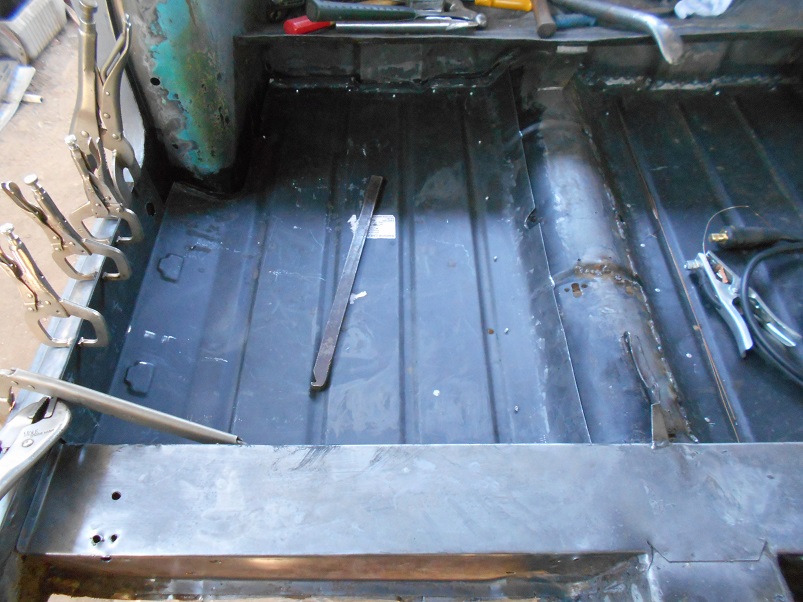
First the floor pans got tacked in and then MIG welded and the seams where the door rubber goes got TIG welded.


Own some minis, break them, fix them, improve them, test them to the limit....
[-] The following 1 user Likes GTSPhil's post:
  • alsmini
Reply
#92
How are things going Philip? Been missing your updates
Reply
#93
Hi Tim

Yes I am currently between a rock and a hard place with the project... I am afraid.

Firstly a bit of background info. The new floor pans are 0.8mm thick, the SA original pans that was cut out is 1mm thick. This does sound like a bit of useless info, until you break it down into which welder can weld which thickness of metal. Long story short the panelbeater struggled to weld nicely, which says a lot when you take into consideration he has nearly 50 years in the game of building and modding cars. The very good multi-welding machine that was used is actually meant to weld from 1.5 to 20mm thick plate(it was running at about 5% capacity), the next mig welding machine that was used is meant to work with 0.6mm thick welding wire, which FYI is apparently not cheap or readily available in SA. Recently some health problems has kept my friend away from the project.

Till further notice there is nothing to update. Sorry Guys
Own some minis, break them, fix them, improve them, test them to the limit....
Reply
#94
Strongs Philip. Feel your frustration. Hope all gets sorted soon
Reply
#95
It'll get there - holding thumbs for you.
                                                                            Mk3 Full Build Thread
                                                                    [Image: XLqVNZw.jpg?1]
Reply
#96
So after months of sitting and twiddling thums, not really as I have just completed another round nose project....


I started to remove the paint on the inside of the doors.
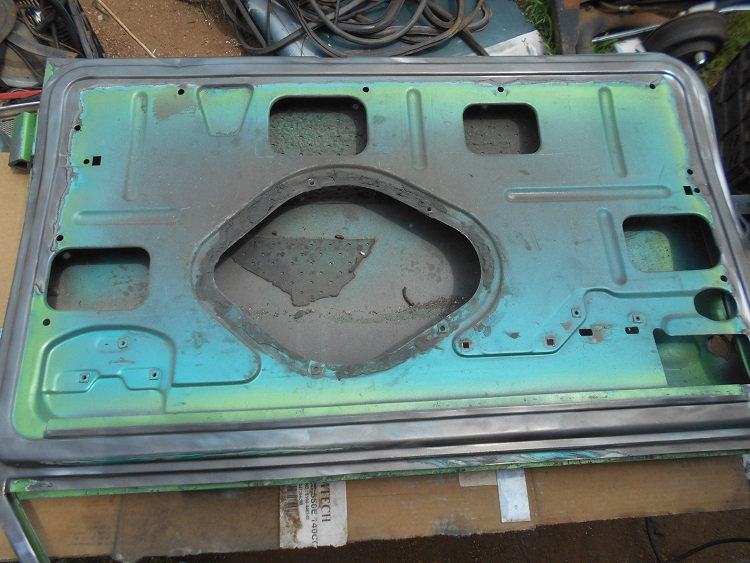


RH inner door.
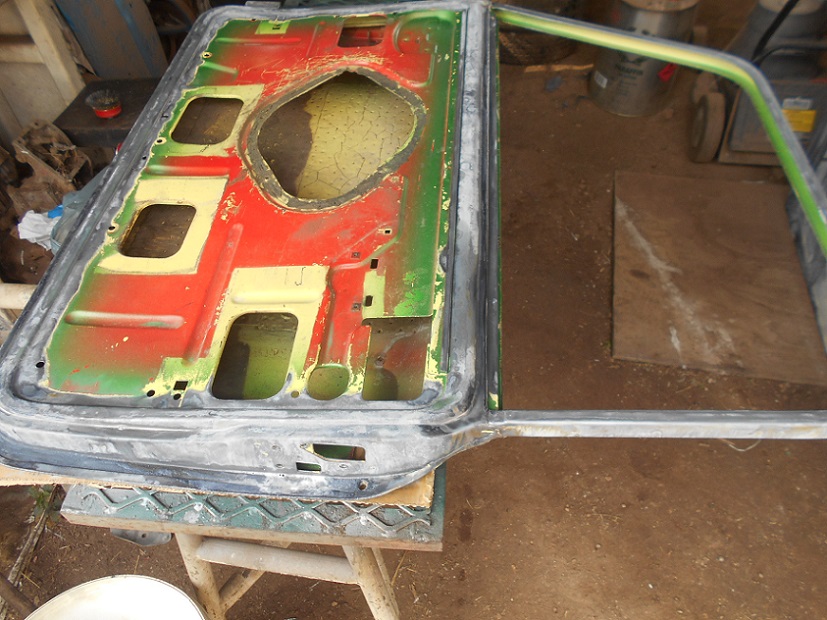


Onto how I found the shell today after lifting the tarp that it was covered with.  The deoxidene held up quite good in most places.  Some rust here and there and mostly good.  I know the car does not look great, but wait there is more.....
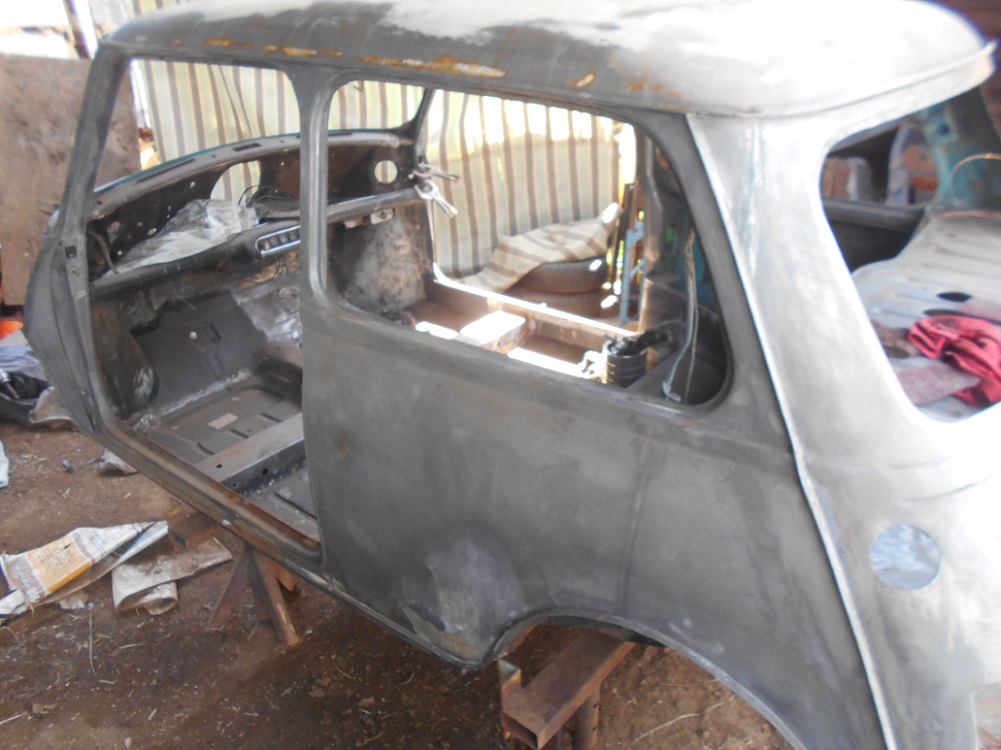


The plan of action was to get the black primer on the body on the areas where the dents have already been removed.
Say hello to sore fingers attached to sore hands after some SERIOUS VERY SERIOUS scouring and using the wire wheel again, you end up with....
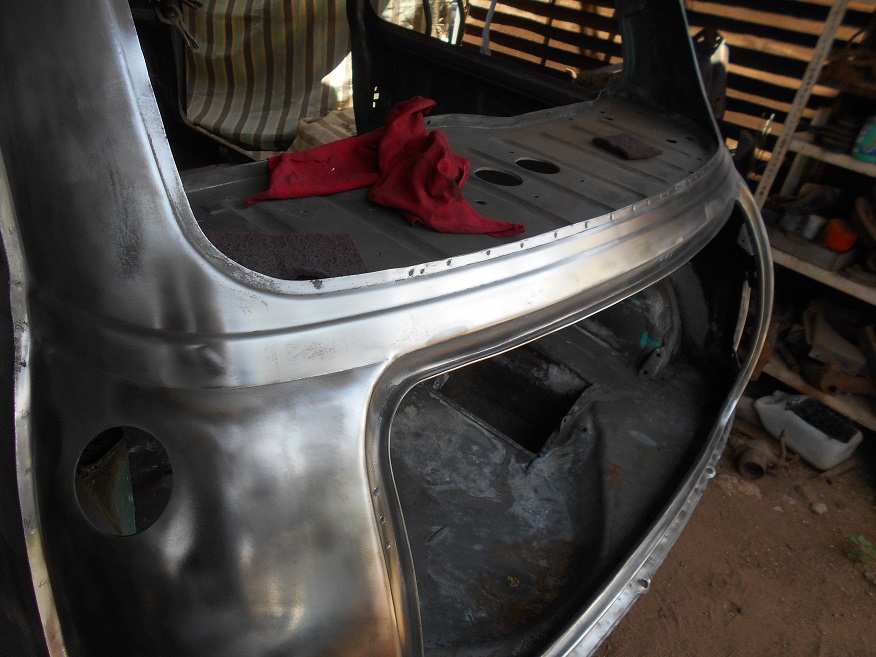


Don't mind the boot floor or parcel shelf area, we are concentrating on the outside ASAP, inside and it's turn for lovely goodness will follow shortly.  


The other side of the rear end, just note polished nice on the rear vs deoxidene treated metal on the RH rear quarter panel.
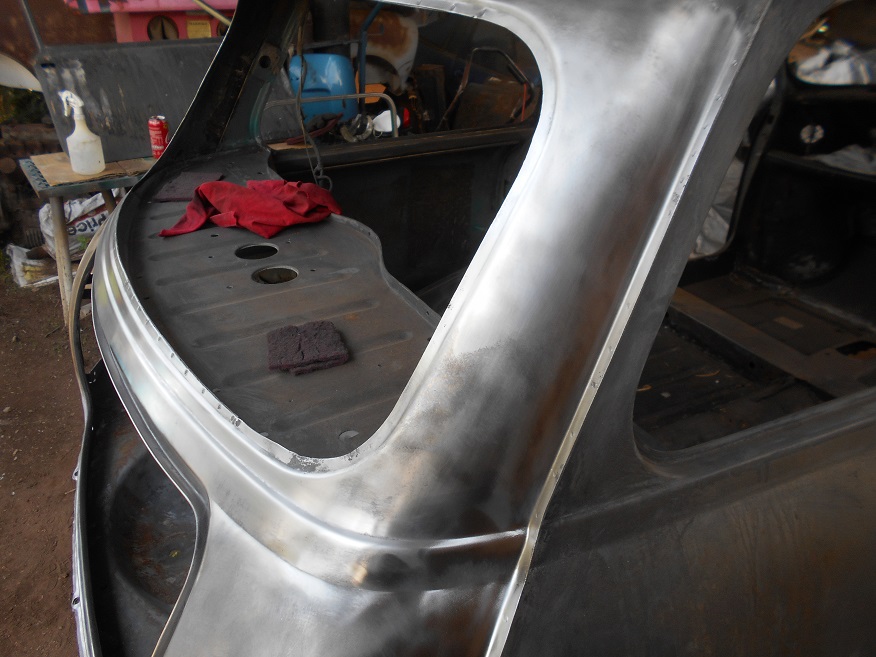


Then after approval from the powers that be, the black primer was applied very liberally...
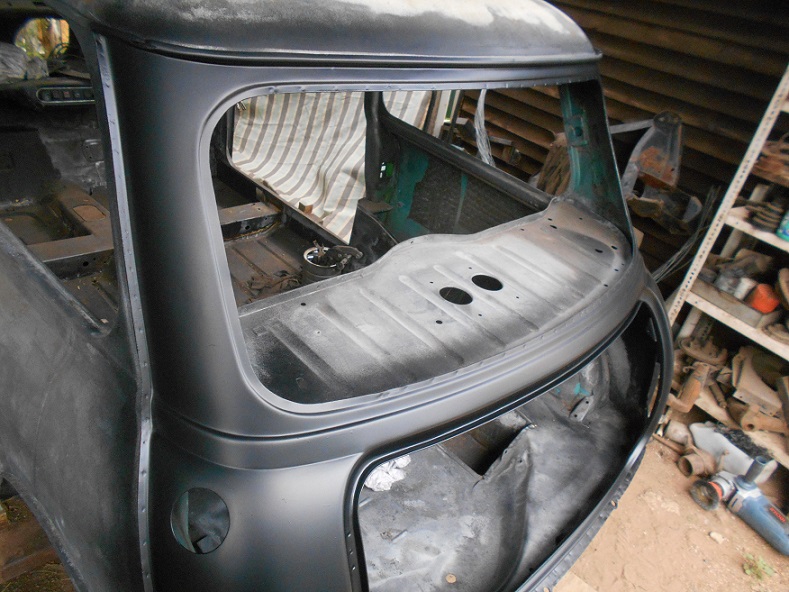


RH rear.
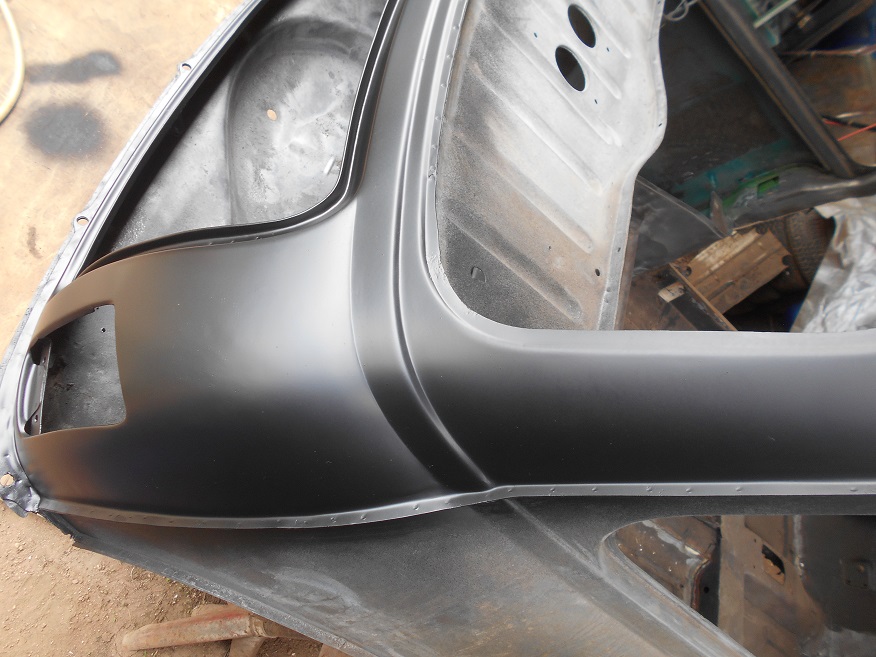

   
Own some minis, break them, fix them, improve them, test them to the limit....
Reply
#97
Continuing with the applying of primer to the body.


Ready for the coat.


Frontal area prepped.


Now the roof had some bad dents in it, all of which was removed the filler is less than 0.2 to 0.5mm thick, but it was also prepped to be primed and I had to sand some areas where the rust was treated, but still was present.  After sanding the rust was gone.


Own some minis, break them, fix them, improve them, test them to the limit....
Reply
#98
Good to see you making progress again.
Reply
#99
The roof done after two coats of primer and parcel shelf area.


Door ready for some action.


Both doors done.


Own some minis, break them, fix them, improve them, test them to the limit....
Reply
Good to see some progress with the build again Philip.
Reply


Forum Jump:


Users browsing this thread: 6 Guest(s)