Thread Rating:
  • 3 Vote(s) - 3.67 Average
  • 1
  • 2
  • 3
  • 4
  • 5
1978/79 GTS
On with the build then...


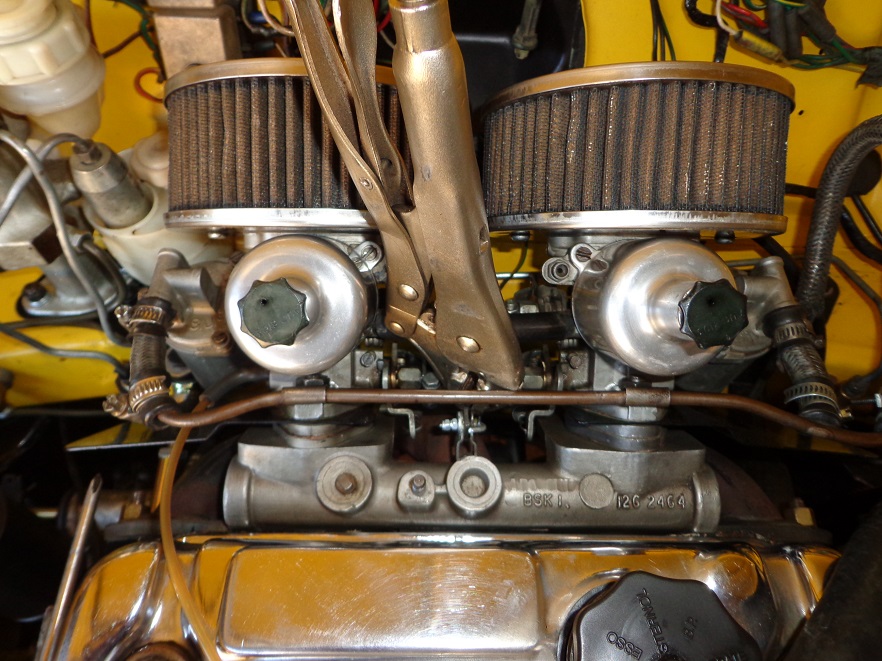
I had to make a plan to fit the GTS correct carb linkage as it is very irritating having to work with two spanners to tighten a standard cable holder.  I ended up making a threaded rod fitted with two nuts on one end and bent 180 deg on the other end.


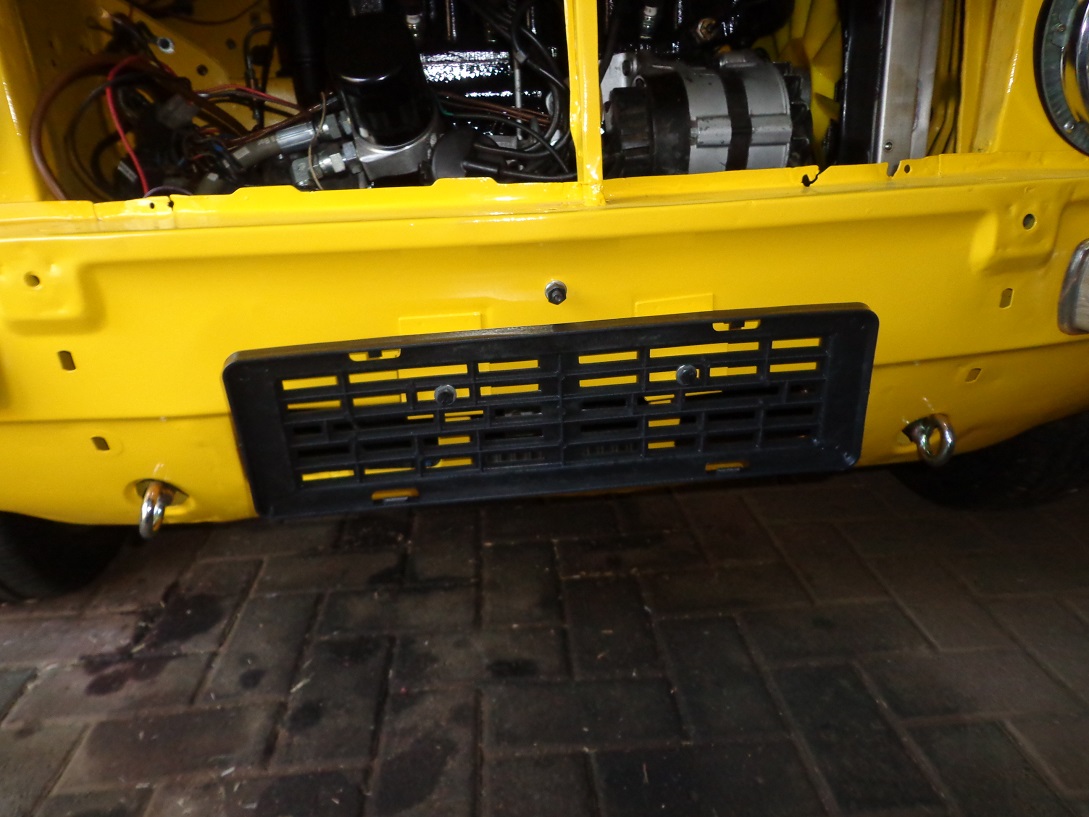
The number plate holders was next up.


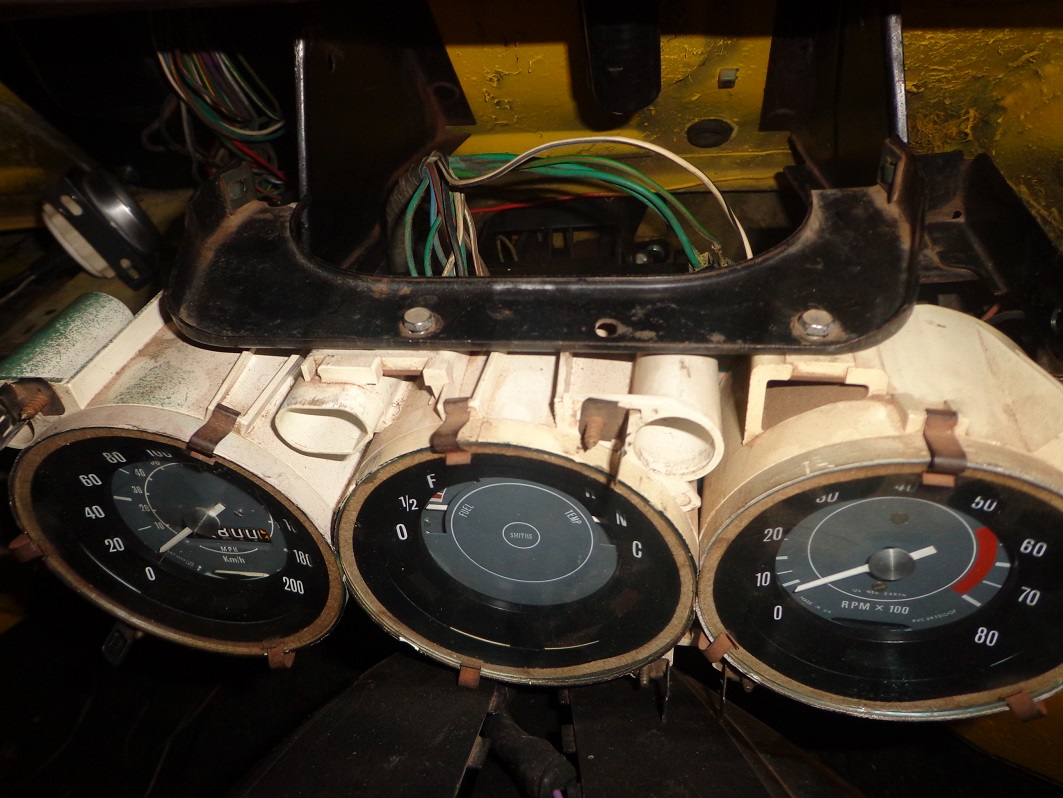
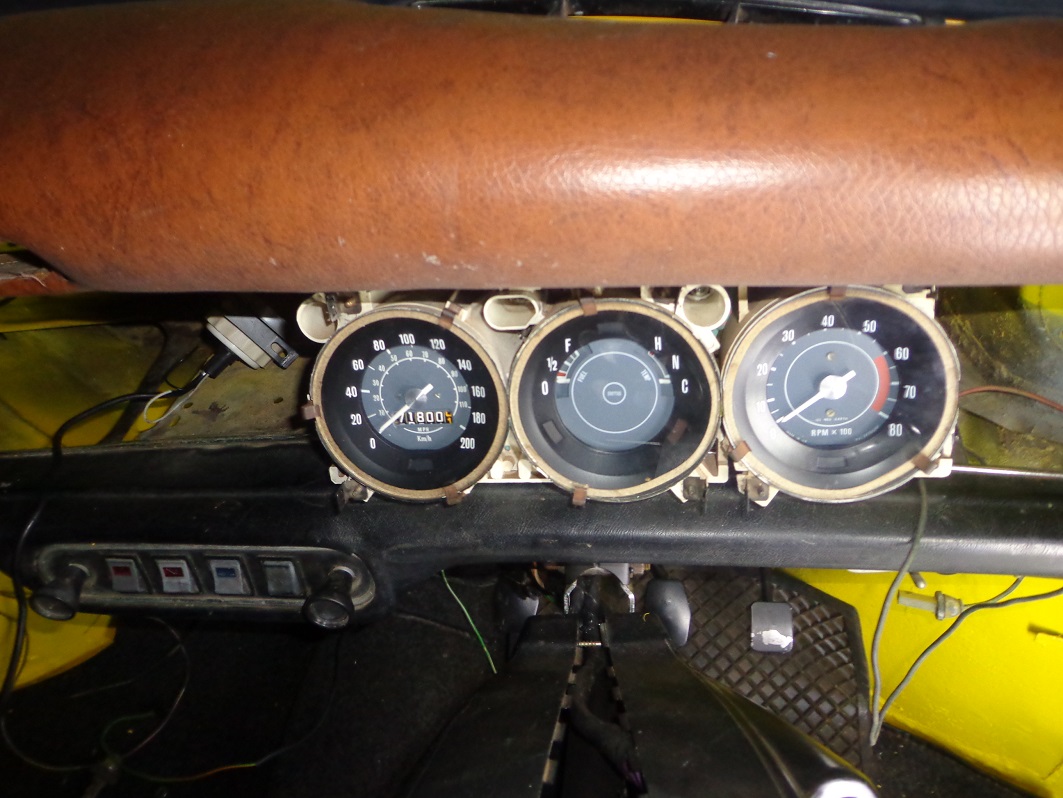
The 3-clock cluster was fitted with new blade bulbs and was mounted again.
Still struggling to get all the cluster lights to work, but just some connections that need help.


Lastly connected the choke cable to the carbs after fitting the needed grommet for the firewall.


Own some minis, break them, fix them, improve them, test them to the limit....
Reply
Earlier in the week decided to get the RH tail light replaced.


The old one with the broken outer edge.


Seeing as my main loom does not have the plugs to connect the tail light but rather female connectors, I had to remove the male connectors from the damaged tail lamp and build them to a good tail lamp.


All the wires removed.


After fitting the wires.


Wiring connected and insulated as the white plastic block has lost some of the sides due to age.


And the final product.


After taking the car to have the wheel alignment done, decided the dash had to improve so that I had a space to put my phone and wallet again while driving the car.


Felt, dash card and vent fitted back.    Tongue


Got these little gems in and decided to fit them, which meant I had to remove the door handles.


Rear one fitted to the handle.


While the RH door was stripped, I wanted to change the window winder mech as the window would wind down slightly when closed, thus the mech was damaged.  It also posted a security threat as the window could be forced open very easily.  It was quite a challenge finding a good usable one.
Old one on the left vs recon one on the right.


Own some minis, break them, fix them, improve them, test them to the limit....
Reply
Sourced these little babies...


Fitted to the car.


Fitted the LH stabilizer.


Own some minis, break them, fix them, improve them, test them to the limit....
[-] The following 2 users Like GTSPhil's post:
  • Heinrich, Vinay-RS
Reply
Looking good can't wait to see a video of the car in action.
Reply
The car was shaking like a mother at 70km/h upwards.

I thought what could be wrong as the wheel balancing and alignment was done and whole suspension and parts are brand new including the steering rack.

I jacked the car up and ran it in 2nd gear, low and behold the LH short drive shaft is shaking like a pole dancer in the strip club.
I remembered that the shafts that was original to the car was sold with some brakes last year sometime, I just grabbed two shafts off the shelf and used them, mistakenly.

I removed the LH shaft and found a tested straight replacement and then only it worked after building the new cv etc over.

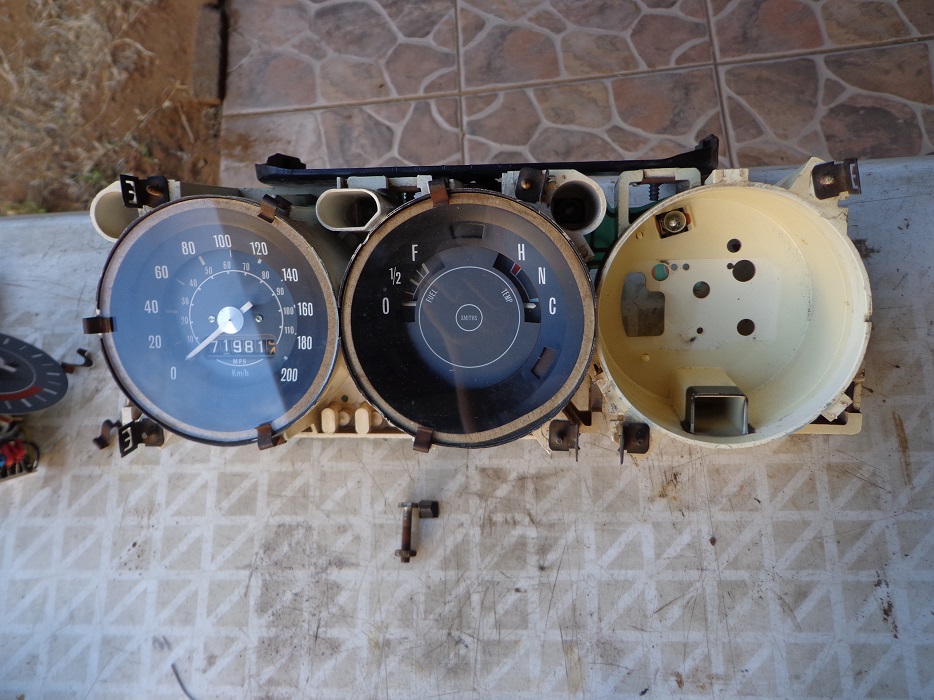
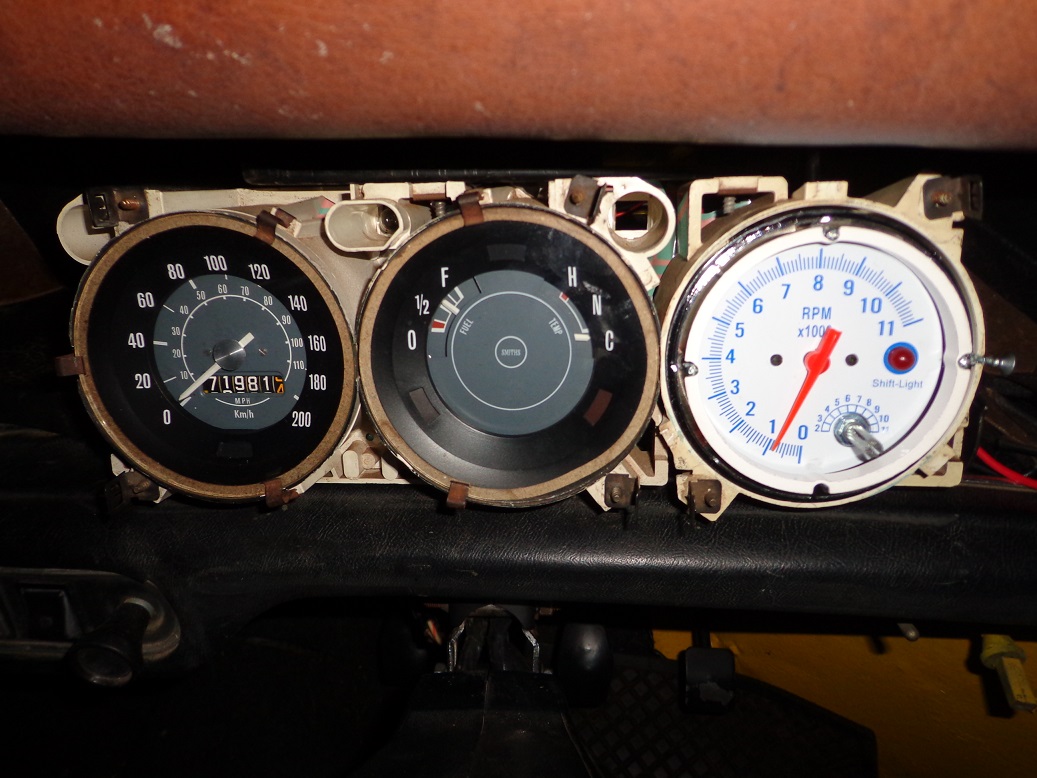
I have been putting some kms on the car and it gets very irritating driving the car and guessing the rpms as I am trying to keep the engine under 3000 - 3500 rpm due to running it in still.  I have tried in vain to get the original rev counter to work and I just cannot justify having the cluster serviced and rebuilt to the tune of some R4500.

I have been looking at aftermarket rev counters for some time now and toyed with the idea to fit a digital one on the steering cowl, but eventually thought that fitting the rev counter in the space of the original will have to work.

So after some measurements and looking at some local offerings I decided the 3 3/4 inch Autogear tachometer cheapy will have to suffice.

I started by removing the rev counter out of another cluster that I have and used it as my test mule.  Spent a good 2 hours measuring and test fitting and looking at how exactly to fit the new rev counter.

Eventually the cuts was made and the screws tightened and ....


I could not fit the face cover due to the length of the rev counter to the back behind the face been so long.


Next came the wiring, with all the test fitting I managed to tear first the white and then the green wires off the back of the rev counter, so that was fixed.

The cheap chinese wiring diagram only shows the green wire going to the coil, it does not specify to which pole on the coil.  I remembered that I sold a electronic ignition kit to a client and he managed to blow it when he fitted a after market tacho.  So I went and did some research on the net, turns out a lot of after market tachos are fitted to a lot of cars with many different wiring setups.  Eventually I found a video that expressly warns to only attach the green wire to the negative side of the coil.

Out with the cluster, the rev counter was removed.


Then for the first time in probably 10-12 years of owning this GTS it has a working rev counter, although the white face will need some getting used to the LED back lights are very bright now next to the incandecent std items of the other two gauges, but what the hell...


Own some minis, break them, fix them, improve them, test them to the limit....
Reply
On with the journey again.

The whole steering column was shaking, so I realized the felt bush for the bottom of the column was never fitted back.

A new one.


I managed to get it fitted without removing the steering shaft.


Now the flickers could be cancelled by the steering wheel in the switch, where previously it was too low.


Took the car to have it buffed and polished and man it is sure is shiny now.

Got the seat belts out and refitted them, being stopped regularly in a classic mini, hazard/joy of owning them.


Own some minis, break them, fix them, improve them, test them to the limit....
Reply
So next up I wanted to fit the arches.
Some of the tabs was too long for the arches.


I measured with the arches fitted and cut the excess off.


I did not like the look of the gap between the arches and the body, so I sourced some rubber strips and checked the fit. First on the back arch.  I know purists just look away.....


Then onto the front, put the strip up to the body seam firstly to have a look, it was on this arch where the biggest gap is between the arch and body. Also started to fit the arch moulding after it lay in the sun, did not really make a difference to the fitment.  I read on the UK forum to lay the moulding in boiling water, now this did make a difference.


The bumpers was next inline for re-fitment.

I found a reasonable rear bumper.  First cleaned the threads up after sanding most of the rust on the inside off....


Fitted, nice man.


Then onto the front bumper which needed some serious panel beating and straightening.


I then rivited the mouldings in place....


and from the side.


Own some minis, break them, fix them, improve them, test them to the limit....
[-] The following 2 users Like GTSPhil's post:
  • Heinrich, Vinay-RS
Reply
Your car is looking seriously cool , a real head turner. Are you going to fit gorilla or macguard wheel nuts to prevent theft of you nice mags ?
Reply
Hi Jimmyjamjar

I had not thought about fitting some theft proof items other than a extra gorilla steering lock. I will take your advice and look into it.

Thanks for the kind words.
Own some minis, break them, fix them, improve them, test them to the limit....
Reply
Next up was the chrome blanks for the extra wiper holes.


Then the wiper motor and wiper arms etc.  It was in such a state I felt that it had to be cleaned up.


Removed the Green paint off this wiper wheel.


After a proper scrubbing and cleaning session.


Now the chrome wiper wheel box kit and chrome washer jets was fitted with wiper motor.


The grille that I wanted to fit needed some attention.


Fitted with a grille badge with new sticker.


Own some minis, break them, fix them, improve them, test them to the limit....
Reply


Forum Jump:


Users browsing this thread: 6 Guest(s)